One of the most important benefits of Photoshop is your ability to retouch images to improve or perfect them. Frankly, the trickery and deception is quite fun. These tools help you patch and heal tears, scratches, and even red eyes from erratic camera flashbulbs:
Spot Healing Brush (J): Click on a blemish in a photograph and this tool samples pixels in the area around the blemish to blend it out. This is similar to the Healing Brush tool, but with the Spot Healing Brush you do not need to select a source area.
Healing Brush (J): Select this tool and hold the Alt key (in Windows) or the Option key (on the Mac) as you click to select a source area; then click on a blemish in a photo, such as a wrinkle on someone's face. The Healing Brush blends out the blemish by sampling pixels from the selected source area.
Patch (J): Draw a marquee with the Patch tool or other marquee tools. Then click in the selected area with the Patch tool and drag the selection around the canvas. Wherever you drag will be visible through the selected area, enabling you to patch and blend that area with another part of the image.
Red Eye (J): New in CS2, the Red Eye tool enables you to remove red eye with one click. Red eye is common in photos taken with a flash. This unfortunate red reflection from your eye can be scary, and removing it used to take a few steps in previous versions of Photoshop. Now, simply click in the middle of the subject's red eye with the Red Eye tool for a quick removal; click anywhere in the image to search the image for redness to remove. Because this tool couldn't possibly have knowledge of the original color of your subject's eyes, the color change is really a desaturation of the red color and a slight darkening. The effect looks natural, but that doesn't prevent you from altering the eye further using the Burn tool or some other paint tools. In the Options bar, set the percentage of Pupil Size and Darken Amount.
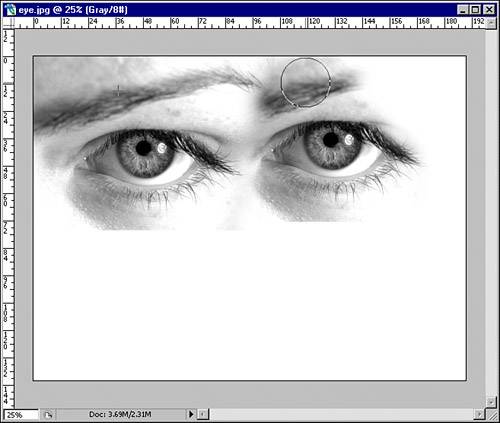
Clone Stamp (S): Clone areas of an image into another part of an image with this tool. Press and hold the Alt key (in Windows) or the Option key (on a Mac) and click a source area. Then paint within another area of the image and watch the tool blend the source area into the destination area (see Figure 3.3). Works best with a soft-edged brush.
Figure 3.3. Cloning part of an image with the Clone Stamp tool.
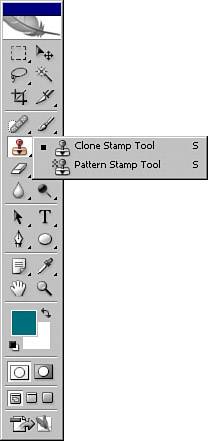
Pattern Stamp (S): Paints a pattern into your image where you paint with this tool. Choose a different pattern to clone in the Options bar using the pattern picker. Adjust the brush size and hardness, opacity, and flow, and the pattern is painted using those options. Enabling the Impressionist check box distorts the pattern as it is painted.
Eraser (E): This tool erases the content on the layer you are working (see Figure 3.4) and reveals the background color underneath when erasing in the Background layer.
Figure 3.4. The Eraser tools.
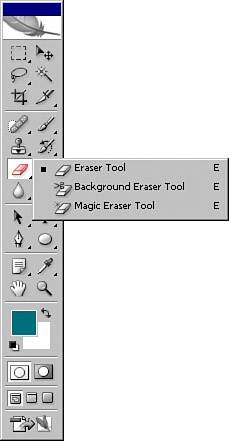
Background Eraser (E): This tool erases to transparency even on the Background layer of your image.
Magic Eraser (E): This tool detects and erases areas in a similar color range. Adjust the Tolerance setting in the Options bar to select more or fewer of the adjacent areas.
Blur (R): This tool enables you to brush areas (see Figure 3.5) and blur only those areas. It averages the pixel color and contrast of surrounding pixels to create a "softer" transition between the pixels and, consequently, the blur effect.
Figure 3.5. The Blur, Sharpen, and Smudge tools.
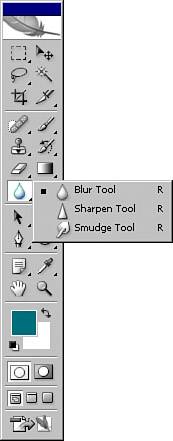
Sharpen (R): This tool sharpens edges by creating more contrast between the pixels you brush over. This increased contrast creates the effect of a sharper edge.
Smudge (R): Click on the image, hold the mouse button, and drag to smudge pixels. Like paint or pastels, this tool creates a realistic smearing of the pixels.
Dodge (O): This tool mimics a photographic technique that underexposes or lightens parts of the image you brush over.
Burn (O): This tool mimics the photographic technique that overexposes or darkens the parts of the image you brush over.
Sponge (O): This tool saturates or desaturates areas of the image you brush over. Adjust the Flow percentage in the Options bar to weaken or strengthen the sponge effect.