Installing and Configuring a Digital Camera or Scanner
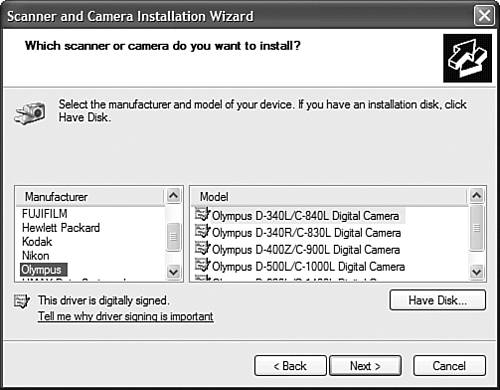
| Installing a digital camera or scanner is extremely easy, especially if the device is Plug and Play-compatible and you use a USB connection. With this type of setup, Windows will recognize your camera or scanner as soon as you plug it in, and install the appropriate drivers automatically. If Windows does not recognize your camera or scanner, you can use the Scanners and Cameras utility to install the new device on your system. Just follow these steps:
When you exit the wizard, your new camera or scanner will appear as a device in the Scanners and Cameras window. If you want a particular graphics-editing program to launch whenever you copy pictures from your camera or scanner, right-click on the device's icon and select Properties from the pop-up menu. When the Properties dialog box appears, select the Events tab, select an event from the Select An Event list, click the Start This Program option, and then select the application you want to link to the event. |
EAN: 2147483647
Pages: 270