Adding New Internal Hardware


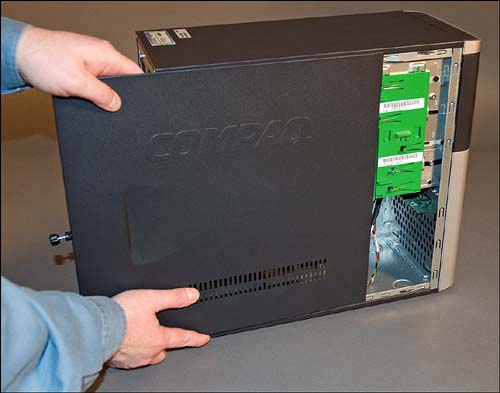
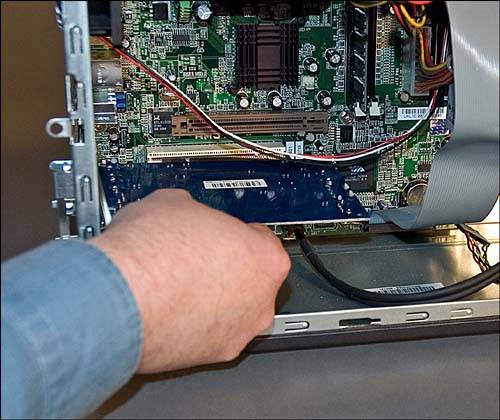
Adding an internal deviceusually through a plug-in cardis slightly more difficult than adding an external device primarily because you have to use a screwdriver and get "under the hood" of your system unit. Other than the extra screwing and plugging, however, the process is much the same as with external devices.

Follow these steps to add a new card to your system:

1.

Turn off your computer, and unplug the power cable.

2.

Take the case off your system unit, per the manufacturer's instructions, as shown in Figure 7.2.

Figure 7.2. Removing your system unit's case.


3.

If the new card has switches or jumpers that need to be configured, do this before inserting the card into your system unit.

4.

Find an open card slot inside the system unit and insert the new card according to the manufacturer's instructions, as shown in Figure 7.3.

Figure 7.3. Carefully inserting a new internal card.


caution

You probably want to see whether the new component configures properly and works fine before you close up your system unit. For that reason, you might want to leave the case off until you're convinced everything is working okay and you don't need to do any more fiddling around inside your PC.

5.

After the card is appropriately seated and screwed in, put the case back on the system unit, plug back in the power, and restart your system.

6.

After Windows starts, it should recognize the new device and automatically install the appropriate driver.


Absolute Beginner's Guide to Computer Basics
Absolute Beginners Guide to Computer Basics (2nd Edition)
ISBN: 0789731754
EAN: 2147483647
Year: 2003
Pages: 261

flylib.com © 2008-2017.
If you may any questions please contact us: flylib@qtcs.net