Web journals are similar to web galleries, but their pages include both images and text, and they allow you more freedom to design individual pages. You can drag images and text into a page at will and then easily move and resize the images and edit the layout.
Web journals are a fantastic way to create a visual storyperhaps a travelogueor to illustrate an article. In this exercise, we'll create a simple web journal using the same wedding images we've been working with.
1. | Press W to show the Projects panel.
|
2. | Click to select the Wedding project.
|
3. | Click in the Browser at the bottom of the screen and press Command-A to select all the images.
|
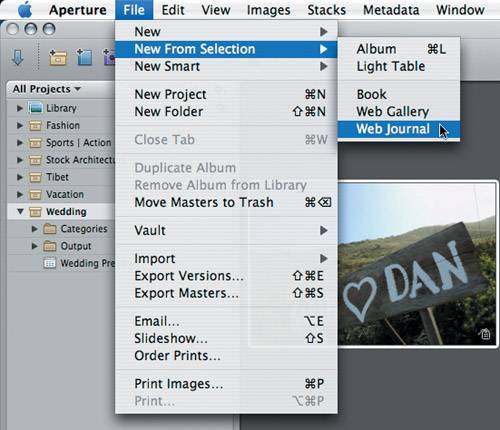
4. | Choose File > New From Selection > Web Journal, then click Create With All Images from the dialog that appears.
 |
5. | Name your web journal Sarah & Dan's Wedding Day and press Return.
|
6. | Press W to hide the Projects panel.
|
7. | Click the Theme button on the upper-left corner of the layout window.
 |
8. | Click Special Occasion from the Choose Web Theme menu and click Choose.
|
9. | If it's not already set, then enter 3 in the Columns number entry field.
 |
10. | Choose Rectangle from the "Fit images within" pop-up menu on the right side of the layout window and click the right arrow to enter 210 in the width and 190 in the height fields.
 |
11. | Lasso the thumbnails of the second through the tenth images in the Browser.
 |
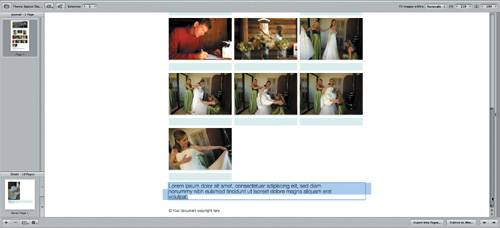
12. | Drag your selection to the web journal page under the text.
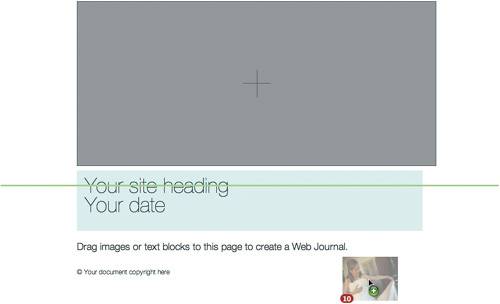  Your images are added to the journal. You can customize the display captions by clicking the Metadata Set Displayed With Images button above the Viewer. Your images are added to the journal. You can customize the display captions by clicking the Metadata Set Displayed With Images button above the Viewer.
 Note You can delete an image by clicking the Minus () button on an image corner or delete an entire page of images by clicking the Minus button in the corner of the entire set of images. Drag an image or a selection of images to rearrange their order. |
13. | From your Browser, drag the first image thumbnail to the top image drop box above the text.
 Tip If you want more room to view your images in your Browser, place the pointer between the Viewer and Browser. When you see the pointer turn into a double-headed arrow, click and drag upward. This will give you extra room to browse your thumbnails. |
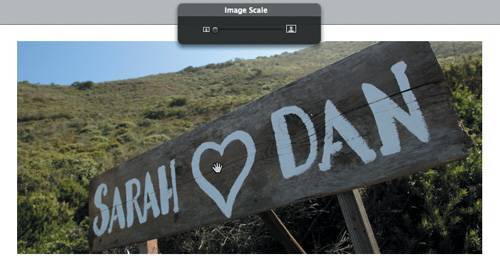
14. | Reposition your image by dragging it. You can also change the image size by dragging the Image Scale slider left or right.
 |
15. | Click in the text field, highlight the first line of text, and enter Sarah & Dan as the title for the journal. Highlight Your Date, the second line of text, and press Delete twice.
 |
16. | Click the Add Text Block button located to the left of the Columns field, and scroll down to reveal the Add Text Block box.
  |
17. | Click the text field and begin typing your journal.
 Tip You can change the typeface and style by clicking the Font icon in the upper-right corner of your text field.  |
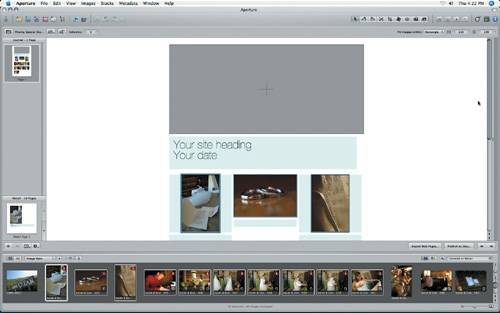
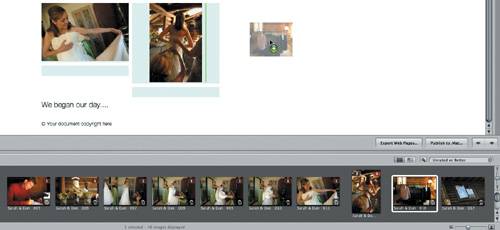
18. | Drag two more images to the journal to fill out the page.
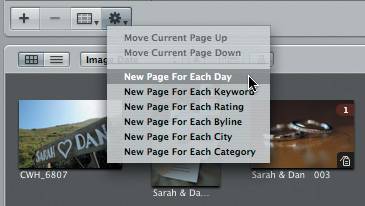
 Note If your images are stacked, only the stack picks (the first image in any stack) can be placed into the journal. If you wish to include other images from your stack, simply Option-drag the image you want to include. (Option-dragging an image to another place in the Browser copies the image.) You could also choose to unstack the images. You can add pages by clicking the Add (+) button on the lower left of the Viewer. You can also choose from an array of actions in the Action menu (click the button with the gear), and Aperture will automatically populate your pages with images based on the action you choose.
For example, if you have added a rating to your images, then you could choose New Page For Each Rating and a new page would be automatically created according to your applied ratings.
 |
19. | When you are finished, simply click Publish to .Mac or Export Web Pages, in the lower-right corner of the screen.
 |