6.6. Tutorial: Text Formatting in Action In this tutorial, you'll gussy up headlines, lists, and paragraphs of text using CSS's powerful formatting options. To get started, you need to download the tutorial files located on this book's companion Web site at www.sawmac.com/css/. Click the tutorial link and download the files. All of the files are enclosed in a ZIP archive, so you'll need to unzip them first. (Go to the Web site for detailed instructions on unzipping the files.) The files for this tutorial are contained inside the folder named chapter_06 . 6.6.1. Setting Up the Page -
Launch your Web browser and open the file chapter_6  text.html (see Figure 6-10) . text.html (see Figure 6-10) . As usual, you'll be working on a Web page from CosmoFarmer.com. In this case, there's already an external style sheet attached to the page, adding some design and layout touches. It's a glimpse of some of the things you'll be learning in future chapters. For now, concentrate on improving the look of the text on this page. Figure 6-10. The page begins with some basic layout and formatting. You'll make the text sparkle! 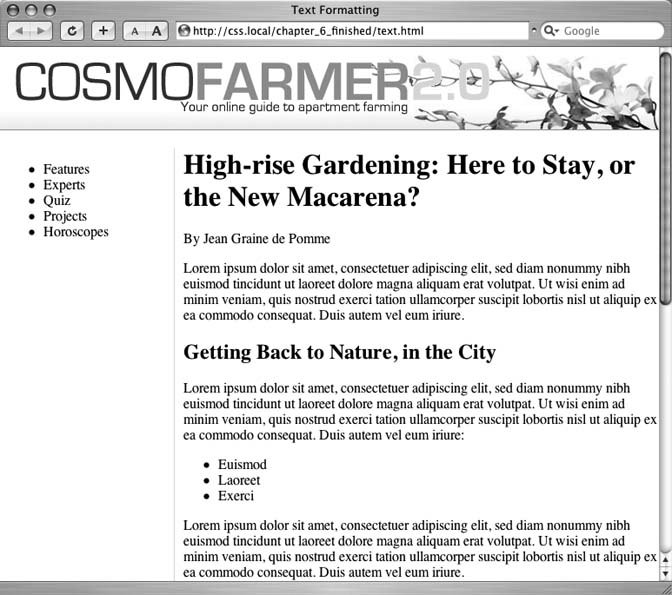 -
Open the file text.html in your favorite text editor . Start by adding an internal style sheet to this file. (Yes, external style sheets are better, but it's perfectly OK to start your design with an internal sheet. See the box in Section 3.1.) -
In the <head> of the Web page, click directly after the <link> tag (used to attach the external style sheet). Hit Enter (Return), and then type <style type="text/css"> . Now that you've created the opening style tag, create a style that defines some general properties for all text on the page. -
Press the Enter (Return) key and type body { This is a basic tag selector that applies to the <body> tag. As discussed in Chapter 4, other tags inherit the properties of this tag. You can set up some basic text characteristics like font, color , and font size for later tags to use as their starting point. -
Press Enter (Return) again, and then add the following three properties : color: #102536; font-family: Tahoma, "Lucida Grande", Arial, sans-serif; font-size: 62.5%; These three instructions set the color of the text to a dark blue, the font to Tahoma (or one of 3 others depending on which font is installedsee Section 6.1.1), and sets the font size to 62.5 percent.
Note: Why set the page's base font to 62.5 percent? It just so happens that 62.5 percent times 16 pixels (the normal size of text in most Web browsers) equals 10 pixels. With 10 pixels as a starting point, it's easy to compute what other text sizes will look like on the screen. For example, 1.5em would be 1.5 x 10 or 15 pixels. 2em is 20 pixels, and so oneasy multiples of ten. For more on this interesting discovery and more font- sizing strategies, visit http://clagnut.com/blog/348/.
-
Complete this style by pressing Enter (Return), and typing a closing bracket to mark the end of the style . At this point, your completed style should look like this: body { color: #102536; font-family: Tahoma, "Lucida Grande", Arial, sans-serif; font-size: 62.5%; } Finally, add the closing <style> tag to complete the style sheet. -
Hit Enter (Return) to create a new, blank line, and then type </style> . Your style sheet is complete. -
Save the page, and open it in a Web browser to preview your work . The text on the page changes color and font. You'll also notice that the headings aren't, proportionally, as small as the other text on the page. (The cascade you read about last chapter rears its ugly head.) Yes, the <h1> and <h2> tags inherit the 62.5 percent font size set in the <body> tag style. However, every browser includes its own style sheet with specific font-size settings for heading tags, which overrule the size specified in the body. You'll fix this problem next . 6.6.2. Formatting the Headings and Paragraphs Now that the basic text formatting is done, it's time to refine the presentation of the headlines and paragraphs. -
Return to your text editor and the text.html file. Click at the end of the closing brace of the body tag selector, press Enter (Return) to create a new line, and then type h1 { . This style formats all <h1> tags on the page. -
Hit Enter (Return), and then type these two CSS properties : font-size: 2.4em; color: #14556B; You've just changed the color of the <h1> tags and set their size to 2.4em, which for most browsers (unless the visitor has tweaked his browser's font settings) is 24 pixels tall. -
Finally, complete this style by hitting Enter (Return) and typing the closing brace . The completed style should look like this: h1 { font-size: 2.4em; color: #14556B; } -
Save the file, and preview it in a Web browser . Next, spruce up the appearance of the other headings and paragraphs. -
Return to your text editor and the text.html file. Click after the closing brace of the h1 tag style and add the following two styles : h2 { font-size: 1.5em; color: #993; } p { font-size: 1.2em; text-indent: 2em; line-height: 150%; } The p style introduces the text-indent property, which indents the first line of a paragraph, and the line-height property, which sets the spacing between lines. A percentage of 150 percent adds a little more space between lines in a paragraph than you'd normally see in a Web browser. This extra breathing room gives the text a lighter, airier quality and makes the sentences a little easier to read (but only if you speak Latin). -
Save the page, and open it in a Web browser to preview your work . The page is coming together nicely , but the space between paragraphs and between the headings and the paragraphs is too distracting. You'll tighten it up a bit next. -
Return to your text editor and the text.html file. Locate the h2 tag style you created earlier, and add the margin-bottom property . The style now looks like this: h2 { font-size: 1.5em; color: #993; margin-bottom: 5px; } This addition (in bold) reduces the gap between the bottom of every <h2> tag and the next element on the page to 5 pixels. It also provides a consistent value, since the amount of space added below <h2> tags varies from browser to browser. Next, you control the paragraphs. -
Edit the <p> tag style by adding the following two properties to the end of the style : margin-top: 0; margin-bottom: 5px; The margin-top property controls the space above the paragraphs. In this case, you've completely eliminated the space above each paragraph. To add a little space between each paragraph, use the margin-bottom property. -
Save the page, and open it in a Web browser to preview your work . At this point, the page should look like Figure 6-11. Figure 6-11. The page is starting to come together. The headlines, paragraphs, and basic text settings are in place. 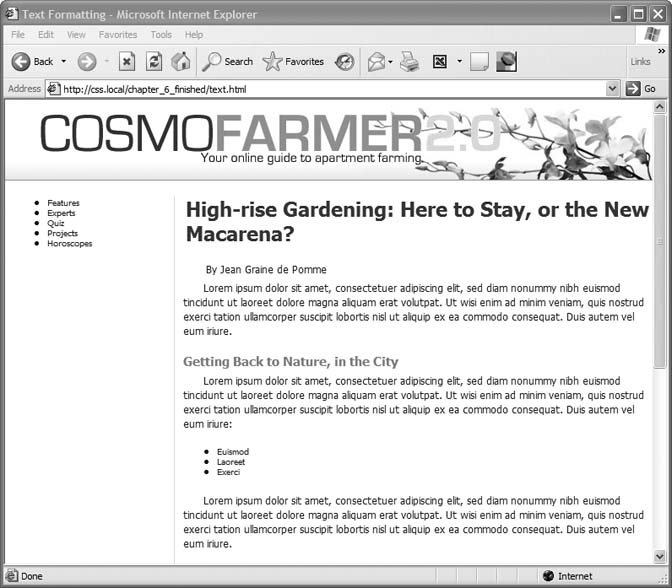
6.6.3. Formatting Lists Notice that the page you're working on has two lists: a bulleted list of the different sections of the site in the left sidebar, and a bulleted list of three items in the main body copy. Use descendent selectors (see Section 3.1) to target and format each list differently. -
Return to your text editor and the text.html file. Click at the end of the closing brace of the <p> tag selector, press Enter (Return) to create a new line, and then type #content ul { . The main content of the page is contained in a <div> tag with an ID selector named content . You're now creating a rule that you want to apply only to bulleted lists (<ul> tags) that appear inside the main content area. You can achieve this with the descendent selector #content ul , which simply instructs the Web browser to apply this style to any <ul> tag that appears inside a page element with an ID of content . In other words, bulleted lists that appear elsewherelike the one in the left-hand sidebarwon't be affected by this style. -
Press Enter (Return), and then type : font-size: 1.2em; list-style-type: square; This sets the font size for the text inside the bulleted list to 1.2em. The second line sets the bullet style to square displaying a square bullet icon instead of the usual round bullet found in most Web browsers. -
Press Enter (Return) and then type the closing brace to complete the style. The finished rule should look like this : #content ul { font-size: 1.2em; list-style-type: square; } Finally, add a little bit of space between each bulleted item using the <li> (list item) tag's bottom-margin property. -
Press Enter (Return), and then add the following style : #content li { margin-bottom: 5px; } Again, you're using a descendent selector to target just the <li> tags that appear inside the main content area of the page. Next, work on the list in the sidebar. -
Press Enter (Return) to create a new blank line, and then add the following style : #mainNav ul { font-size: 1.2em; list-style-type: none; } Here, you're using a descendent selector to target lists that appear inside the sidebar (a <div> tag with the ID of mainNav ). The list-style-type property not only lets you change a bullet from a circle to a square, but can also completely eliminate any bullet. -
Save the page, and open it in a Web browser to preview your work . If you look closely, you'll notice that the list in the sidebar is indented quite a bit on the left. Web browsers normally indent lists, so you have to add a couple of CSS properties to eliminate that extra space. -
Return to your text editor and the text.html page. Add a line below the list-style-type property you just added, and then type : margin-left: 0; padding-left: 0; Due to a difference in the way browsers display lists, you need to set the margin and padding properties to 0. (See Section 6.5.3 for details.) Lastly, center the text, and turn it all into uppercase letters . -
Add the last two properties highlighted below. The finished style should look like this : #mainNav ul { font-size: 1.2em; list-style-type: none; margin-left: 0; padding-left: 0; text-transform: uppercase; text-align: center; } Finally, to finish up, add a bit of space between each item in the sidebar. -
Add this style below the #mainNav ul style you just created : #mainNav li { margin-bottom: 10px; } -
Save the page and preview it in a Web browser . The page should now look like Figure 6-12. Figure 6-12. CSS lets you control the formatting of bulleted lists, even letting you remove the bullets entirely (left). By using descendent selectors, you can format lists differently depending on where they appear in the page (for example the left sidebar, or main content area on this page). 
6.6.4. Adding the Finishing Touches For the last bit of design, pull out all the stops and incorporate several text formatting properties to alter the look of the author's byline. -
Return to your text editor and the text.html file . First, you'll mark up one of the paragraphs with a class, so you can create a specific style for the authors' credits. -
Locate the paragraph tag with the byline <p>By Jean Graine de Pomme </p> . Add a class attribute to the <p> tag : <p class="byline"> By Jean Graine de Pomme </p> Now you can create a class style to target that particular paragraph. -
Click at the end of the closing brace of the #mainNav li tag selector you just added, press Return to create a new line, and then type .byline { . This is the beginning part of a class style. It just needs a few properties and a closing brace. -
Add the following three properties and the closing brace to create the class style by typing the following : color: #73afb7; font-size: 1.5em; margin-bottom: 10px; } By now, you should feel comfortable with these properties, which set the size and color of the paragraph, as well as adjust the space below it. Next, make the text stand out in bold. -
Add a new line below the margin-bottom property of the .byline style, and then type : font-weight: bold; Now format the style in small caps and spread out the letters a little to give the byline a formal and regal look that makes it stand out from the page. -
Add another line after the font-weight property you just added and add two more properties : letter-spacing: 1px; font-variant: small-caps; If you preview the page now, you'll notice that the byline's indented the same amount as the other paragraphs. Due to the cascade, the byline (which is a <p> tag) gets that formatting from the <p> tag style's text-indent property. To get rid of that indent, you need to override the setting in the class style. -
Add a text-indent property to the .byline style and set its value to 0. The final style should look like this : .byline { color: #73afb7; font-size: 1.5em; margin-bottom: 10px; font-weight: bold; letter-spacing: 1px; font-variant: small-caps; text-indent: 0; } Time to test your hard work. -
Save the file and preview it in a Web browser . It should look like Figure 6-13. You can compare your work to the finished text.html page located in the chapter_06_finished folder. Congratulations! You've explored many of the text-formatting properties offered by CSS, and turned ho-hum HTML into an attractive, attention-getting design. In the next chapter, you'll explore graphics, borders, margins, and other powerful design options offered by CSS. Figure 6-13. With a little CSS, you can turn plain text into a powerful design statement that helps guide readers through the information on your site. 
|