Project 16. Create Your Own Temporary Tattoos Using your own inkjet printer you can make custom temporary tattoos. Tools: Photoshop Elements Materials: Your photos or artwork Temporary tattoo film and adhesive (available online) 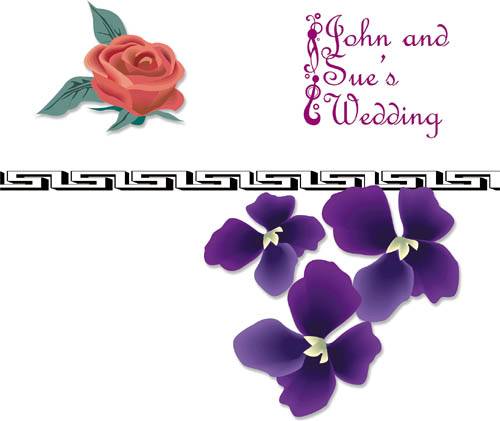
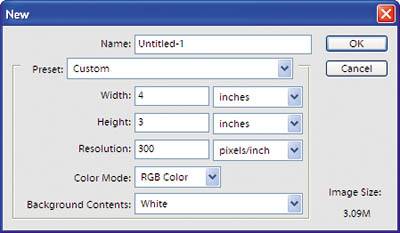
Have you ever wanted to experience what it would be like to have a tattoo? Maybe you want to surprise your friends, or just have one for a party. While there are a lot of prefab ones you can buy at a store, the technology is available that allows you to create your own design and print it out at home. So, if you want to test a real tattoo out before committing, or just have one done for fun, this project is a great way to go.  Open a new file. Open Photoshop Elements 4.0. In the Welcome window, choose Edit and Enhance Photos. Once the program launches, choose File > New > Blank File. Set your width, height, and resolution to match that of your artwork. Ideally, your resolution should be around 300 ppi for the best quality. If you are planning to create your artwork in this file, set it to the size you want. Note: It's generally easier to work with smaller sizes (3x4, for example) than larger ones such as 8x10. Open a new file. Open Photoshop Elements 4.0. In the Welcome window, choose Edit and Enhance Photos. Once the program launches, choose File > New > Blank File. Set your width, height, and resolution to match that of your artwork. Ideally, your resolution should be around 300 ppi for the best quality. If you are planning to create your artwork in this file, set it to the size you want. Note: It's generally easier to work with smaller sizes (3x4, for example) than larger ones such as 8x10.
 Place any artwork you want to use. If you are working with vector artwork from another program such as Illustrator, you can resize it without losing any quality. (To learn more about sizing your photos, see Project 2.) To place your artwork, choose File > Place. Navigate to your file on your hard drive, select it, and then click OK. Once it is placed in your document, you can move and resize your artwork if needed before you press the Enter key to accept it. Hold down the Shift key when resizing to keep the proper aspect ratio. Place any artwork you want to use. If you are working with vector artwork from another program such as Illustrator, you can resize it without losing any quality. (To learn more about sizing your photos, see Project 2.) To place your artwork, choose File > Place. Navigate to your file on your hard drive, select it, and then click OK. Once it is placed in your document, you can move and resize your artwork if needed before you press the Enter key to accept it. Hold down the Shift key when resizing to keep the proper aspect ratio.
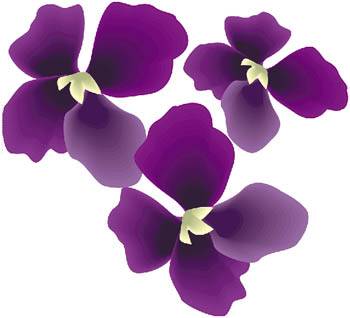
 Reverse your image. Because your image will be transferred from the film to your body, it needs to be reversed to be seen correctly. This is especially important if you are including words. To reverse your image, choose Image > Rotate > Flip Layer Horizontal. Reverse your image. Because your image will be transferred from the film to your body, it needs to be reversed to be seen correctly. This is especially important if you are including words. To reverse your image, choose Image > Rotate > Flip Layer Horizontal.
 Test on plain paper. Before printing it to the temporary tattoo film, you want to test your image on regular plain paper. After you print it, make any adjustments to the color or brightness, and then print another test to make sure it is exactly how you want it. Test on plain paper. Before printing it to the temporary tattoo film, you want to test your image on regular plain paper. After you print it, make any adjustments to the color or brightness, and then print another test to make sure it is exactly how you want it.
 Print on the tattoo film. Insert the film and print! After you print the image, use an Exacto knife to cut around it, leaving a border of about 1/16 of an inch. Each manufacturer will have its own set of guidelines on how to create the transfer from there. Read them carefully before proceeding. Print on the tattoo film. Insert the film and print! After you print the image, use an Exacto knife to cut around it, leaving a border of about 1/16 of an inch. Each manufacturer will have its own set of guidelines on how to create the transfer from there. Read them carefully before proceeding.
Input/Output: Production tips for temporary tattoos Work with your printer All printers are different; some are known for printing extra heavy on black, for instance. If you are having problems with this, you may want to examine your printer settings for any adjustments you can make. Brighten it up Flat colors can show imperfections in printing easily. To account for this, simply adjust the brightness in the artwork to make the ink less heavy. Use gradients To avoid the printing issues associated with flat colors, use gradients. |
|