11.3. The Label Wizard If you have a table with address information (like customer homes , business locations, or suspected UFO sites), Access has another wizard to offer you. The Label wizard pulls address information out of any table you want and uses it to print out handy mailing labels. To make this work, you just need to buy a few sheets of label paper from your favorite office supply store. Label paper variessome types pack the information in very tightly, so you can print out dozens of return addresses at once, while others use larger labels for putting the mailing address on a letter or package. But no matter what type of label paper you pick, it has a standard Avery number that tells Access everything it needs to know about the labels' size , and how they're arranged. You give Access the Avery number, and then it can create a report that puts the address information in the correct place. All you have to do is print, peel, and stick.
Tip: If you have a database that stores information about people, then you may have thought about using Access reports to build form letters and other documents. Getting Access to cooperate isn't all that easy. Instead, you'll do better using a real word processing program like Word. Word includes a mail merge feature that can extract data from an Access database, and then use it to generate any document you want. For more information, check out Word 2007: The Missing Manual .
To create a batch of labels, here's what you need to do: -
In the navigation pane, select the table with the address information . It doesn't actually need to be address information. If you want to print employee name tags or product stickers, or you just have an insatiable urge to label mysterious items around the house, then you can place that data on your labels instead.
Note: If you need to create labels using the information in more than one table, then you'll need to create a join query (Section 6.3), and then select that before you launch the Label wizard.
-
Choose Create  Reports Labels . Reports Labels . The Label wizard starts. The first step asks you to pick the type of label paper you're using (Figure 11-12). -
If your label paper's one long roll (as opposed to individual sheets), choose Continuous instead of "Sheet feed" . Unless you have a printer from the dark ages of computer printing, you're unlikely to use this option. -
Find the label that has the same product number as your label paper. Double-check that the dimensions Access shows make sense . Normally, the product number's the Avery number, which is what most people use. (You should have no trouble finding the Avery number on the front of a package of label paper.) However, if your label paper uses a different numbering system, then pick the company that made the paper from the "Filter by manufacturer" list.  | Figure 11-12. This example uses the common C2160 type of label, which arranges labels in three columns per page. | |
Note: If you're creating strange nonstandard labels of your own devising, then click the Customize box to show the New Label Size dialog box, and then click New to show the New Label dialog box. Then you can fill in the exact measurements for each part of your label.
-
Click Next . The next step of the wizard asks you to choose the formatting for your label text (Figure 11-13). 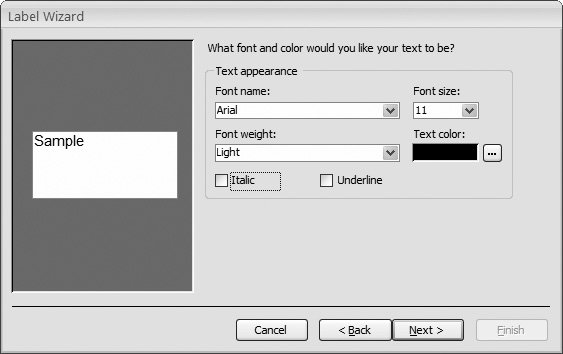 | Figure 11-13. Access shows a Preview box with some text so that you won't inadvertently make a dangerously oversized label. | | -
Pick the font, text size, and the font color you want, and then click Next . Of course, you can change these details in Design view after the fact, but it's better to get them right from the beginning. Usually, you should keep the font size that Access recommendsthis size fits a good four to six lines of text in your label (depending on the label type). In the next step, you get to pick the fields that Access should place on the label. -
To add the first line to your table, find the fields you need in the "Available fields" list, and then double-click them . Add the fields in the order you want them to appear (FirstName, LastName, Street, City, and so on). As you pick fields, Access inserts a special placeholder in the "Prototype label" box. It adds the code {FirstName} to show you where it'll place the value from the FirstName field. It's up to you to add the spacing you want between these fields. (Usually, you just want spaces and commas.) Figure 11-14 shows how. 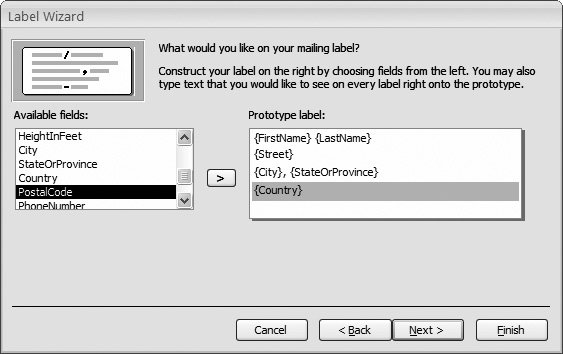 | Figure 11-14. To space out the information in your label, click between two fields you want to separate in the "Prototype label" box. Then, hit the Space bar to add a space. You can also add plain text wherever you want (like the word "To:" or a comma). | | -
In the "Prototype label" box, click the second line. Now, repeat step 7 to add fields to this line . Repeat this step until you've added all the fields you need, each on the appropriate line. -
Optionally, pick a field to use to sort the labels, and then click Next . The sort order may or may not be important to you. (It could help you match a label up with a letter, if the letters are also in the same sorted order. But it doesn't make a difference if you're preparing a mass mailing that's the same for every person.) Often, people don't use sorting but do use filtering (Section 6.2.1.1) to get just some labels (like all the customers living in a specific city). If you use sorting, then Access will arrange your labels from left to right, and then down the page. -
Enter your report's name . When the Label wizard finishes, it immediately saves your report. -
Choose "See the labels as they will look printed" if you want to look at the finished product in Print Preview mode, or "Modify the label design" if you want to change it in Design view first. Then, click Finish . Access saves your report, and then opens it in print preview mode (Figure 11-15) or design mode, depending on your choice. If you open it in design mode, then you can add extra touches. (You could place a company logo in the corner of the address, and so on.) 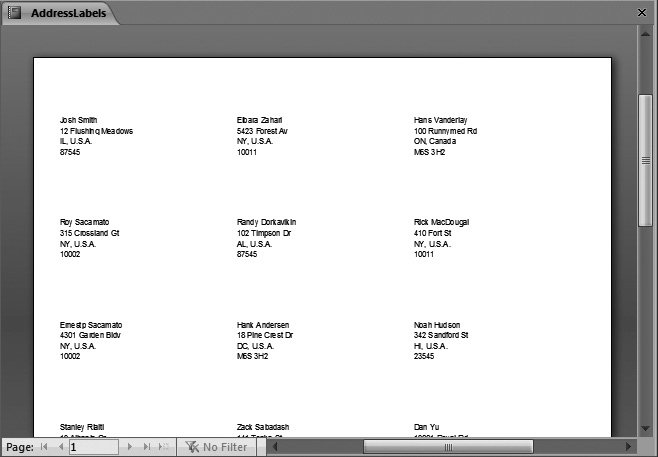 | Figure 11-15. The final report, with labels. | | The label report's really just an ordinary Access report, like the kind you've learned about throughout this chapter. The Detail section contains a template that defines how Access places the fields for a single label, and that template's copied across the form. The only difference between label reports and ordinary reports is that label reports use multiple columns. That way, the Detail section (which represents the label) can be copied from right to left across the width of the page, and then down the page. This method gives you a tightly packed grid of labels. (Usually, the Detail section's copied in one direction only: down the page.) You can create your own report that also uses multiple columns to put records in a grid. You simply need to open your report in Design view, make sure your detail section's very narrow (see Chapter 11), and then choose Report Design Tools Page Setup Page Layout Columns. This pops open a dialog box where you can set the number of columns, and the space between them. You can also choose whether Access lays out your records from top to bottom and then left to right, or from left to right and then top to bottom. Either way, check the Print Preview to make sure everything fits nicely on the page. |