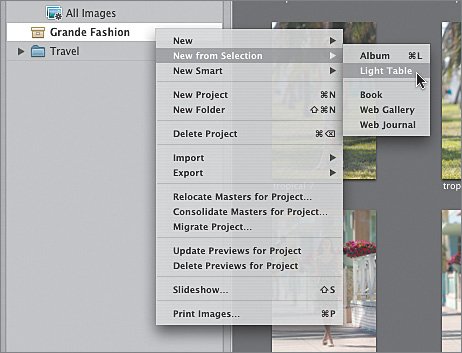
| In Lesson 3, you used stacks to organize your location images. Another powerful and flexible way to view and sort images is to use Aperture's Light Table feature. Light Tables in Aperture let you arrange images in a free-form manner, in much the same way you would work with slides on a traditional light table. Using Light Tables, you can drag and position images, resize them on the fly, review selections, check details with the Loupe, and get a feeling for how your images might look together in print or published on the web. 1. | Control-click Grande Fashion in the Projects panel and choose New from Selection > Light Table.
 A Light Table in Aperture is a type of album.
| 2. | Name the new Light Table album Grande Light Table and then press Return.
| | | 3. | Press Command-Option-V to hide all panels except the Light Table and the Browser.
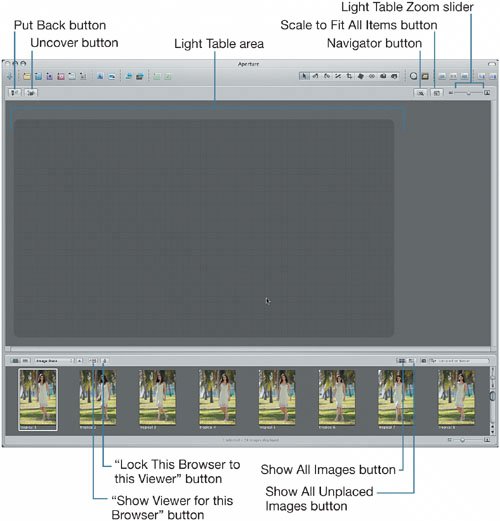 Although you will use the Light Table to organize your images, some tasks will be easier to perform in the Viewer. Fortunately, you can toggle back and forth between the Light Table and the Viewer quite easily. Although you will use the Light Table to organize your images, some tasks will be easier to perform in the Viewer. Fortunately, you can toggle back and forth between the Light Table and the Viewer quite easily.
| | | 4. | Click the "Show Viewer for this Browser" button.
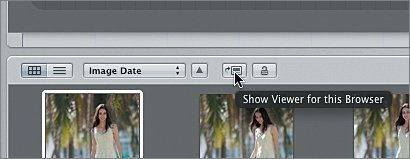 The Viewer appears. Let's stay in the Viewer to take our first look at the images and tag the photos we will not use. In identifying rejects, look for technical issues such as those in out-of-focus images and photos that show awkward body positions or facial expressions like closed eyes and cropped extremities. Images with minor, correctable issues, such as poorly framed backgrounds, should be kept. The most important criterion is "How does the garment look?"
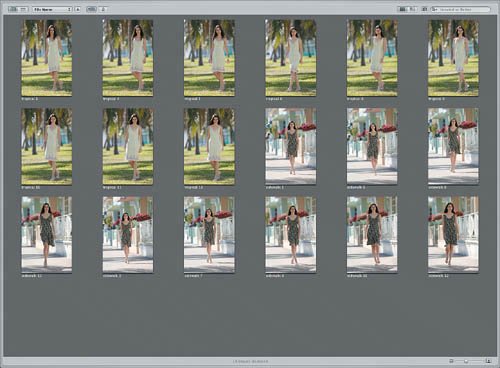
Tip A good rule for deciding whether a photo should be included is, if you have to think about it, remove it. A great image is one that doesn't cause you to ponder whether it's good. And remember, you can always reimport a rejected image later. | 5. | Choose each of the following images in the Browser and press Command-9 to tag them with a reject rating:
From the tropical set of images: 2, 3, and 7. From the sidewalk set of images: 2, 4, and 9.
As you tag each image as a reject, an X appears on its thumbnail; when you select the next image, the rejected thumbnail disappears. This is because the default Query HUD filter for newly created albums is to show images that are unrated or betterin other words, to hide rejected images.
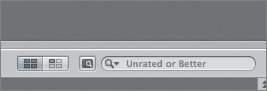 Tip To keep track of which images have been rejected, you can create a Smart Album that is set to display only rejected images. | | | 6. | Press V to hide the Viewer and resize the thumbnails to fill the Browser.
The images you rejected are no longer displayed.
 | 7. | Press V to display the Viewer.
| 8. | Click the "Show Viewer for this Browser" button to return to the Light Table.
Now that we have hidden the images we definitely won't use, let's use the Light Table to organize the remaining images.
|
|