Printing contact sheets has been part of the photography process for some time. A contact sheet serves two purposes: It shows the client all of the images you're delivering at a glance, and it provides a reference for you so that you can track what you delivered. Let's create two contact sheets, one for each purpose.
1. | Control-click the Grande Favorites Smart Album and choose Print image from the contextual menu.
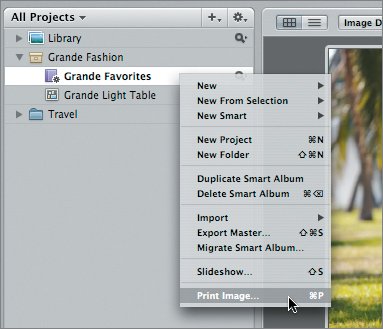 The Print dialog appears.
|
| |
2. | Choose Sample Contact Sheet Preset, on the left side beneath Preset Name.
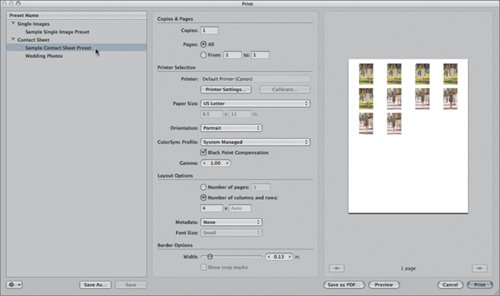 The preview area displays results of the Sample Contact Sheet Preset settings. We could customize these settings, but let's create a new preset instead. It will be for a contact sheet that includes metadata for your internal reference. The preview area displays results of the Sample Contact Sheet Preset settings. We could customize these settings, but let's create a new preset instead. It will be for a contact sheet that includes metadata for your internal reference.
|
3. | Choose New Contact Sheet Preset from the Print dialog Action pop-up menu.
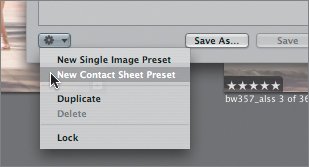 Tip The Printer Selection area of the dialog should reflect settings for the printer or lab that will print your contact sheets. If you are using a service bureau or photo lab, you can click the Save as PDF button to create a PDF file. Make sure you have an ICC profile to manage the color of the printing. |
4. | Name the new preset Contact Single Page Photo Info EXIF and press Return.
|
5. | Click Save.
Each time you make a change to a preset, the Save button activates. When you have finished customizing your preset, click Save before exiting the Print dialog.
|
| |
6. | Choose Photo Info EXIF from the Metadata pop-up menu and then click Save again.
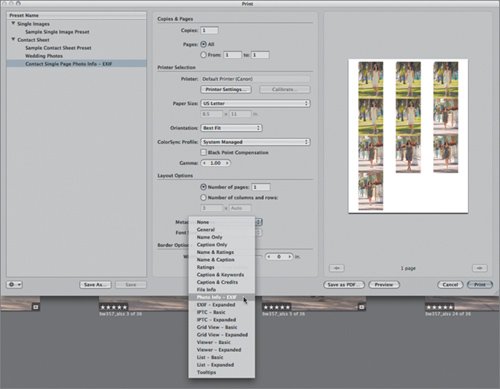 The Metadata pop-up menu allows you to specify what metadata text appears next to the images on the contact sheet. Choosing Photo Info EXIF prints the filename and technical information next to the images. This is a great setting for your internal reference. The Metadata pop-up menu allows you to specify what metadata text appears next to the images on the contact sheet. Choosing Photo Info EXIF prints the filename and technical information next to the images. This is a great setting for your internal reference.
|
7. | Drag the Width value slider under the Border options to 0.10 and then click Save.
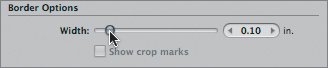 Reducing the width creates a little more space between the thumbnails on the contact sheet.
|
| |
8. | Click the Preview button to create a PDF of the contact sheet and to open it in Preview.
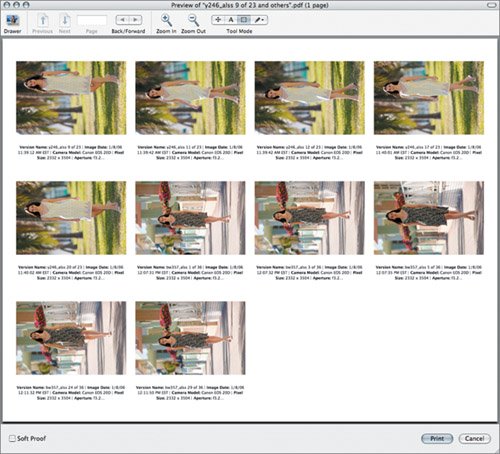 That's a fine contact sheet for your use. Next, let's adjust the preset to create a contact sheet appropriate for accompanying the CD. That's a fine contact sheet for your use. Next, let's adjust the preset to create a contact sheet appropriate for accompanying the CD.
|
9. | Quit Preview and click the Aperture application icon in the Dock to return to Aperture.
|
10. | Click the Grande Favorites album and press Command-P to open the Print dialog.
|
11. | Choose the Contact Single Page Photo Info EXIF preset from the Preset Name area of the Print dialog.
|
| |
12. | Choose IPTC Basic from the Metadata pop-up menu in the Layout Options area.
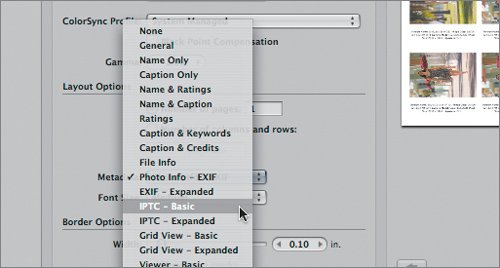 This preset will display only the filename, credit, and copyright notice next to each thumbnail. This is a better preset for the client, who mainly needs to use filename information as a reference. This preset will display only the filename, credit, and copyright notice next to each thumbnail. This is a better preset for the client, who mainly needs to use filename information as a reference.
|
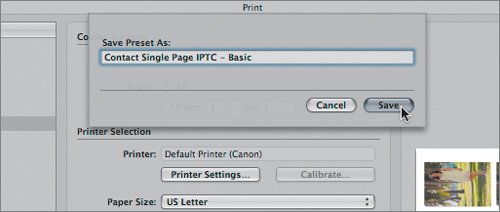
13. | Click the Save As button.
|
14. | In the Save Preset As field, name the new preset Contact Single Page IPTC Basic, and then click Save.
 |
| |
15. | Back in the Print dialog, click the Preview button to view the contact sheet.
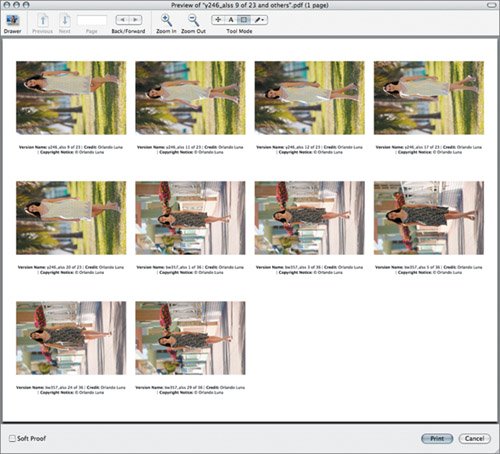 Looks good. This contact sheet will accompany the CD that you send to Grande Agency. Looks good. This contact sheet will accompany the CD that you send to Grande Agency.
|
16. | Quit Preview.
Time to author the CD.
|