Lesson 2. Importing Images into Aperture
In Lesson 2 through 7, you'll be working through the basics of Aperture. For the purposes of illustration, we will follow the real-world workflow of an on-location fashion shoot from start to finishfrom scouting and selecting the location to organizing, managing, and evaluating the images, and then to editing the final selections, presenting proofs to the client, delivering the final images, and archiving the job. For this storyline, imagine that you have received a call from Pepe Creative, the art director at Grande Agency. His agency has been hired to develop next year's ad campaign for a major fashion retailer, and he'd like you to be his photographer. The first task is to choose a location for the photo shoot. To that end, he would like you to send him images from potential locations you have come across during your travels. You happen to have shots taken on recent trips to Colonia, Uruguay, and Jackson Hole, Wyoming. Mr. Creative would also like you to send him some shots from South Beach, Florida, where you live. In this lesson you will import the location images from three different sources into the Aperture Library: You'll import the Jackson Hole images from a disc, the Uruguay images from iPhoto, and the South Beach images from a media card. Then, in Lesson 3, you'll organize the images and send them to your client. 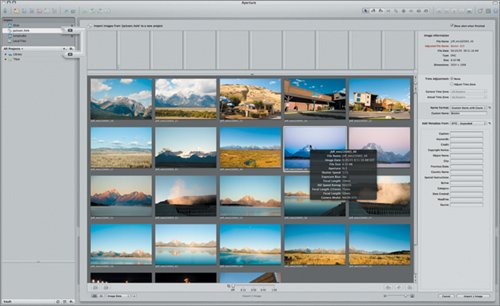 |
EAN: 2147483647
Pages: 185