Using Controls from the Toolbox
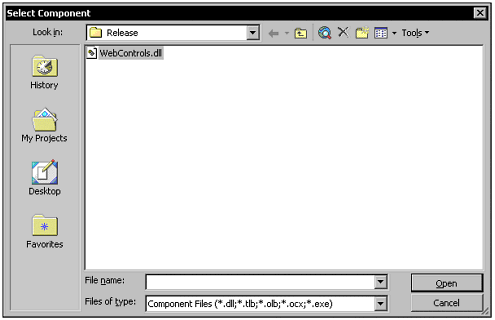
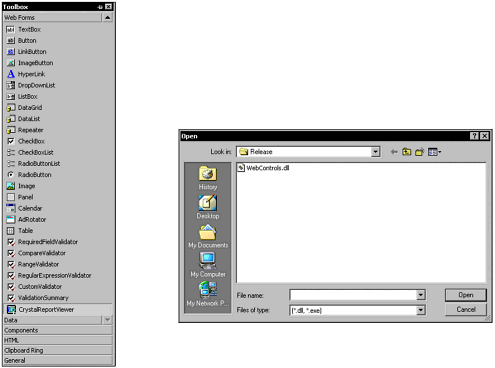
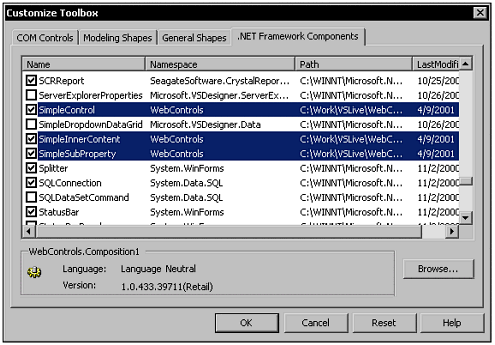
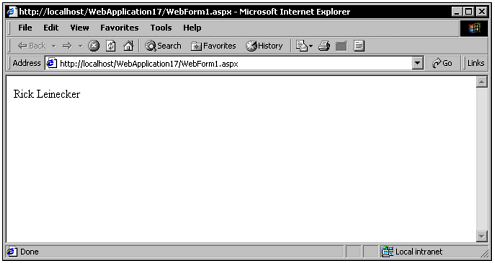
| There are two ways to use custom controls that you've written. One is to add a Reference to the Solution Explorer, and the other is to add custom controls to the Toolbox. Add a Control ReferenceI'll use a custom control first by adding a Reference in the Solution Explorer, as shown in Figure 13.1. Start by right-clicking on the References item in the Solution Explorer and choosing Add Reference. Then, I'll add the appropriate using / import statement (depending on whether you are using C# or VB) to the source code and declare and use the controls as shown in Listing 13.2. Figure 13.1. You can add a Reference to the Solution Explorer to enable you to easily use a custom class. Listing 13.2 shows code that is a custom control. It was created by adding a reference in Visual Studio .NET. Listing 13.2 Using a Custom Control by Adding a Reference namespace UseControls { using System; using System.Collections; using System.ComponentModel; using System.Data; using System.Drawing; using System.Web; using System.Web.SessionState; using System.Web.UI; using System.Web.UI.WebControls; using System.Web.UI.HtmlControls; // This must be added. using WebControls; public class WebForm1 : System.Web.UI.Page { public WebForm1() { Page.Init += new System.EventHandler(Page_Init); } protected void Page_Load(object sender, EventArgs e) { // Declare and create the control SimpleControl sc = new SimpleControl(); // Use the control here. } protected void Page_Init(object sender, EventArgs e) { InitializeComponent(); } private void InitializeComponent() { this.Load += new System.EventHandler (this.Page_Load); } } } Adding Custom Controls to the ToolboxIf you plan to use a control and want it to be available in design mode, you must add it to the Toolbox. In addition to being convenient for developers, it helps nondevelopers who are doing design because they can use your controls graphically. The first step is adding the assembly to the Toolbox. Start by bringing the Toolbox into view, and then right-click on it. A dialog box like that shown in Figure 13.2 appears. You then need to use the Browse button and find your assembly's .dll file. Figure 13.2. You can add your controls to the Toolbox for easier use. After you add the assembly, the new controls that are part of the class are highlighted. To use these controls, set the check to the left of their names , as shown in Figure 13.3. Figure 13.3. The new controls from the .dll are highlighted for easy identification. Your added custom controls now show up in the Toolbox and can easily be used in your .aspx pages. One more detail, though, is to add a Register directive at the top of the page so that Visual Studio .NET knows what tag prefix to use when inserting a custom control into the page. For example, the following Register directive specifies a tag prefix of Custom for the namespace WebControls in the WebControls assembly: <%@ Register tagprefix="Custom" Namespace="WebControls" Assembly="Webcontrols" %> Custom controls used in the .aspx page with the previous Register directive look something like the following: <Custom:SimpleControl id="CS1" Text="Rick Leinecker" runat="server"> </Custom: You can see Custom:SimpleControl as it appears inside an executing .aspx page in Figure 13.4. Figure 13.4. The Custom:SimpleControl control renders in this active .aspx page. |
EAN: 2147483647
Pages: 233


