| When you use the border attribute (see page 230), a border appears between each cell and also around the table itself. (X)HTML lets you choose which external sides of the table should have a border as well as which internal borders should be displayed. Figure 16.58. Add the frame attribute within the table tag. I've added a thick border so that it's easier to see the effect. If you leave border out and the frame attribute is not void, you'll get a 1 pixel border by default. 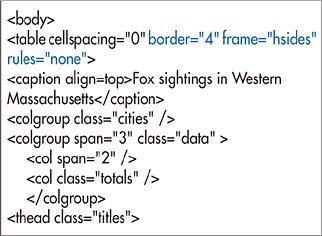
To choose which external sides should have a border: In the table tag, type frame="location", where location is one of the values listed below: void, for no external borders (default) above, for a single border on top below, for a single border on bottom hsides, for a border on both the top and bottom sides vsides, for a border on both the right and left sides rhs, for a single border on the right side lhs, for a single border on the left side box or border, for a border on all sides Figure 16.59. I've added a color to the border so that it's prettier. You could conceivably set the border-width here as well. However, if you set the border-style here, Internet Explorer decides you must want the border everywhere and ignores the frame attribute. 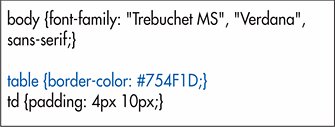 Figure 16.60. Only the horizontal exterior borders are displayed. 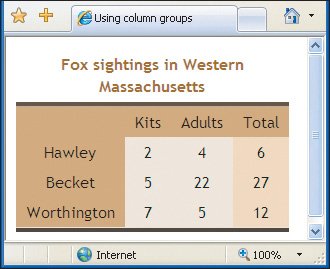
To choose which internal borders should be displayed: In the table tag, type rules="area", where area is one of the following values: none, for no internal rules (default) rows, for horizontal rules between each row in the table cols, for vertical rules between each column in the table (Figures 16.61 and 16.62) Figure 16.61. The rules attribute determines which internal borders should be displayed, in this case, the vertical ones. I haven't changed anything in the CSS file. 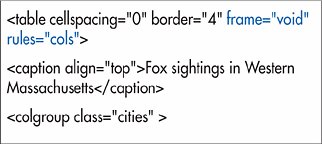 Figure 16.62. With rules set to cols (and frame set to void), only the interior divisions between columns are drawn. Note their skinny width. 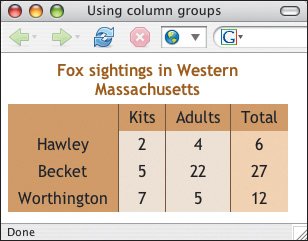 groups, for rules between column groups (created with the colgroup element described on pages 246247) and horizontal sections as defined by the tags described on pages 246248 (Figures 16.63 and ) Figure 16.63. I set the rules attribute to groups but keep hiding the external border.  Figure 16.64. Now the interior lines are drawn between groups, creating an interesting effect. 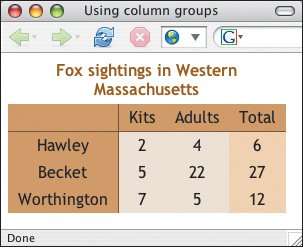 all, for rules between each row and column in the table
 Tips Tips
It is the groups value for rules that illustrates the difference between colgroup and col. The colgroup element defines what is considered a column group and therefore where lines are drawn with the groups value. The col element does not. It is also the groups value which makes this whole technique worthwhile (Figure 16.64). Otherwise, you can use the CSS border property to get much more control over borders (see page 230).
|