| This section walks you through the steps required to get the Windows Messenger application configured for your home network. As described in this section, prior to using Windows Messenger, you need to perform a few steps to get it running properly. You need to sign in to your Passport account in order to use Windows Messenger. If you don't already have a Passport account, you need to create one. When you are not signed in, the icon looks as shown in Figure 5.1. Figure 5.1. The Passport Wizard. 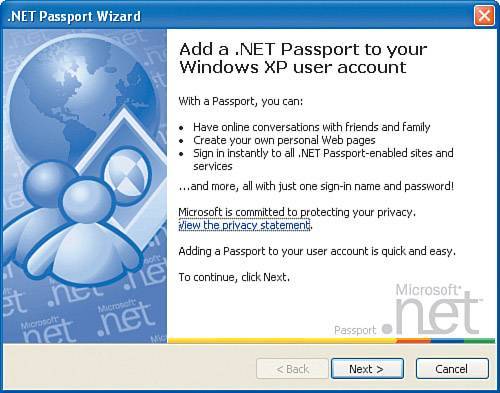
Windows Messenger on a VPN When working from your home network, you may find that you need to connect to your company's network occasionally. Most corporate networks these days require a secure connection in the form of a virtual private network (VPN). If you make a VPN connection while you are in the middle of a Messenger session, your session may stop. Unfortunately, you will not see any indication of this other than the person on the other end of the conversation not responding to your messages. Although you might think that your conversation partner is just being obstinate, what is really going on is that when a VPN connection is made, the default gateway is changed from the default gateway that was in effect before the VPN connection was established to the gateway of the remote VPN. The bottom line in this type of situation is that your computer is reconfigured to use the default gateway on your remote corporate or ISP network. If you already have a connection to the Internet, independent of the VPN connection, there is really no reason to allow this to continue to happen. To fix the problem introduced by this situation, follow these steps: 1. | Select Start, Control Panel and then select Network Connections.
| 2. | Right-click your VPN connection and then click Properties.
| 3. | On the Networking tab, select Internet Protocol (TCP/IP) and then click Properties.
| 4. | On the Internet Protocol (TCP/IP) Properties page, click Advanced.
| 5. | On the General tab, clear the Use Default Gateway on Remote Network check box.
|
Windows Messenger should then be started by default and will appear on the bottom left of the taskbar notification area of your screen. |
To get Windows Messenger up and running, follow these steps: 1. | Start Windows Messenger by either double-clicking its icon on the taskbar notification area or selecting Start, All Programs, Windows Messenger. The Add a .NET Passport to Your Windows XP User Account page appears (see Figure 5.2).
Figure 5.2. The Do You Have an E-mail Address? page. 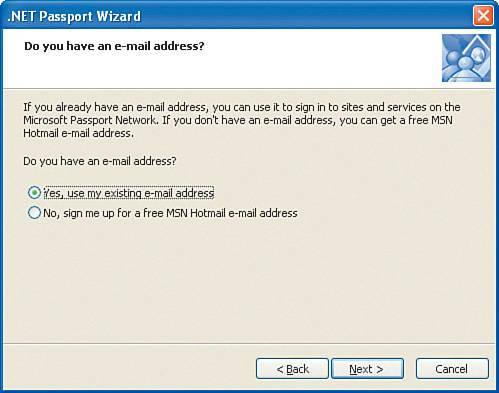
| 2. | Click Next. The Do You Have an E-mail Address? page appears (see Figure 5.2).
| 3. | Select the appropriate option and then click Next. If you chose Yes, Use My Existing E-mail Address, continue with step 4; if you chose No, Sign Me Up for a Free MSN Hotmail E-mail Address, skip to step 7.
| 4. | On the Have You Already Signed Up? page, if you have a Passport account, click Yes, Sign In with My Passport Network Credentials and then on the following page enter your Passport credentials to connect. Otherwise, click No, Sign Up Now and then click Next.
| 5. | On the Sign Up with the Microsoft Passport Network page, click Next. You are taken to a web page where you create your passport account. When you have completed the process, you see the Have You Signed Up with the Microsoft Passport Network? page(see Figure 5.3).
Figure 5.3. The Have You Signed Up with the Microsoft Passport Network? page. 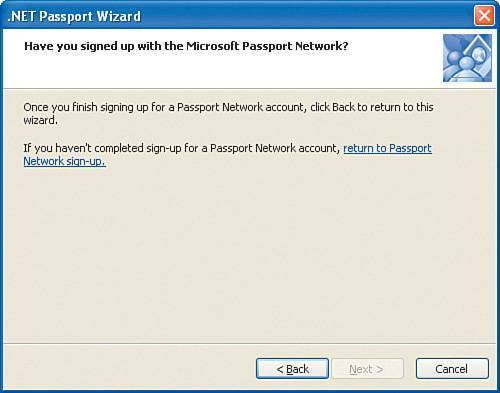
| 6. | Click Back and repeat step 4, this time signing in with your Passport credentials. Then go to step 9.
| 7. | On the Sign Up with MSN Hotmail page, click Next. This takes you to a web page where you create your Hotmail account. When you have completed that process, you see the Have You Signed Up with MSN Hotmail? page (see Figure 5.4).
Figure 5.4. The Have You Signed Up with MSN Hotmail? page. 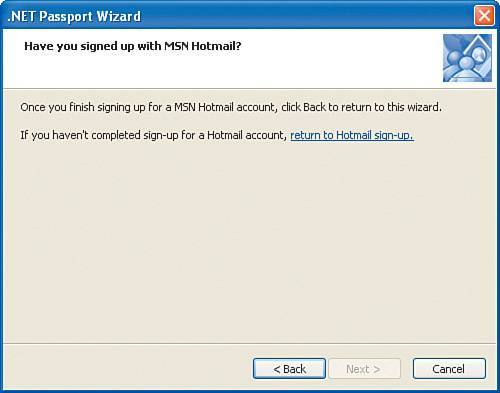
| 8. | Click Back and repeat step 4, this time signing in with your MSN Hotmail credentials. Then go to step 9.
| 9. | On the You're Done! page, click Finish (see Figure 5.5).
Figure 5.5. Completing the Passport Wizard. 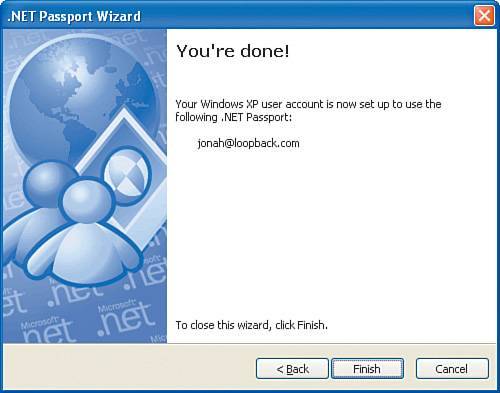
|
Downloading a Newer Version of Messenger Depending on the version of Windows Messenger on your computer, you might be prompted to download a newer version. In this case, when Messenger starts, you see a screen like the one in Figure 5.6. If your computer has Windows XP with Service Pack 2, you probably have the latest version of Windows Messenger and don't need to worry about it. To download a newer version, click Yes and follow the prompts onscreen to complete the installation. Figure 5.6. The Messenger version reminder. 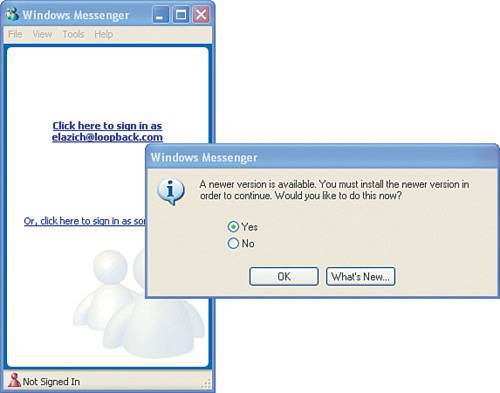
Figure 5.6 shows a prompt that asks you to download a newer version of Windows Messenger before you can sign in. After you download a newer version, you are placed at the main screen, which looks as shown in Figure 5.7. Figure 5.7. Windows Messenger. 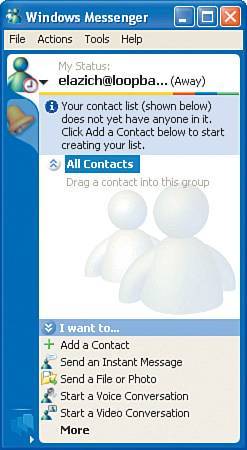
|
|