The Hello Project
| Start IDEA once you have installed it. IDEA will show you the dialog shown in Figure C.1. Figure C.1.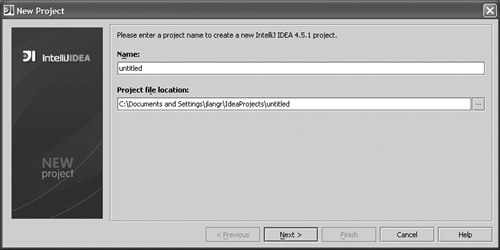 The "Hello World" project will be throwaway. Change the text untitled to hello in the Name field. As you type the project name, note that the directory specified in the Project file location field changes automatically. You may want to make a note of the location so that you are aware of where it is in your file system.[1] Click the Next button. You will see the dialog shown in Figure C.2.
Figure C.2.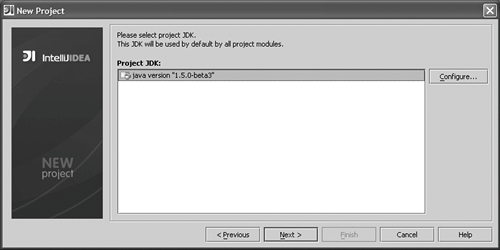 If you see nothing listed in the Project JDK field or if you do not see a version of Java that is 1.5 (5.0) or later, click the Configure button. Use the Configure JDK to add (+) new JDKs as necessary. You will need to know the installation location of J2SE 5.0. Ensure you have selected a J2SE 5.0 JDK and click Next. Continue to click Next, accepting the defaults for each panel. Click the Finish button when IDEA first makes it available to you. The initial project screen, shown in Figure C.3, is spartan. A tab marked Project appears in the upper left corner, oriented vertically. Click this tab to open the Project tool window (see Figure C.4). Figure C.3. Figure C.4.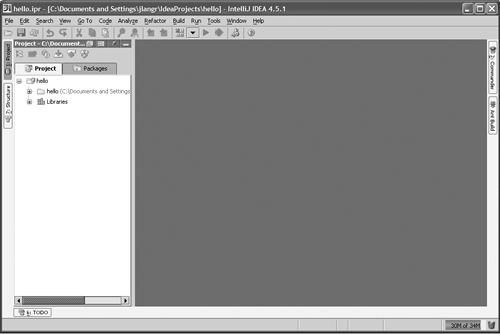 Select the top entry in the hierarchy treethe first entry named hello. This is the project. The next entry below, also hello, is the module. Simple projects you build usually will need to contain only one module. Click your right mouse button after selecting the hello project in order to bring up the project context menu. The first entry in this menu is New; select it. You should see a screen that looks like Figure C.5. Figure C.5.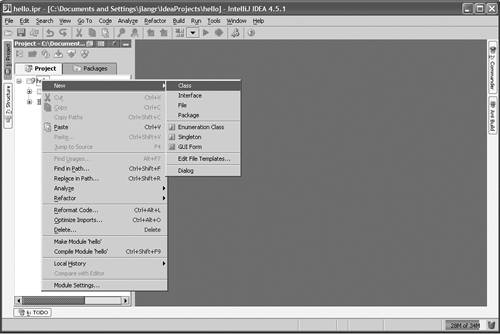 Click the menu item Class. When prompted for a class name, enter Hello. Make sure you enter the class name with the correct case! You should see an editor with a starting definition for the class Hello (see Figure C.6). Figure C.6. In the Hello.java editor window, change the code to reflect the Hello code as originally presented in Chapter II, Setting Up: class Hello { public static void main(String[] args) { System.out.println("hello world"); } } The Project tool window to the left now shows the expanded project hierarchy. Beneath the src entry, you see your new class Hello listed. Right-click this class entry to bring up the context menu. See Figure C.7. Figure C.7.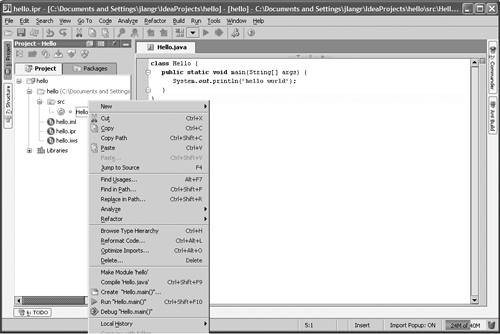 Click the menu entry Run "Hello.main()", third from the bottom of the menu. Note that you can press the key combination Ctrl+Shift+F10 as an alternative to using the menu. You need not save your source files before attempting to run programsIDEA saves them for you automatically. IDEA might present you with a dialog asking whether or not you want to create an output directory. If so, simply click Yes. A Compile Progress dialog should appear briefly. Before IDEA can execute your program, it must compile it to ensure there are no problems. The first time you compile, it may take a little longer; subsequent runs should begin more quickly.[2] Presuming that you have no compile errors, you should see an output window at the bottom of IDEA (see Figure C.8).
Figure C.8.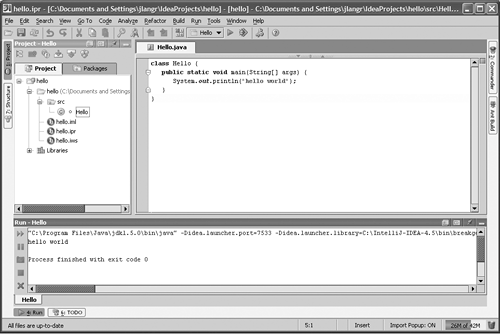 Success!Next, you'll change the source code to deliberately contain errors in order to see how IDEA deals with them. Change the source code in the Hello.java editor to something that should generate an error. Here's one possibility: class Hello { public static void main(String[] args) { xxxSystem.out.println("hello world"); } } Observe that off to the right, there are a couple of visual indicators telling you that the code has problems. In the upper right corner of the editor a small square will appear; it will be red. It was green until you mucked up the code. Below this square, you will see one or or more thin red lines. These lines indicate the problem spots in the code. You can hold your mouse over a line to see the error message. You can click on the line to navigate to the problem spot. Try running Hello again and see what happens. Since you've already executed Hello one time, you can quickly execute it again using one of at least two ways: either press the Shift-F10 key combination or click the Run arrow (a green arrow pointing right, like the play button on a CD player). The Run arrow is located on the toolbar beneath the menu and above the Hello.java editor. Instead of seeing the Run tool window with the correct output, you see the Messages tool window (Figure C.9). This window presents you with a complete list of error messages. Off to the left are various icons that help you manage the messages. Hold your mouse over any one of the icons for a second or so to see a tool tip that explains the icon's use. Figure C.9.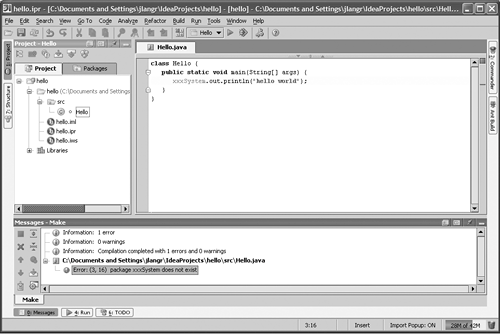 If you double-click a specific error message in the Messages tool window, IDEA will put the text cursor on the specific location in Hello.java that contains the error. Correct the error and re-run Hello. |
EAN: 2147483647
Pages: 391
- Enterprise Application Integration: New Solutions for a Solved Problem or a Challenging Research Field?
- The Effects of an Enterprise Resource Planning System (ERP) Implementation on Job Characteristics – A Study using the Hackman and Oldham Job Characteristics Model
- Context Management of ERP Processes in Virtual Communities
- Data Mining for Business Process Reengineering
- A Hybrid Clustering Technique to Improve Patient Data Quality