| Mail is .Mac's e-mail feature. When you set up a .Mac account, you automatically get an e-mail account in the mac.com domain name. For example, if your member name is johnjones, your email account would be johnjones@mac.com. Your .Mac e-mail account can be accessed with Mac OS X's Mail application or any other e-mail client softwaresuch as Entourage or Eudora. Simply set it up as a IMAP account using the following information: User Name: your .Mac member name Password: your password Incoming Mail Server: mail.mac.com Outgoing Mail Server: smtp.mac.com Your .Mac e-mail account can also be accessed via the Web on the .Mac Web site. This feature enables you to read and reply to your e-mail from any computer with a connection to the Internet. This part of the chapter explains the basics of reading and sending e-mail messages using Mail on the .Mac Web site.  Tip Tip
To access your Mail account 1. | Log in to your .Mac account on the .Mac Web site.
| 2. | Click the Mail button on the .Mac home page (Figure 5).
| 3. | If a log in form appears (Figure 6), enter your password and click Enter.
Your Mail Inbox window appears (Figure 18).
Figure 18. A Mail Inbox with messages. 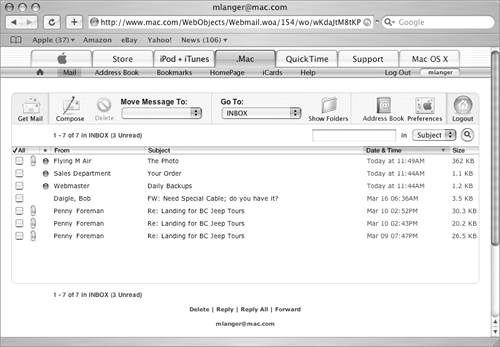
|
To read & work with messages 1. | Click the subject of the message you want to read. The message appears in the Web browser window (Figure 19).
Figure 19. When you click a message subject, the message appears in a Web browser window. 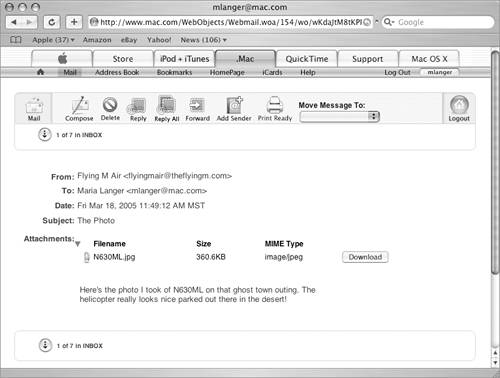
| 2. | To read the next or previous message, click the up or down arrow beneath the toolbar.
or
To return to the folder you were viewing, click the blue link for the folder name beneath the toolbar.
or
Click one of the buttons in the toolbar to work with the message:
| Delete deletes the message.
| Reply opens a reply form (Figure 25) and addresses it to the message sender.
Figure 25. A message reply form already has the To and Subject fields filled in. 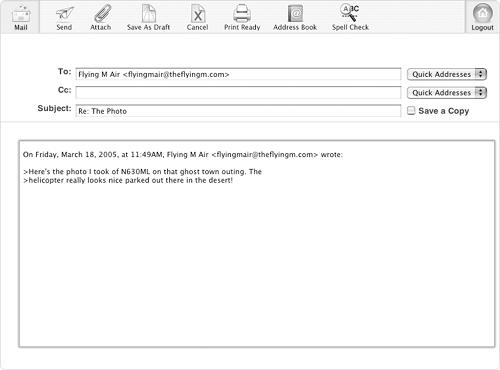
| Reply All opens a reply form (Figure 25) and addresses it to the sender and anyone else the message was originally addressed to.
| Forward opens a message forwarding form with the body of the original message copied to the body of the form.
| Add Sender adds the sender's name and e-mail address to your .Mac Address Book.
| Print Ready opens a new window that includes only the message and its headers (Figure 21). You can print this window using the File menu's Print command.
Figure 21. The Print Ready button puts the message body in its own window for clean printing. 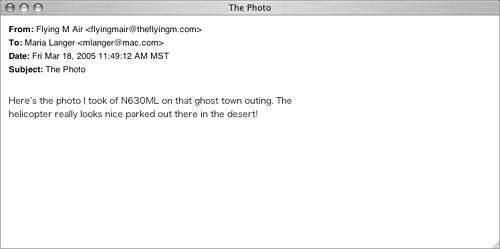
|
or To move the message to a specific folder, choose the folder name from the Move Message To pop-up menu (Figure 20) Figure 20. Use this pop-up menu to move a message to a different folder. 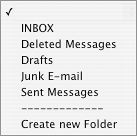
 Tips Tips
A blue bullet beside the From column in the message list indicates that that message has not yet been read. If a message includes an attachment (Figure 19), you can click the Download button to download the attachment to your hard disk. I tell you about the .Mac Address Book feature later in this chapter.
To update the Inbox Click the Get Mail button (Figure 18). The Inbox is updated to include any new messages that have been received since the Inbox's contents were last displayed. To view a specific folder Choose the folder name from the Go To pop-up menu (Figure 22) in any folder list window (Figure 18). Figure 22. Use this pop-up menu to display the contents of a specific folder. 
To delete messages in a folder 1. | Turn on the check box beside the message(s) you want to delete.
| 2. | Click the Delete button in the toolbar. The message(s) is deleted and the window reappears with the message(s) gone.
|
To send a message 1. | Click the Compose button in the toolbar to display a new message form (Figure 23).
Figure 23. A new message form, all ready to be filled in. 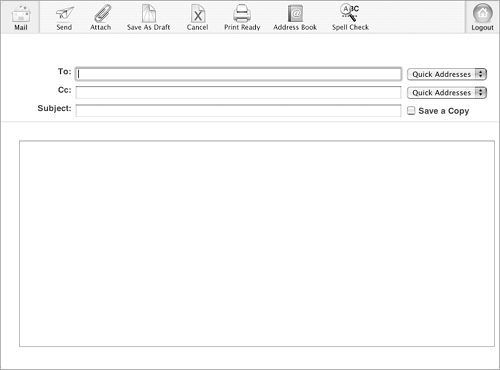
| 2. | Fill in the To, Cc (if desired), and Subject fields in the form.
| 3. | To save a copy of the form in the Sent Messages folder, turn on the Save a Copy check box.
| 4. | Enter the body of the message in the large box at the bottom of the form.
| 5. | Click Send. The message is sent.
|
 Tips Tips
To look up and insert e-mail addresses from Address Book, click the Address Book button, use the pop-up menus beside a person's name to specify a message form field (Figure 24), and click Apply. Figure 24. You can use the Address Book to address a message. 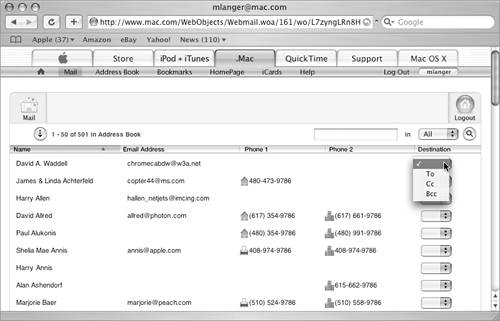
To include more than one e-mail address in the To or Cc field, separate each address with a comma.
To reply to a message 1. | With the message you want to reply to displayed (Figure 19), click the Reply or Reply All button.
| 2. | A message reply form appears (Figure 25). Its To and Cc fields are already filled in with the appropriate e-mail addresses.
| 3. | If desired, change the contents of the Subject field.
| 4. | To save a copy of the form in the Sent Messages folder, turn on the Save a Copy check box.
| 5. | Insert your reply in the large text field at the bottom of the form.
| 6. | Click Send. The message is sent.
|
 Tips Tips
By default, the body of the original message is quoted in the reply. You can edit or delete this text if desired. If the original message was very long, it may be included with the reply as an attachment.
|
 Tip
Tip


