Creating a Table
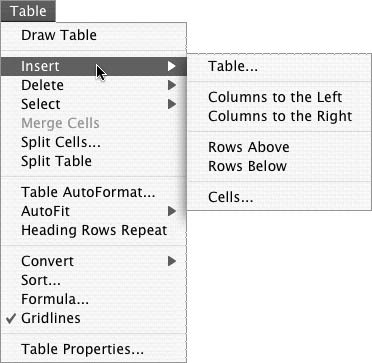
| Word offers four ways to create a table:
To insert a table with the Insert Table dialog
To insert a table with the Insert Table button
To draw a table
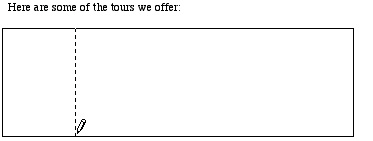
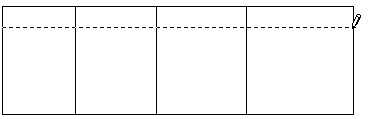
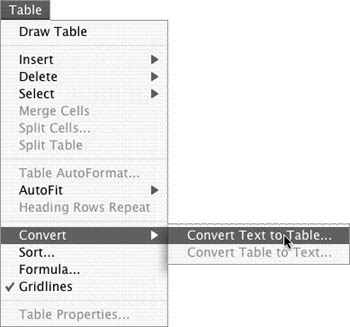
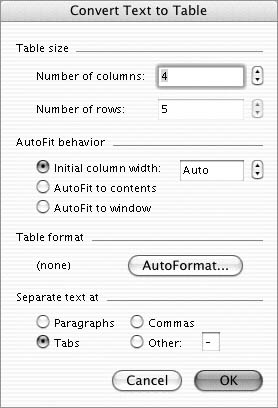
To convert text to a table
|


 Tips
Tips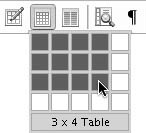


EAN: N/A
Pages: 199
| Word offers four ways to create a table:
To insert a table with the Insert Table dialog
To insert a table with the Insert Table button
To draw a table
To convert text to a table
|