| A data source (Figure 10) has two components: Figure 10. A data source with three records, created within Microsoft Word. 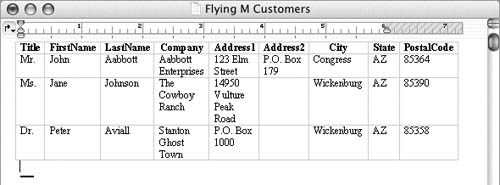
Fields are categories of information. In a form letter, for example, LastName and City might be two fields. Each field has a unique name which identifies it in both the main document and data source document. Records are collections of information for individual items. In a form letter, the John Smith record would include all fields for John Smithhis name, address, city, state, and postal code. When you perform a data merge, Word inserts the data from a data source record into a main document, replacing field names with field contents. It repeats the main document for each record in the data source (Figure 11). Figure 11. The data source in Figure 10 merged into the main document in Figure 5. 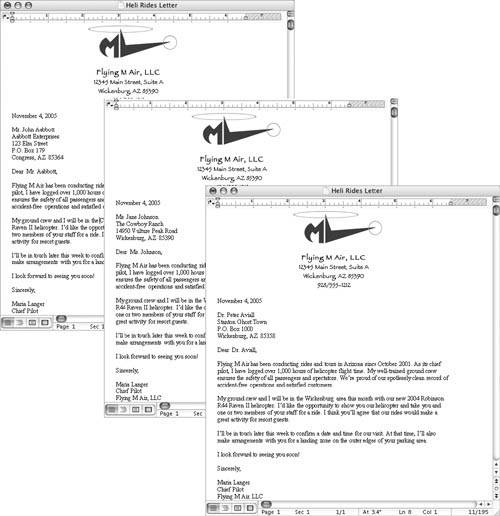
 Tip Tip
This chapter explains how to create or open a Word-based data source. You can also use the Office Address Book, a File-Maker Pro database file, or an Excel list as a data source; I tell you more about that in Chapter 17.
To create a data source 1. | Make sure the main document is the active document window.
| 2. | Choose New Data Source from the Get Data menu on the Data Merge Manager (Figure 4) to display the Create Data Source dialog (Figure 12). It lists commonly used field names for form letters, mailing labels, and envelopes.
Figure 12. The Create Data Source dialog. 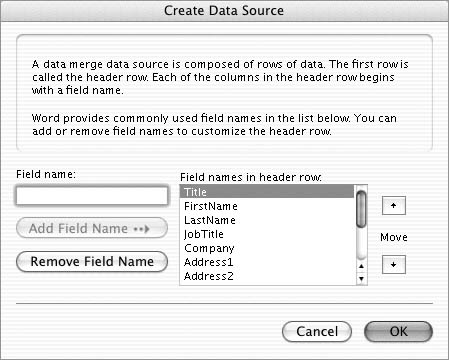
| 3. | Edit the Field names in header row list to include only the field names that you want in your data source document, in the order that you want them to appear:
To remove a field name from the list, select it and click the Remove Field Name button. To add a field name, enter it in the Field name text box and click the Add Field Name button. To move a field name up or down in the list, select it and click one of the Move buttons to the right of the list.
| 4. | When you are finished editing the list, click OK.
| 5. | A Save Data Source dialog appears (Figure 13). Use it to name and save the data source file.
Figure 13. The Save Data Source dialog works just like a standard Save As dialog. 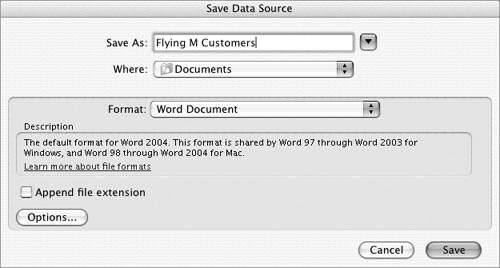
| 6. | The Data Form dialog appears next (Figure 14). Enter information for a specific record into each of the text boxes. You can press  to move to the next text box or to move to the next text box or  to move to the previous text box. to move to the previous text box.
Figure 14. The Data Form dialog. 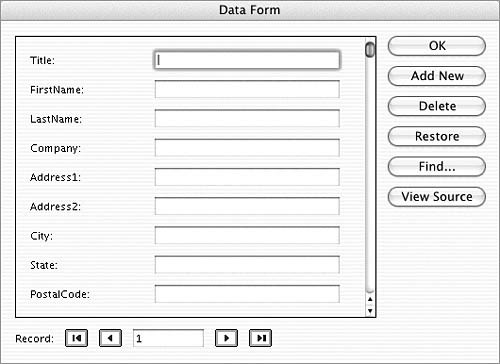
| 7. | To add another new record, click the Add New button and repeat step 6.
| 8. | When you are finished adding records, click OK.
Word displays the name of the data source in the Data Merge Manager (Figure 15).
Figure 15. The name of the data source appears in the Data Merge Manager. 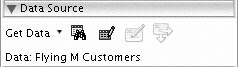
|
Tips Field names cannot include spaces. It's a good idea to save the data source in the same folder in which you have saved or will save the main document. This makes it easy to find the data source document when merging. You can use other buttons in the Data Form dialog (Figure 14) to scroll through, edit, delete, or search for records. Clicking the View Source button in the Data Form dialog (Figure 14) displays the data source document in a Word document window (Figure 10). To edit a data source, click the Edit Data Source button in the Data Source area of the Data Merge Manager (Figure 15). This displays the Data Form (Figure 14), so you can add, modify, or delete records.
To open an existing data source 1. | Make sure the main document is the active document window.
| 2. | Choose Open Data Source from the Get Data menu on the Data Merge Manager (Figure 4).
| 3. | Use the Choose a File dialog that appears (Figure 16) to locate and select the file you want to use as a data source. Click Open.
Figure 16. Use the Choose a File dialog to locate and open a data source. 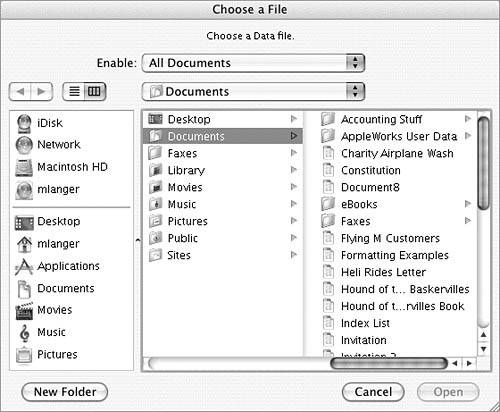
Word displays the name of the data source in the Data Merge Manager (Figure 15).
|
Tips
|