| Word includes many powerful image-editing tools that you can use to work with the graphic objects in your Word documents. Although a complete discussion of all of these tools is far beyond the scope of this book, here are some instructions for performing some common layout-related tasks on graphic objects and text boxes in your Word documents. To move a graphic object Drag it with the mouse pointer. To resize a graphic object 1. | Click the object to select it. White or black selection handles appear around it (Figure 37).
Figure 37. When you click a graphic object in the document layer, a black selection box and handles appear around it and the Picture toolbar appears. 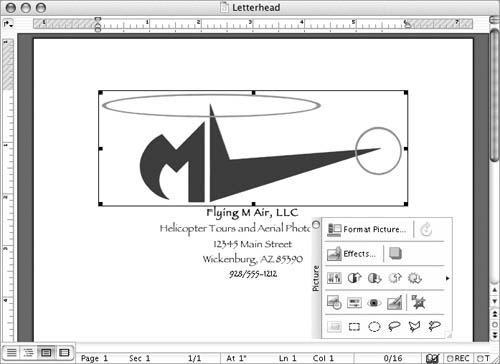
| 2. | Position the mouse pointer on a handle, press the mouse button, and drag as follows:
When you release the mouse button, the object resizes (Figure 39).
Figure 39. When you release the mouse button, the picture resizes. 
|
 Tip Tip
To wrap text around a graphic object 1. | Click the object you want to wrap text around to select it.
| 2. | Choose the last command under the Format menu. As shown in Figures 40a, 40b, and 40c, this command's name changes depending on what is selected.
Figure 40a, 40b, & 40c. The last command on the Format menu changes depending on what kind of object is selected in the document window. 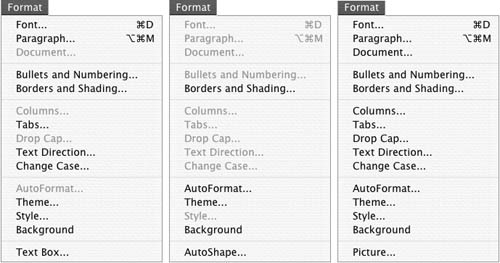
| 3. | In the Format dialog that appears, click the Layout button to display its options (Figure 41).
Figure 41. The Layout pane of the Format dialog enables you to set Word wrap options for a selected object. 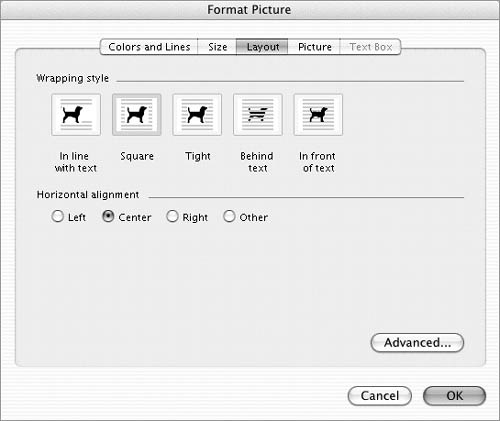
| 4. | Select one of the Wrapping style options:
In line with text places the object in the document layer as an inline image. This is the default setting for inline images. Square wraps text around all sides of the object with some space to spare. Tight wraps text tightly around all sides of the object. Behind text places the object behind the document layer. There is no word wrap. In front of text places the object in front of the document layer. There is no word wrap. This is the default setting for text boxes.
| 5. | Choose one of the Horizontal alignment options to determine how the object will be aligned in the document window.
| 6. | Click OK.
| 7. | If you selected a Wrapping style option other than In line with text in step 4, the image is moved from the document layer to the drawing layer. Drag it into position in the document and text wraps around it (Figure 42).
Figure 42. Once an object is set for text wrapping, text flows around it. 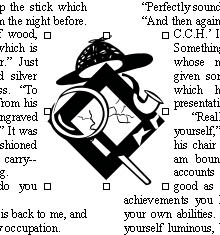
|
To set advanced formatting options 1. | Click the object you want to format to select it.
| 2. | Choose the last command under the Format menu. As shown in Figures 40a, 40b, and 40c, this command's name changes depending on what is selected.
| 3. | In the Format dialog that appears, click the button for the type of formatting option you want to set:
Colors and Lines (Figure 43) enables you to set options for the object's fill and border color and transparency. Figure 43. The Colors and Lines tab of the Format Picture dialog. 
Size (Figure 44) enables you to set size, rotation, and scaling options for the object. Figure 44. The Size pane of the Format Picture dialog. 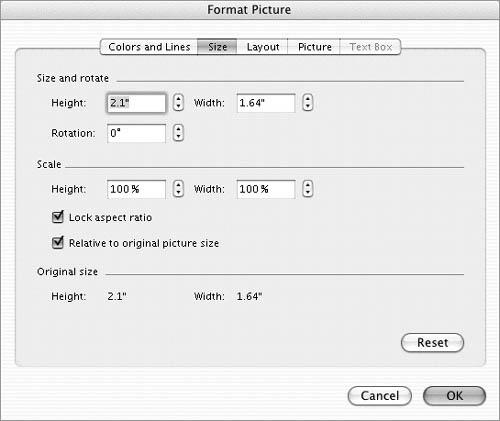
Layout (Figure 41) enables you to set wrapping style and alignment options for the object. Picture (Figure 45) enables you to set cropping and image control options for the object. Figure 45. The Picture pane of the Format Picture dialog. 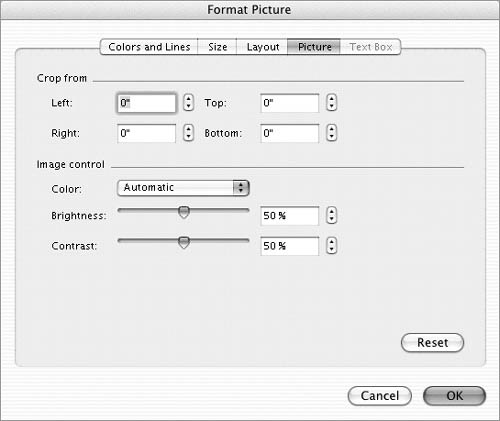
Text Box (Figure 34) enables you to set internal margin options for a text box.
| 4. | Set options in the tab as desired.
| 5. | Repeat steps 3 and 4 for each group of options you want to set.
| 6. | When you are finished setting formatting options, click OK to save your settings. The object changes accordingly.
|
Tips The options that are available in each pane of the Format dialog vary, depending on the object you are formatting. A complete discussion of all formatting options is far beyond the scope of this book. Experiment with these options on your own. Remember, the Undo command is always available to get you out of trouble if formatting goes wrong.
To remove a graphic object 1. | Click the object once to select it.
| 2. | Press  . The object disappears. . The object disappears.
|
|