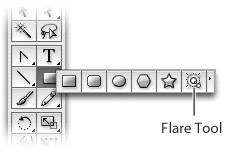
Adding Pizzazz with the Flare Tool
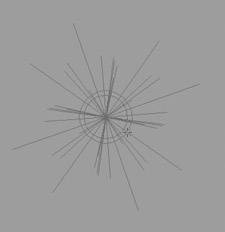
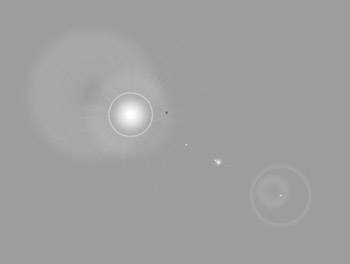
| You may ask yourself, what is the Flare tool doing in a chapter about distortion and blends and graphs? It seems as if it's out of place. In reality, the Flare tool is unlike any of the other tools in Illustrator, and so it seems out of place in general. The Flare tool is really something spectacular, although it's a one trick pony. The tool is present in Illustrator to create fantastic lens flares of the likes you would normally create in programs like Adobe Photoshop or After Effects. However, the Flare tool creates these effects using only vector objects, not rasters, and Illustrator keeps them in an editable state, which makes them easy to adjust. Creating a Vector Lens FlareDrawing a flare with the Flare tool is basically a two-step process. First, you define where the highlight will go, and then you define the angle of the light. In reality though, there are many more little steps that need to happen in between. To apply a lens flare with the Flare tool, follow these instructions:
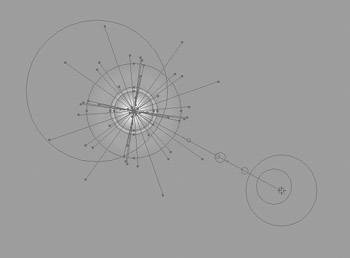
Even though it isn't a Live Effect, once a flare has been applied, it can still be editedalthough not via the Appearance palette. To edit a flare, select it with the Selection tool and double-click the Flare tool in the Toolbox. This opens the Flare Tool Options dialog, where you specify any changes to the appearance of the flare. When you check the Preview button you will be able to see the changes happening to the flare as you adjust the settings.
|
EAN: 2147483647
Pages: 147