| You should create a layer any time you want to isolate an element from the rest of the image. The element can be text, a second image, or an area of flat color. You can create a layer by using the New Layer command, by pasting an element, or by duplicating an existing layer. After you create the layer, it appears in the Layers palette, named in numerical sequence. To rename a layer, open the Properties dialog box from the Layers palette and type a new name there. Open the File Choose File, Open and select the image file you want to modify. 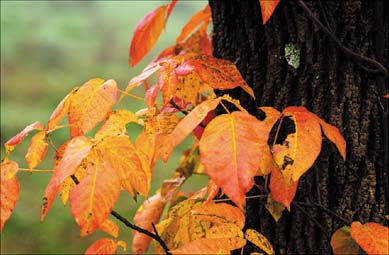
Open the Layers Palette Choose Window, Layers to open the Layers palette. 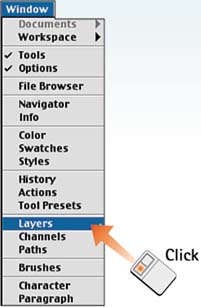
Create a Text Layer To create a new layer, choose Layer, New, Layer. (Alternatively, select New Layer from the Layers palette menu.) In the dialog box that appears, name the layer and click OK. By default, the layers are given sequential numbers (Layer 1, Layer 2, and so on). For this example, create at least two layers. Make Layer 2 a text layer by selecting the Type tool and clicking the cursor on the image (a layer is automatically created). Add some text and format it in a large, bold typeface. 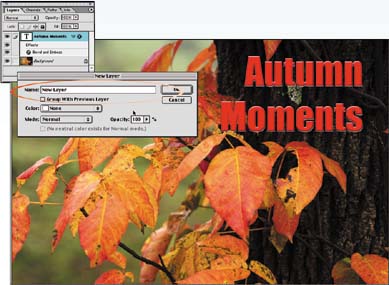
Control Layer Visibility To turn a layer's visibility on and off, look at the Layers palette. The far-left column contains boxes with eye icons. Click the box next to the layer you want to control the visibility of to display or hide the eye icon also called the visibility icon. 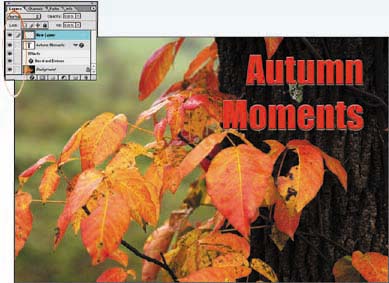
Change the Order of the Layers You can change the order of the layers that form the image. In the Layers palette, click the title of the layer you want to move in the stack and drag it to its new position. Moving layers around and changing their order is a very powerful feature. For example, by changing the order of various layers, you can change the apparent order of the objects that reside on these different layers. 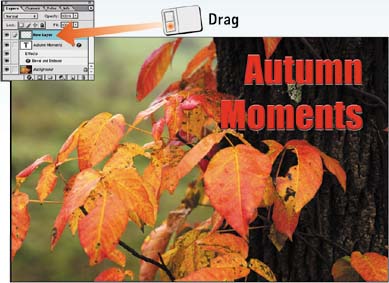
Change Layer Opacity To make a layer transparent, select the layer in the Layers palette to make it the active layer. Adjust the Opacity slider at the top of the Layers palette until the active layer has the desired degree of opacity. If a layer style has been applied to a layer, you can fade the layer contents without fading the layer style. To do this, adjust the Fill slider. See Part 9, Task 3, "How to Create Typographic Style Sheets," for more on layer styles. 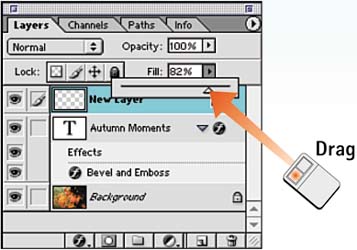
How-To Hints Repositioning the Background Layer The Background "layer" cannot be repositioned in the layer stack. To move the background, you first must rename it (thus "converting" it from the background/base image to a layer). Double-click the layer's name in the Layers palette and enter a new name in the dialog box that appears. (You may want to name it Layer 0.) After you rename the ex-background layer, it behaves like any other layer. Preserving Transparency You can preserve the transparent areas of a layer that is, prevent them from being edited by selecting the target layer in the Layers palette and placing a check mark in the Preserve Transparent Pixels check box. This option ensures that you "color within the lines," so to speak, and prevents any painting or editing from registering in the transparent areas. |
|