Task 1 How to Create and Move Layers
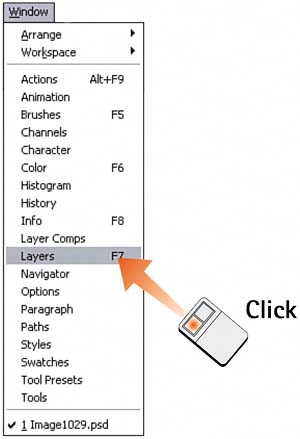
| You should create a layer any time you want to isolate an element from the rest of the image. The element can be text, a second image, or an area of flat color. You can create a layer by using the New Layer command, pasting an element, or duplicating an existing layer. After you create the layer, it appears in the Layers palette, named in numerical sequence. To rename a layer, double-click its existing name and type a new name there. 1. Open the FileClick the Go to Bridge icon from the Options palette and select the image file you want to modify.  2. Open the Layers PaletteSelect Window, Layers to open the Layers palette. In the Layers palette, notice that the original image is called Background. Any layers you create appear by default above the Background layer in the stack.
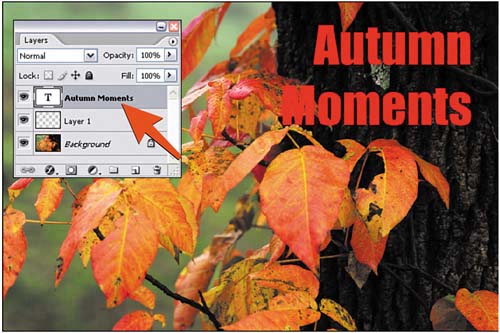
3. Create a Text LayerTo create a new layer, select Layer, New, Layer. In the dialog box that appears, name the layer and click OK. By default, the layers are given sequential numbers (Layer 1, Layer 2, and so on). For this example, create at least two layers and make Layer 2 a type layer by selecting the Type tool and clicking the cursor on the image (if no layer is active, a new type layer is automatically created). Add some text and format it in a large, bold typeface (refer to Part 8, "Using Type").
4. Control Layer VisibilityTo turn a layer's visibility on and off, look at the Layers palette. The far left column contains boxes with eye icons. Click the box next to the layer for which you want to control the visibility to display or hide the eye iconalso called the visibility icon. In this example, I've added a horizontal green line to Layer 1; I can see how the image looks with and without the line simply by clicking the visibility icon for the line layer. 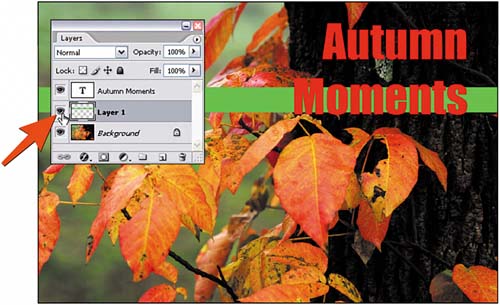 5. Change the Order of the LayersYou can change the order of the layers that form the image. In the Layers palette, click the layer you want to move in the stack and drag it to its new position. By changing the order of various layers, you can change the apparent order of the objects that reside on these different layersa powerful feature.  6. Change Layer OpacityTo make a layer more transparent, select the layer in the Layers palette to make it the active layer. Adjust the Opacity slider at the top of the Layers palette until the active layer has the desired degree of opacity. If a layer style has been applied to a layer, you can fade the layer contents without fading the layer style. To do this, adjust the Fill slider. See Part 8, Task 3, "How to Create Typographic Style Sheets," for more on layer styles. 
|
EAN: 2147483647
Pages: 184
- ERP Systems Impact on Organizations
- Enterprise Application Integration: New Solutions for a Solved Problem or a Challenging Research Field?
- Data Mining for Business Process Reengineering
- Intrinsic and Contextual Data Quality: The Effect of Media and Personal Involvement
- A Hybrid Clustering Technique to Improve Patient Data Quality