Inserting Text Boxes
| Title, subtitle, and bullet placeholders are really just text boxes with predetermined locations and sizes. However, you're certainly not limited to these placeholders for text that you want to appear on slides. Indeed, you can add as many text boxes as you want. In most respects, they're very similar to placeholders, but you can add, delete, move, and manipulate them more freely than you can placeholders. Creating and Positioning Text BoxesYou can create two basic types of text boxes: A single-line box expands horizontally as you type, and a multiline box expands vertically as you add text. To insert a typical text box into a slide, you follow these steps:
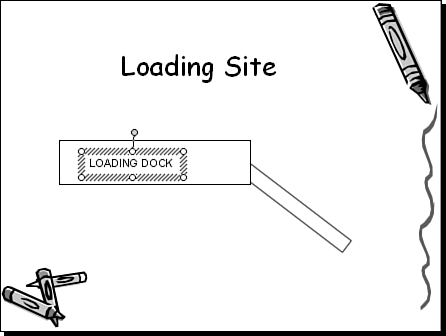
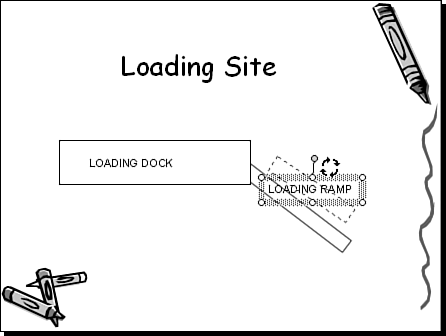
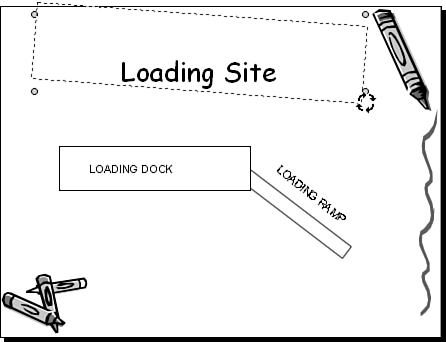
To create a multiline text box that expands vertically instead of horizontally, follow these steps but click and drag to define a width for the box. Then, as you type text, the box expands vertically as text wraps at the margins you specified. After you create text boxes, you can position and size them as you need. For example, you can click a text box to display the box and its sizing handles, along with a rotation handle (refer to Figure 5.14). You can drag a corner or side sizing handle toward the center of the box to force the text to wrap vertically. You'll soon discover that when you change the text in a text box, you automatically change the size of the text box. As you add or remove text or as you change the font size within the text box, the box size increases or decreases. In other words, text boxes are only as large as the text they contain. You can easily position a box exactly where you want it by clicking the box itself (the pointer becomes a four-way arrow) and dragging the box to a new location. Rotating TextOne of the really nifty things you can do with text boxes is rotate them. This is particularly handy if you're creating a label to identify something onscreen and it makes sense to rotate the label (for example, on a map). To rotate a text box, simply move the mouse pointer to the green rotation handle and drag the handle clockwise or counter-clockwise (see Figure 5.15). Note that while you drag the rotation handle, both the original and the new positions display onscreen. Tip
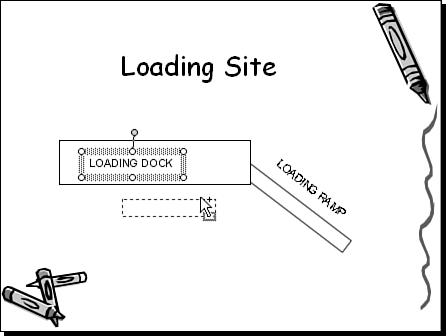
Figure 5.15. You can match text labels to the objects they're labeling by rotating them.
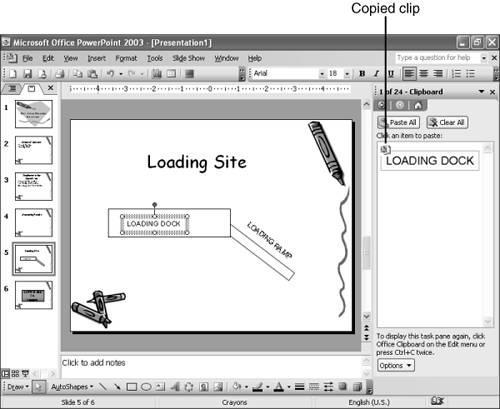
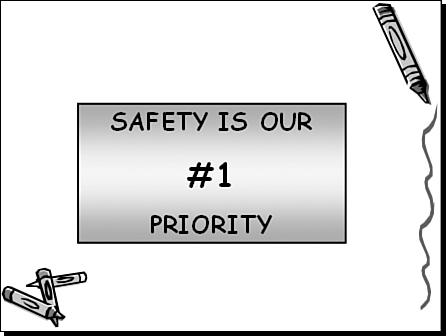
Figure 5.16. You can drag any of the four rotation handles on a placeholder to rotate its text. Copying Text BoxesSometimes you need to duplicate a text box for example, a label that you use more than once either on the same slide or on more than one slide. To copy a text box, click the box and then click the edge of the box to select the entire box. Next, choose Edit, Copy to copy the box, or use your favorite method for copying. PowerPoint displays the copied text on the Clipboard task pane (see Figure 5.17). Figure 5.17. You can paste copied or cut objects from the Clipboard task pane. If you want the copied text pasted in the current slide, you simply click the Clipboard item or use another method for pasting. If you want to paste it on another slide, go to that slide and click the Clipboard item or paste it using another method. Note that the copied text is placed in exactly the same location as the original. This can be handy if you're trying to replicate a text box at the same location on several different slides. When you play the slide show, the text box appears to be stationary, while other information on the slides comes and goes. When you copy to the same slide, however, sometimes you don't even realize you've pasted text because the copied text covers the original. In this case, you can just click the edge of the copied text and drag the box to its new location. An easy way to avoid this problem altogether and an even simpler way to copy an object on the same slide is to hold down the Ctrl key while dragging the text box (see Figure 5.18). You release the mouse button to place a copy of that text box in a different location. Figure 5.18. While holding down the Ctrl key, you can drag an object with the mouse to copy it. Changing Text Box AttributesBesides working with its content, you can also change the characteristics of a text box itself. By default, text boxes are invisible. However, you can make a text box stand out by putting a line around it, filling it in with color, or changing the attributes of any text you have or will yet put in the box (see Figure 5.19). Figure 5.19. You can add a professional flair by using gradient shading to fill a text box.
|

EAN: 2147483647
Pages: 154