Clean up color problems with the Sponge tool
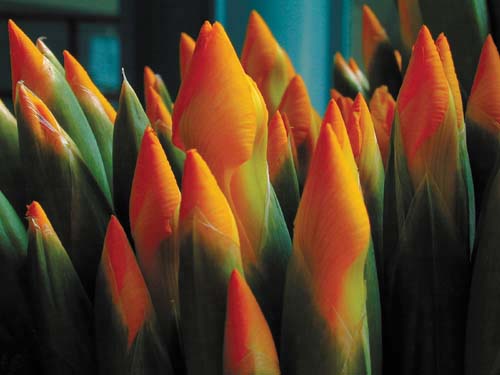
| You may use Photoshop for a number of reasons: to create new graphics, alter existing images, or retouch problem photos. One tool that's often overlooked for retouching is the Sponge tool. The Sponge tool is used to work with color, usually in a photo. Specifically, you can use it to increase and decrease color saturation. Color is a powerful sensation, especially in a photograph, as shown in Figure A. The rich color draws the viewer into the composition. It invites the eye to move from one area to another and to investigate each subject individually. The color unifies the composition as well and gives it a sense of fullness. Figure A.
Color not only enhances the assets of a photo, but also adds to it in ways composition and texture can't. Color quality is therefore important to the success of the finished work, and achieving it is as significant as choosing just the right location for a shot. When everything falls into place, great! When it doesn't, you can use the Sponge tool to wipe away a variety of woes and worries. Understanding color saturationWhen we talk about color, we generally use three terms: hue, lightness, and saturation. Each describes a different property of an individual color. It's important to understand the differences in the terms to understand the meaning of color.
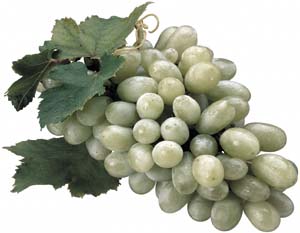
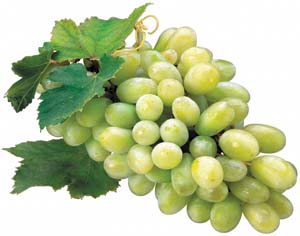
Saturation is the relative mixture, or proportion, of gray to a hue. It's usually expressed as a percent from 0 (fully gray) to 100 (fully saturated). An image that has a saturation of 0 percent appears black and white, as shown in Figure E1. An image that has a saturation range of about 40 to 75 percent appears normal, as shown in Figure E2. An image that has a saturation of 100 percent appears almost artificial, as shown in Figure E3. Figure E1.
Figure E2.
Figure E3.
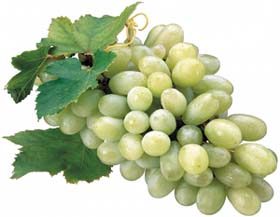
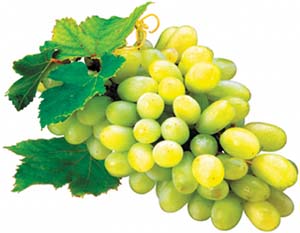
Working with the Sponge toolAs mentioned earlier, you can use the Sponge tool to increase and decrease color saturation. Our example shown in Figure F is a little flat, so we'll use the Sponge tool to revitalize this bunch of grapes. Figure F.
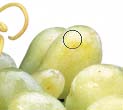
Previewing image saturation and desaturationThe Sponge tool affects the image color in an area as defined by the brush size. But before we get into actually retouching, let's get an idea as to what parts of the image will benefit most from our efforts. A quick way to do that is to preview it using the Hue/Saturation command. To do so:
Choosing tool settings for the Sponge toolNow that we have an idea of what areas we want to work on, let's begin using the Sponge tool. Because it isn't a good idea to work directly on the original or Background layer, let's make a duplicate of it. If we mess up the duplicate, we'll can simply delete it and make another one.
Painting with the Sponge tool
Now that we're done with the grapes in our example, we'll turn our attention to the leaves to slightly de-emphasize their appearance. To do this:
Note For information on how to get even more color from your problem images, see the Problem : Solution "Restore color to underexposed areas" at the end of this chapter. It's a cool toolThe Sponge tool is a terrific retouching tool you can use to add and reduce color saturation in a photo. At times when natural lighting of a subject is too intense or too low, the Sponge tool can help revitalize an otherwise unusable image. Even in controlled situations, such as in a studio setup, when you think you've covered all the bases, things do happen. What you get isn't what you thought you had, and the Sponge tool can help you avoid the additional work of reshooting the photo. |


 Adjustments
  Hue/Saturation.
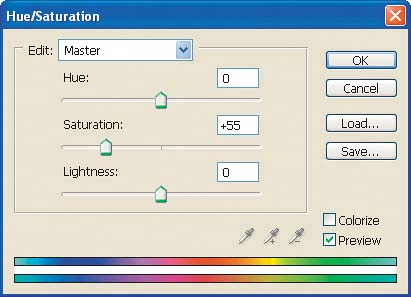
EAN: N/A
Pages: 105