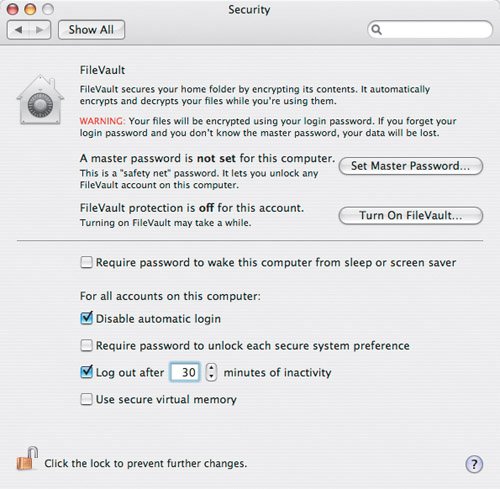
The Security Preference Pane
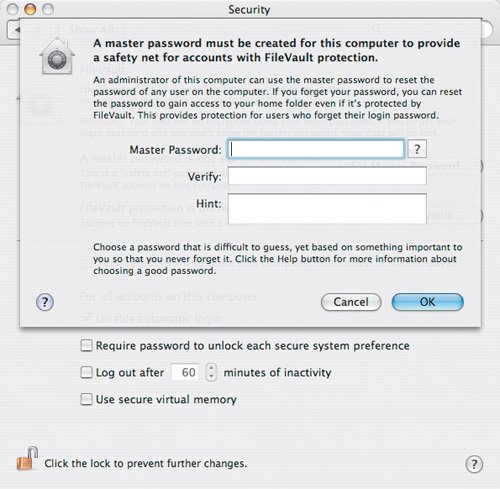
| The Security preference pane (Figure 10.16) manages several settings for controlling the level of security on your Mac. From here, you can encrypt the documents in your home directory, add extra layers of security to keep your private and sensitive information private, and stop your Mac from booting directly to your Desktop. The more you do to protect your files, the less likely they are to fall into the hands of someone who shouldn't see them. Each extra level of security you add, however, is also likely to add extra steps for you and will potentially slow you down. Figure 10.16. The Security preference pane is where you go to lock down your Mac. The more security features you enable, the harder it will be for someone to steal your information.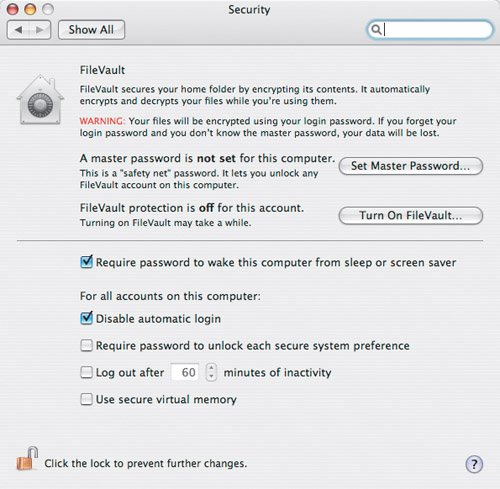 Remember, keep a balance between security and productivity. Master PasswordIf you plan on using FileVault, Tiger's security feature that encrypts every file in your home directory, be sure to set a master password for your Mac, and don't forget it. The master password lets you unlock and decrypt any FileVault-protected home directory on your Mac. Use this tool wisely. It's intended for getting past forgotten FileVault passwords, which is useful with absent-minded employees, or accessing files after an employee quits or is terminated. We'll cover FileVault later in the "File Encryption" section.
Screen SaverIf you work with sensitive documents and information, it's a real pain to log out of your Mac just to run down the hall and refill your coffee. If you don't, however, anyone can sit at your desk and copy proprietary client documents, your e-mail, employee and business records, or any document to a USB flash drive, iPod, or other removable disk while you are gone. Instead of logging out of your Mac, you can lock everyone else out by requiring a password to get back to your Desktop if your Mac has been sleeping, or if the screensaver is active, in the Security preference pane. All you have to do is check the "Require password to wake this computer from sleep or screensaver" box. Anyone who tries to wake your Mac from sleep or the screensaver is greeted with a black screen and a dialog asking for your password. Using the Security preference pane's option to require a password to unlock your Mac under these circumstances is an easy way to add an extra level of protection for your documents. Your Mac, however, is vulnerable to snoopy coworkers and unauthorized eyes during the period when you've walked away from your workstation until the screensaver activates or your Mac goes to sleep.
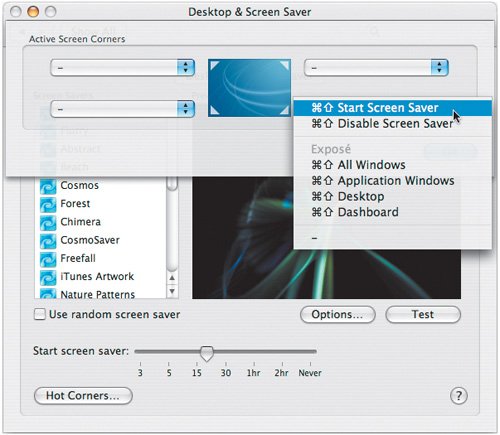
You can always choose Apple menu > Sleep (Figure 10.20), which will lock your Desktop, but it also stops any other activities your Mac may be doing. That's probably not what you want, if you are rendering a complex filter effect in a particularly large Photoshop file. Instead, try setting a hot corner on your Desktop to auto-activate your screensaver. Figure 10.20. Choosing Apple menu > Sleep forces your Mac to sleep. If you need a password to see your Desktop, this is a fast way to protect your files from prying eyes if you have to step away from your workstation for a few minutes. When your Mac is sleeping, however, no applications are active.
Whenever you need to walk away from your Mac for a few minutes, you can slide your mouse pointer to your newly set-up hot corner to instantly activate your screensaver. Anyone who wants to look at your Desktop or documents will first have to enter your password before they can see your Desktop. Automatic LogoutSetting your Mac to automatically log out of your account is an easy way to help protect your projects if you happen to forget to log out before you leave at the end of the day. Automatic logout waits for a specific period of inactivity to elapse, and then shuts down your open applications and logs out of your user account. After your user account is logged out of, anyone that sits down at your Mac is greeted with a Login window. Without your password, they can't get to your Desktop.
Some agencies require you to log out of your Mac at the end of the day. If you don't, anyone that manages to sneak into your office can see and copy the files off of your Mac. If you are connected to a server, they can also see any networked files you have access to. For most designers, this isn't a big deal. But if you work with proprietary information or secret data, or you have access to your agency's client account information, why risk data theft or industrial espionage? |
EAN: 2147483647
Pages: 107