4.3 Installing IBM Directory Server
|
| < Day Day Up > |
|
4.3 Installing IBM Directory Server
This section lays out the tasks which will install IBM Directory Server and all its prerequisite software products/components.
For the secure portal implementation, all components installed in this section reside on a single machine, designated the Security node. Refer to Figure 4-1, "Product mapping for the secure portal" on page 40 for the product mapping on the Security node.
4.3.1 IBM Directory Server installation program
Log in as the Administrator user and start a command prompt. Note that we use the batch file mainly for ease of use and documentation. Using the batch file makes various changes to IBM Directory Server, for instance SSL keys and security settings, that we would then have to have individually documented if using the Installshield wizard. If you would like to use the Installshield wizard and then go through the individual configuration steps, you can refer to the Tivoli Access Manager Installation Guide for the documentation.
| Important: | The Administrator user must have administrator rights on this machine. |
Insert the CD labeled Tivoli Access Manager for e-business Base for Windows. Change to the drive letter corresponding to the CD-ROM drive (in our environment, it is E:) and launch the ezinstall_ldap_server.bat file.
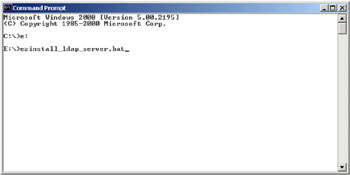
Figure 4-33: Start installing LDAP server
The installation of IBM Directory Server starts with a window titled Installation and Configuration.
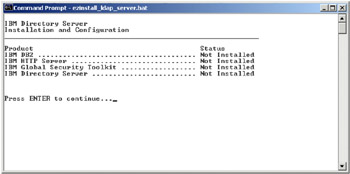
Figure 4-34: IDS installation
Press Enter to continue.
As it continues, the installation program will present you with various product configuration windows, as necessary. You will normally be prompted for mandatory arguments for each product before being allowed to continue. Once you answer all mandatory prompts, you will be presented with a continuation prompt. You can modify any particular option by entering the number corresponding to that option. When done with a particular configuration window, you can press Y and Enter to continue.
You will first be presented with a window titled IBM DB2 Configuration Options.
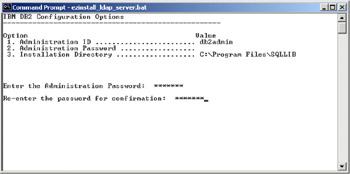
Figure 4-35: IBM DB2 configuration options
Your DB2admin password will be created here.
You will be prompted for the Administration Password for the db2admin user; enter it (in our environment, we use sah309r).
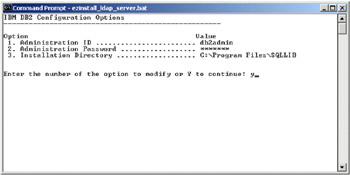
Figure 4-36: DB2 Administrator password
Press Y and Enter to continue. You will then be presented with a window titled IBM HTTP Server Configuration Options. You will be prompted for the Administration Password; enter it (in our environment, we use sah309r).
Press Y and Enter to continue. You will then be presented with a window titled IBM Global Security Toolkit Options. You do not need to change any options so press Y and Enter.
You will be prompted for the IBM Directory Server Configuration Options. The first option to configure is the LDAP Administrator Password; enter it (in our environment, we use sah309r) and then re-enter it for confirmation.
You will be prompted for LDAP DN for the GSO Database; in our environment, we typed in dc=ibm, dc=com.
| Note | The LDAP SSL Key File Password (configuration item 7) for the default LDAP SSL Keyfile (configuration item 6) pd_ldapkey.kdb shipped with Tivoli Access Manager is gsk4ikm. Take note of this since it will be required in later steps. |
Check that all the options are correct in this window and press Y and Enter to continue.
You will then be informed of the location of the SSL Client Keyfile and that it will be copied. Press Enter to continue.
The actual installation of the software will then start and the following components will be installed in this order:
-
IBM DB2
-
IBM HTTP Server
-
IBM Global Security Toolkit
-
IBM Directory Server
The DB2 software installation takes place first in the process. Once this installation is completed, you will be prompted to restart the computer so that the DB2 installation can finalize. Press Enter to continue.
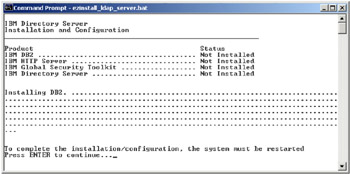
Figure 4-37: Installing DB2
After the restart, log in as Administrator and the installation continues from where it left off. The IBM HTTP Server installation starts.
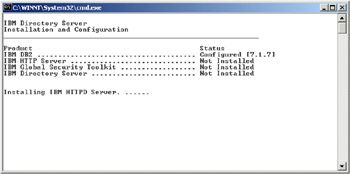
Figure 4-38: Installing IBM HTTP Server
Once IBM HTTP Server is installed, it applies an LDAP patch and then goes on to install the Global Security Toolkit and the Directory Server. Once it has completed, it will prompt to restart the machine.
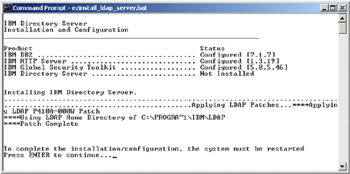
Figure 4-39: Installing IDS
After restarting the machine, log in as Administrator. The installation continues from where it left off before. It starts configuring the LDAP server. This entails many activities; please wait while this process completes.
| Important: | While installing the Directory Server, you may get an error stating Attribute type 1.3.6.1.4.1.4228.1.3 already exists. According to the following Web site:
you can ignore this error. |
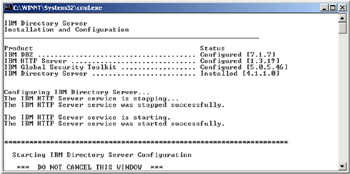
Figure 4-40: IDS Installation continues
Once this is done, you should see the following screen informing you that the installation has successfully completed.
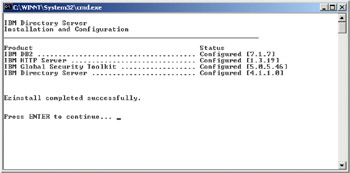
Figure 4-41: Installation completed
Press Enter.
To make sure that the IBM Directory Server is running properly, go to Start -> Settings -> Control Panel -> Administrative Tools -> Services. The services DB2 - DB2, DB2 - LDAPDB2, IBM HTTP Server and IBM Directory Server V4.1 should all be started. If not, start them in the order listed above.
Next, we need to go to the Directory Management Tool. To do this, select Start -> Programs -> IBM Directory Server V4.1 -> Directory Management Tool. You will see a blank command console window open up. You should then see a small status window titled Directory Message Panel that displays that the tool is retrieving the server schema.
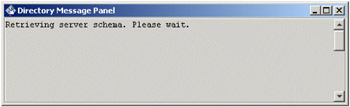
Figure 4-42: Retrieving server schema
The Directory Management Tool (DMT) application should then display its main window.
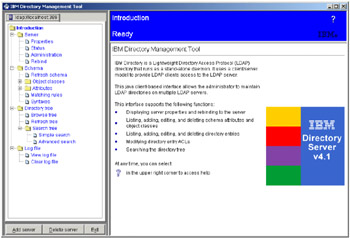
Figure 4-43: DMT main window
From the left pane, select the command Browse Tree. You may receive a warning message saying that the entry named secauthority=default does not contain any data.
| Note | This is a suffix that has been added in the slapd32.conf file for the use of Tivoli Access Manager, but it has not created the related root objects in the directory; this will be automatically be done during the configuration of Tivoli Access Manager software. |
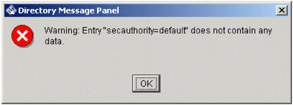
Figure 4-44: Container Empty Error Message
You should then see a view of the LDAP directory in the right pane.
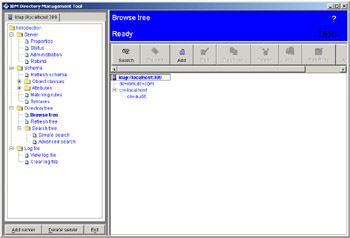
Figure 4-45: LDAP directory view
Note that the primary suffix dc=ibm, dc=com is also empty since no objects have yet been created. Select the Exit button to close the Directory Management Tool.
|
| < Day Day Up > |
|
EAN: 2147483647
Pages: 73