A Digital Raw Capture
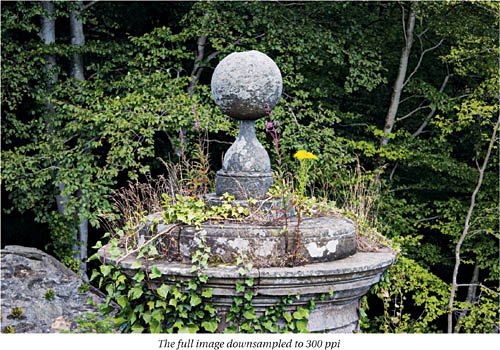
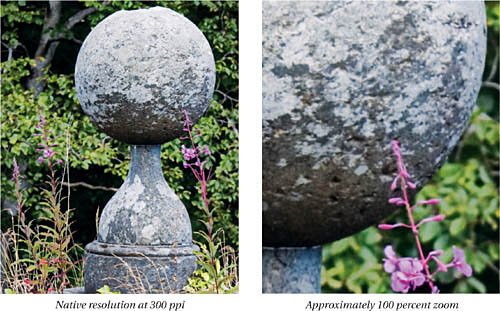
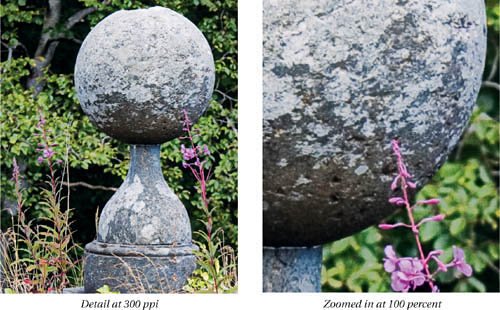
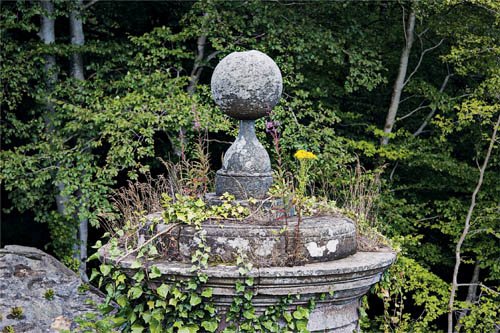
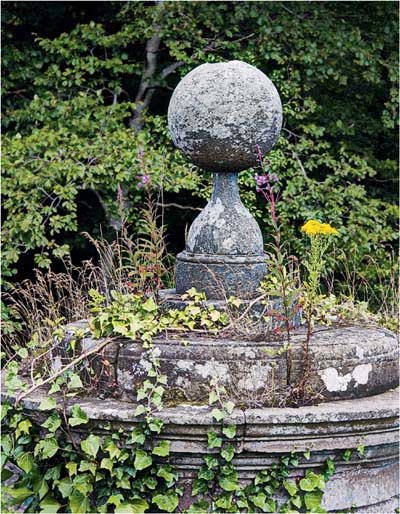
| This image was shot as a raw file with a Canon EOS 20D, producing an image with pixel dimensions of 3504 by 2336 pixels. It was converted through Adobe Camera Raw 3.4 to a 16-bit/channel ProPhoto RGB TIFF, with no sharpening, no luminance smoothing, and only a very light color noise reduction of 15. Although it was shot at ISO 400, it's properly exposed (Camera Raw's Exposure slider was set to 0), and hence has no significant noise problems, even in the shadows, so I won't need to carry out any noise reduction and can focus entirely on sharpening. Figure 6-28 shows the full image downsampled to 300 ppi to fit the page. Figure 6-29 shows a detail at native resolution, and at a zoomed-in view that approximates 100 percent (Actual Pixels) zoom. Figure 6-28. A digital raw capture
Figure 6-29. A digital raw capture, details
First, I apply sharpening for the image source, using the same kind of sharpening layer I've used in the previous examplessee Figure 6-30. Figure 6-30. Applying sharpening for source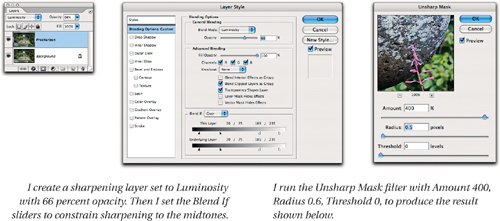
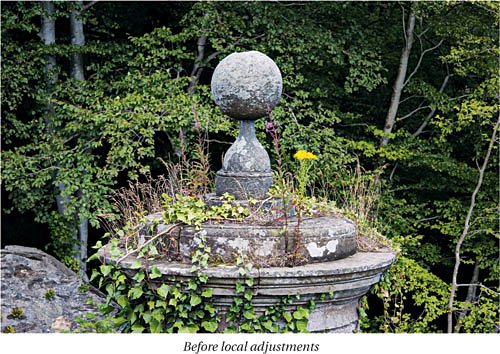
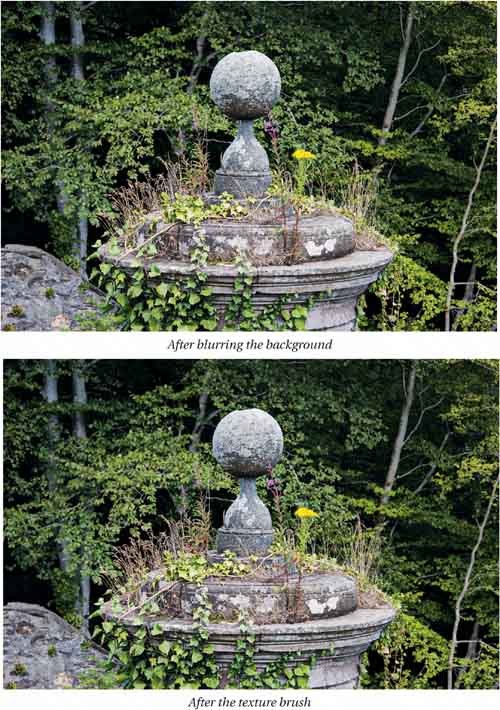
To sharpen for content, I create an edge mask. In this image, the dominant tendency I want to emphasize is the high-frequency detail, so in this case I can omit the step of creating a blur layer and simply blur the layer mask insteadthis example is right on the edge of where the Find Edges filter needs a blur layer and where it does not. So I use Calculations to create a channel that will serve as the basis for the edge mask. I run the Find Edges filter, invert the channel to get light edges instead of dark ones, and do a small-radius blur with Gaussian Blur before loading the channel as a selection and applying it to the sharpening layer as a mask. Once the mask is loaded, I delete the alpha channel since it's no longer needed, then I sharpen with Unsharp Mask. Figure 6-31 shows the process of creating the mask and sharpening for content, along with the results it produces. Figure 6-31. Applying sharpening for content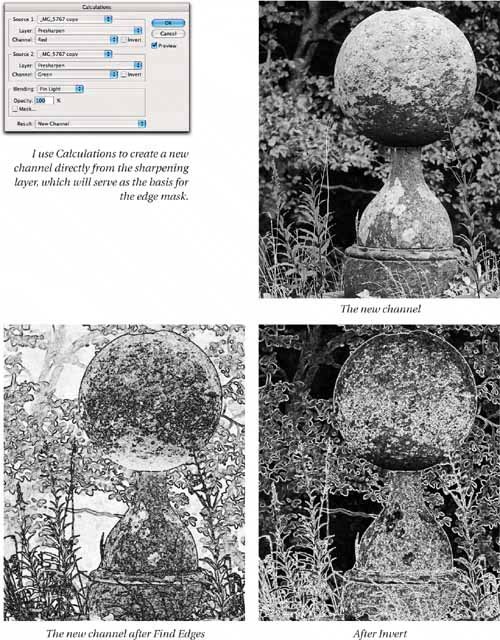 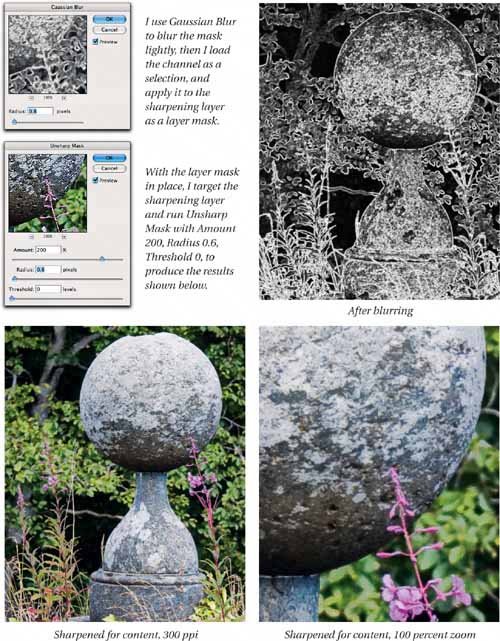 The image can benefit from some localized work. I employ the edge-protected smoothing brush described in "Smoothing Brushes" in Chapter 5 to blur the distracting background foliage slightly. Then I use the texture brush described in "Special Sharpening Brushes" in Chapter 5 to emphasize the texture of the stone. Figure 6-32 shows the image before localized work, after the background blurring, and after the application of the texture brush. Figure 6-32. Localized adjustments
After the localized adjustments, the image can now be archived as a use-neutral master, and sharpened for output at different sizes and resolutions. Figure 6-33 shows the image after output sharpening for a downsampled version, and for a detail at the image's native resolution, using the same output sharpening routine I've used throughout this book. Figure 6-33. Sharpened for output
|
EAN: 2147483647
Pages: 71