Running a Project
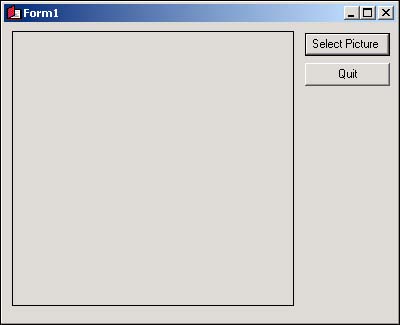
Your application is now complete. Click the Save All button (it looks like a stack of disks) on the toolbar, and then run your program by pressing F5. You can also run the program by clicking the button on the toolbar that looks like a right- facing triangle and resembles the Play button on a VCR (this button is also found on the Debug menu, and it is called Start). However, learning the keyboard shortcuts will make your development process move along faster. When you run the program, the C# interface changes, and the form you've designed appears floating over the design environment (see Figure 1.12).
Figure 1.12. When in Run mode, your program executes the same as it would for an end user .
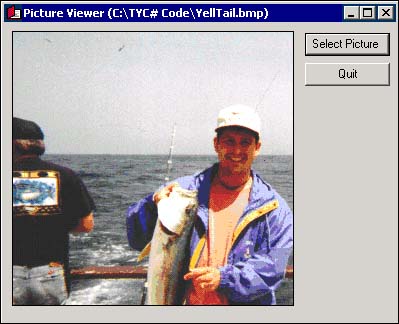
You're now running your program as though it were a standalone application running on another user's machine; what you see is exactly what someone else would see if they ran the program (without the C# design environment in the background, of course). Click the Select Picture button to display the Select Picture dialog box (see Figure 1.13). Use the dialog box to locate a picture file. When you've found a file, double-click it, or click once to select it and then click Open. The selected picture is then displayed in the PictureBox control, as shown in Figure 1.14.
Figure 1.13. The OpenFileDialog control handles all the details of browsing for files. Cool, huh?
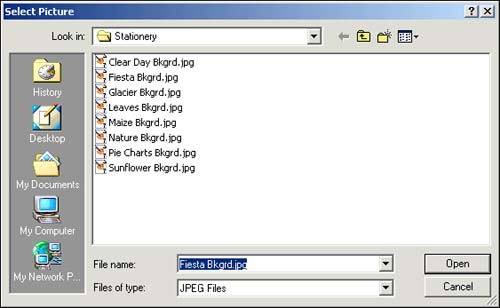
Figure 1.14. C# makes it easy to display pictures with very little work.
| Top |
EAN: 2147483647
Pages: 253