Operating System Security
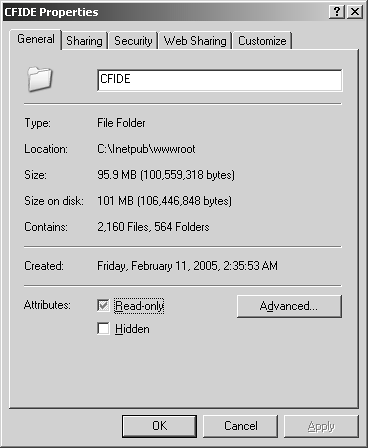
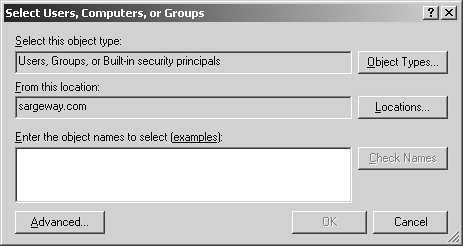
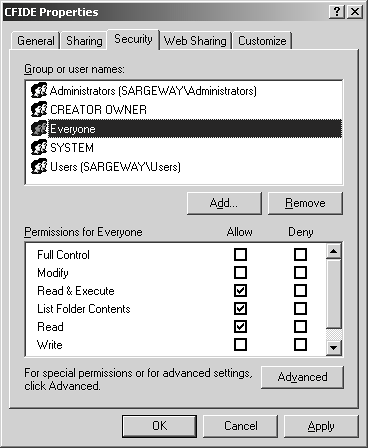
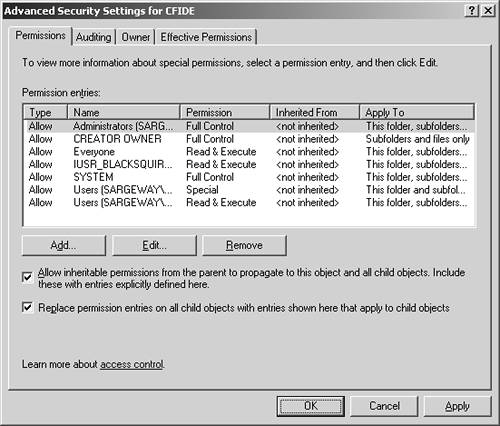
| Each operating system has the inherent ability to place access limits on the files and directories within its file system. Web servers can leverage these security features to implement access control. Windows 2003 and XPTo place access limits on the CFIDE directory in Windows 2003 and XP, follow these steps:
NOTE To implement file permissions, the underlying file system must be NTFSnot FAT or FAT32. Unix and LinuxUnix and Linux operating systems let administrators set the read, write, and execute permissions on individual files and directories. The permission structures are based on granting permissions to three types of users: owner, group, and all users. These permissions are identified in Table 8.1.
These permissions are combined to determine an individual's level of access. For example, if the owner has read and write permission, it can be expressed as rw- or the value 6. A user's read, write, and execute permissions can be expressed as rwx or 7, whereas no permission is expressed as - or 0. Running the ls -l command at the command line shows the permissions for each file in the directory. These permissions are expressed as triplets, showing the owner's, group's, and all users' permissions. For example: $ls l myfile -rwxrw-r-- 1 root root 0 July 1 10:05 myfile shows that the file myfile has the following permissions: Owner: Read, Write, Execute Group: Read, Write Everyone: Read This is often also expressed numerically. In that case, the file would have a permission of 764. In Unix, the chmod or change mode command is used to set permissions on files and directories. If you wanted to revoke the permission for everyone outside of the owner and group types, you would type the following: $chmod 760 myfile This tells the system to change the permissions mode on the file myfile to: Owner: Read, Write, Execute Group: Read, Write Everyone: none Running the same ls -l as before yields the following: $ls l myfile -rwxrw---- 1 root root 0 July 1 10:05 myfile This indicates that permissions for this file are no longer available to everyone. If the file on which you are granting permissions is a directory, and you want all files in that directory to also inherit the new permissions, you can use the -R attribute of chmod to indicate that the system should recurse through the directory and assign the permissions to every file within it. |
EAN: 2147483647
Pages: 240
- Challenging the Unpredictable: Changeable Order Management Systems
- Enterprise Application Integration: New Solutions for a Solved Problem or a Challenging Research Field?
- Data Mining for Business Process Reengineering
- Intrinsic and Contextual Data Quality: The Effect of Media and Personal Involvement
- Healthcare Information: From Administrative to Practice Databases