Configuring Samba
|
| < Day Day Up > |
|
In the past the only way to configure Samba was via shell commands. Fortunately, that is no longer the case. You can go to the Start menu, find Server Settings, select More Server Settings, and choose Samba Settings. You will then see a screen like the one shown in Figure 22.1.
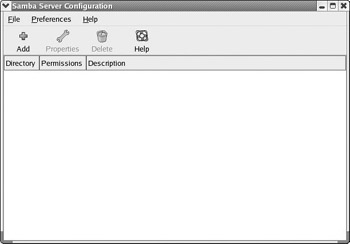
Figure 22.1: The Samba Server Configuration screen.
This screen is simple. Adding a Samba service to your Linux machine with this utility is probably easier than many of the other tasks we have performed. At this point you can either click the Add button on the toolbar or select File and Add Share from the drop-down menu. When you choose that you will see a screen much like the one shown in Figure 22.2.
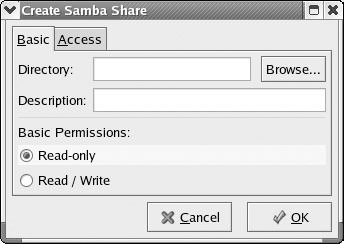
Figure 22.2: Adding a new share.
On this first tab you can use the Browse button to find a directory that you want to share. You also can give this directory a description and set whether or not users who access it can write files to it or only read files from it. The Access tab, shown in Figure 22.3, enables you to decide whether all the users can access this shared drive, or just certain users that you list.
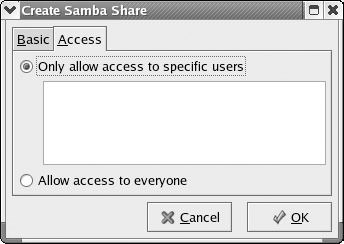
Figure 22.3: Giving users access.
When you are satisfied, click OK, and this share will appear on the main screen with its properties listed, as you see in Figure 22.4.
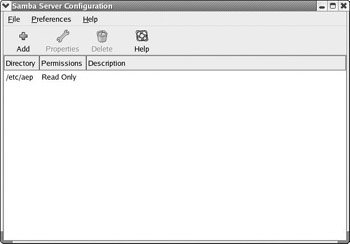
Figure 22.4: A list of shares.
If you want to add users to the list of people who can access Samba, go to Preferences and choose Samba Users. You can add any user who exists on your machine. You can see the Add User screen in Figure 22.5. It is important that you realize that you can add only users who have a user account on this machine, so first you will need to add a user account for the person you want to access the Samba shared directory. This makes perfect sense if you think about it. A person cannot access a directory on a machine if he is not first given access to that machine. Remember in earlier chapters we discussed adding users both from KDE and from the shell.
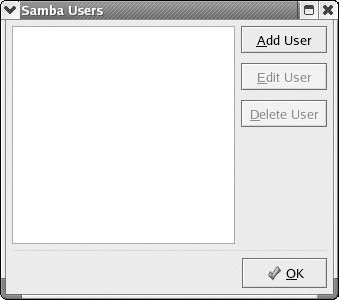
Figure 22.5: The Add User screen.
That’s all it takes to create a Samba shared directory and give users access to it. Sharing a printer is much simpler than you think. If you will recall, early in this book you were told that Linux views devices as files. Your floppy drive is actually dev/fd0 to Linux. Your printer is a device file as well. When you want to share a printer, go to the /dev folder and pick your printer!
Like most applications, Samba can be configured. If you go to Settings and choose Samba Settings, you will see a screen like the one displayed in Figure 22.6. On the first tab of this screen you can choose the workgroup and username that Samba runs as. Remember when we discussed Apache Web Server? It also runs as a special user account. With user accounts for applications, like the ones for Samba and Apache, it is best to leave the default setting unless you have some pressing reason to do otherwise.
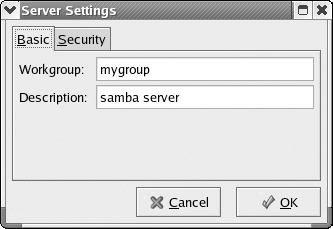
Figure 22.6: Samba settings.
There is also a second tab under settings, shown in Figure 22.7. This tab enables you to set the security settings. You can choose how to authenticate login attempts, whether or not to encrypt transmissions, and more.
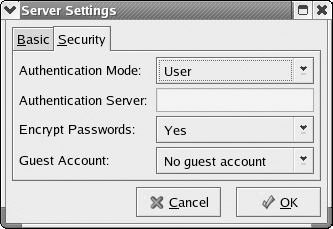
Figure 22.7: Samba Security tab.
|
| < Day Day Up > |
|
EAN: 2147483647
Pages: 247