| Most PHP hosts use Apache Web servers, so I recommend that you also install PHP with Apache. If you prefer to use PHP with a Web server other than Apache, see www.zend.net/manual/install.windows.php for more details. I also recommend you install the latest stable release of PHP. To install PHP on a PC: 1. | Download the latest stable release of PHP 5 from www.php.net/downloads.php. In the Windows Binaries section of the page, choose the "zip package"(Figure 1.38) and save it to your hard drive.
Figure 1.38. Select "zip package" in the Windows Binaries section. 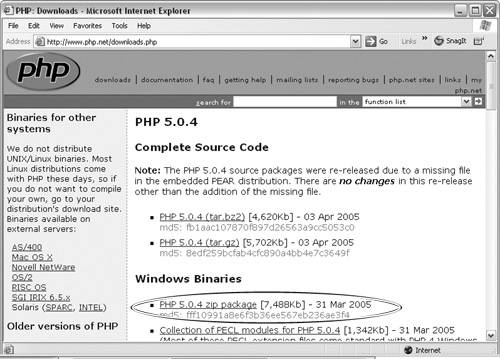
You will use the zip package to perform a manual installation of PHP 5. A Windows installer version is also available for download, but it can be more difficult to install and configure than the manual version.
| 2. | If ColdFusion's services are started, choose Start > Control Panel > Administrative Tools > Services, and then stop the services in the Services window by clicking the Stop link on the left side of the window (Figure 1.39). If you are using Apache as your Web server and its services are started, stop those in the same way (Figure 1.40).
Figure 1.39. Stop the ColdFusion application server in the Services window. 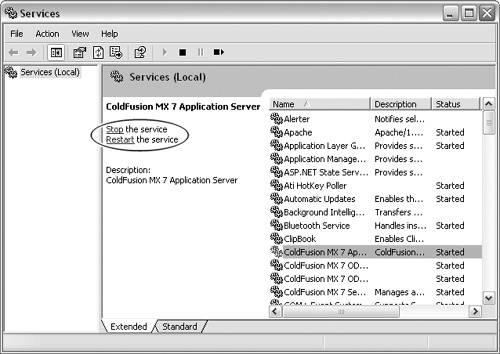
Figure 1.40. Stop the Apache Web server in the Services window. 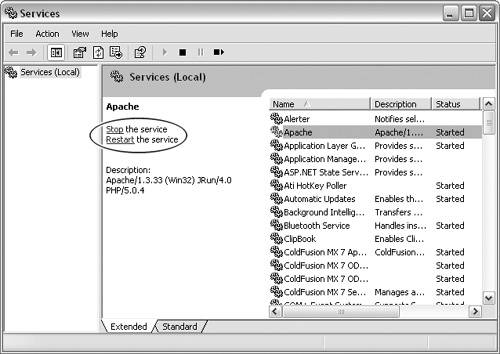
These services may start automatically when your computer starts, so be sure to check their status via the Services window before proceeding with the PHP installation.
| 3. | Once the zip package has downloaded, double-click the file and extract the zipped files to C:\php.
You can use a different directory, but some Web servers may crash if you use a location that has spaces in the path, such as C:\Program Files\php.
|
PHP is now installed on your computer. You will need to do some additional steps to configure PHP for use with your Web server.  Tip Tip
To configure PHP on a PC to work with an Apache Web server: 1. | From the Start Menu, choose Control Panel > System. The System Properties window opens (Figure 1.41).
Figure 1.41. The System Properties window. 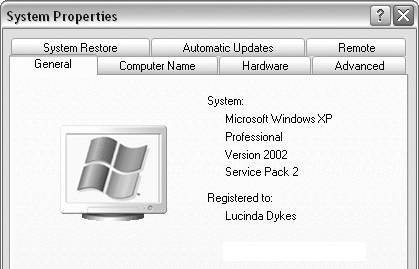
| 2. | Select the Advanced tab and click the Environment Variables button (Figure 1.42). The Environment Variables window opens.
Figure 1.42. Click the Environment Variables button. 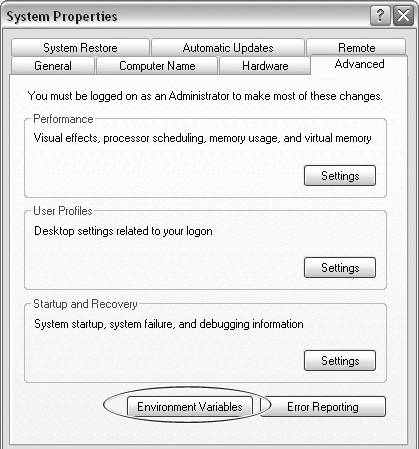
| 3. | In the Systems Variables section, locate the Path entry, select it, and then click the Edit button (Figure 1.43). The Edit System Variable dialog opens.
Figure 1.43. Select the system path in the Environment Variables window. 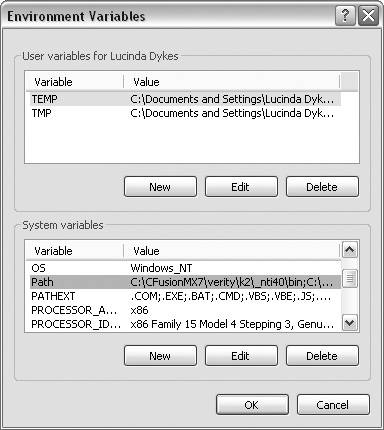
| 4. | Select the Variable Value field and append the system path name with ;c:\php to add your PHP directory (Figure 1.44). Click OK to close this dialog, click OK to close the Environment Variables window and finally click OK to close the System Properties window.
Figure 1.44. Add PHP to the system path so that the Apache module can find the required files and work with the PHP application server. 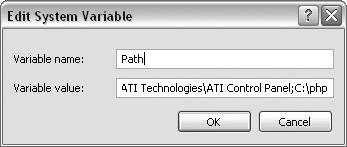
| 5. | Restart your computer to save the changes. Restarting makes the php5ts.dll file available to the Apache Web server module so that it can work with PHP.
The next step is to configure the php.ini file.
| 6. | In Notepad, open your php directory (C:\php) and then open the file named php.ini-recommended.
| 7. | Locate doc_root = in the file (Figure 1.45). Change it to doc_root = c:\programfiles\apache group\apache\htdocs.
Figure 1.45. Add the Apache document root location to the PHP initialization file. 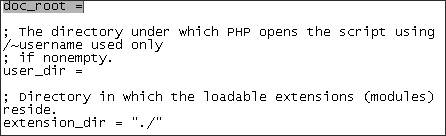
This sets the PHP document root to point to the Apache Web server's document root, which is the htdocs folder. When the Apache Web server is running, files are served from this folder.
| 8. | Save this file to your php directory as php.ini.
You can use the php.ini file as is, or you can make multiple changes to customize your PHP configuration. Directions are provided within the file itself for making additional changes.
Now you are ready to make changes to the Apache configuration file and complete your configuration of PHP as an application server with the Apache Web server.
| 9. | From the Start menu, choose All Programs > Apache HTTP Server > Configure Apache Server > Edit the Apache httpd.conf Configuration file (Figure 1.46). The httpd.conf file opens in Notepad.
Figure 1.46. Navigate to the httpd.conf file. 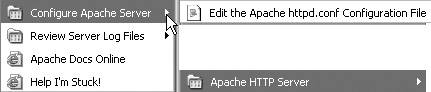
You will make three additions to this file to complete your configuration of PHP as an Apache 1.33 module.
| 10. | In Notepad, choose Edit > Find to locate the LoadModule section of the document. Add the following line to the end of the LoadModule section (Figure 1.47):
Figure 1.47. Add the PHP 5 module to the Apache load module configuration. 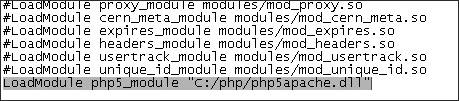
LoadModule php5_module "C:/php/php5apache.dll"
| 11. | In Notepad, choose Edit > Find to locate the AddModule section of the document. Add the following line to the end of the AddModule section (Figure 1.48):
Figure 1.48. Add the PHP 5 module to the Apache add module configuration. 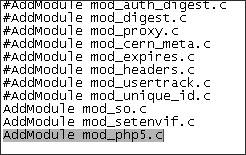
AddModule mod_php5.c
| 12. | In Notepad, choose Edit > Find to locate the following line in the document:
<IfModule mod_mime.c>
Make sure that it is followed by at least one line that starts with AddType (Figure 1.49). If not, choose Edit > Find Next to find another instance of this line of code.
Figure 1.49. Add a PHP mime type to the Apache configuration file. 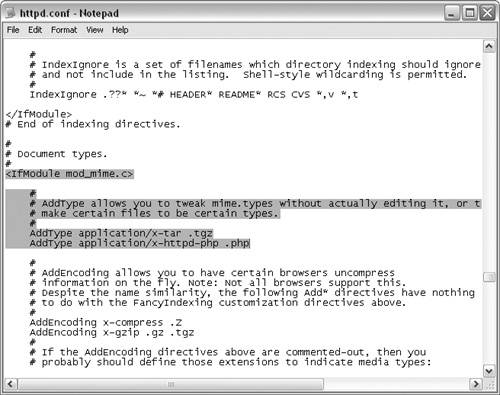
| 13. | Add the following line of code after the last AddType entry (Figure 1.49):
AddType application/x-httpd-php .php
| 14. | Save the file to save your changes, and then close the file.
|
Tip
To test your PHP configuration on a PC: 1. | Open the Apache htdocs directory (C > Program Files > Apache Group > Apache > htdocs). Create a new directory and name it php.
| 2. | In Notepad, open a new file.
| 3. | Type the following line of code:
<?php phpinfo(); ?>
| 4. | Save the file in your new Apache php directory as test.php.
| 5. | Make sure that the Apache service is running (choose Start > Control Panel > Administrative Tools > Services).
| 6. | In Internet Explorer, type http://localhost/php/test.php. A PHP Status page similar to Figure 1.50 confirms your successful installation of PHP.
Figure 1.50. The PHP Status page confirms a successful installation and configuration of PHP in Windows. 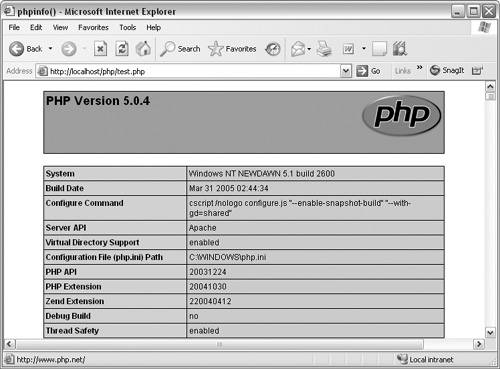
|
To install PHP on a Mac: 1. | Download a PHP 5 package at www.entropy.ch/software/macosx/php/ and save it to your hard drive. Be sure to choose a version that works with Apache 1.3 unless you have installed another Apache server.
| 2. | Double-click the .dmg file to mount the disk image, and then double-click the PHP package to start the installer (Figure 1.51).
Figure 1.51. Installing a PHP Package in Mac OS X. 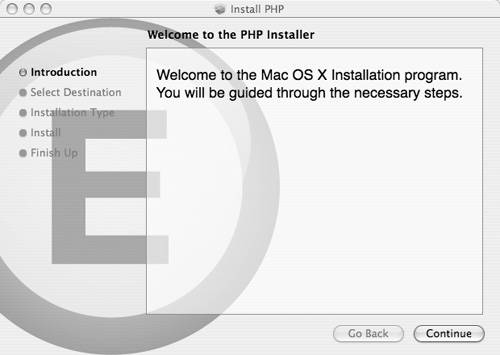
| 3. | In the message window that says the installer needs to run a program to determine that it can be installed, click Continue.
| 4. | On the Select a Destination pane in the installer, choose a destination volume and click Continue.
| 5. | On the Install PHP pane, click Install.
The installer displays a message to let you know the installation was successful (Figure 1.52).
Figure 1.52. A successful installation of PHP in Mac OS X. 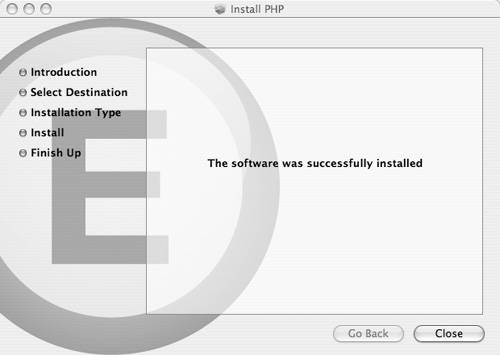
| 6. | Click Close.
|
Tips PHP 4.3.10 is preinstalled on Mac OS X 10.4. Configuring that installation, however, requires some familiarity with Unix and using a command-line interface. It's much easier to do a new installation of a newer version of PHP on Mac OS X. To learn more about using Unix on the Mac, see Unix for Mac OS X: Visual QuickPro Guide, by Matisse Enzer (Peachpit Press), as well as the online help at the Apple Developer Connection Web site (http://developer.apple.com).
To test your PHP installation on a Mac: 1. | From the Apple menu, choose System Preferences.
| 2. | In the System Preferences window, select Sharing (Figure 1.53).
Figure 1.53. The Sharing icon in the System Preferences window. 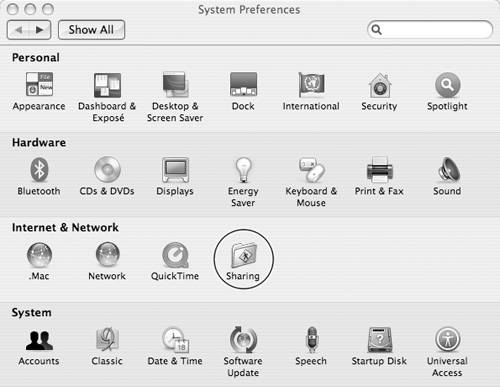
| 3. | On the Sharing pane, select Personal Web Sharing (Figure 1.54).
Figure 1.54. Select Personal Web Sharing on the Sharing pane. 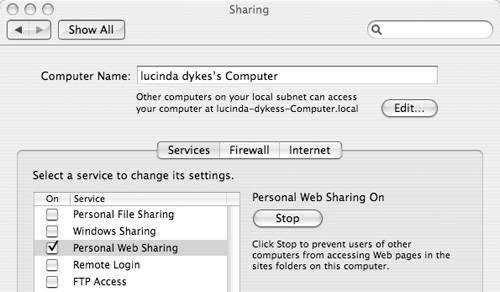
| 4. | In TextEdit, open a new file.
| 5. | Type the following line of code:
<?php phpinfo(); ?>
| 6. | Save the file in your Sites directory as test.php.
| 7. | Open Safari and type http://localhost/~your_user_name/test.php. A PHP Status page similar to Figure 1.55 confirms your successful installation of PHP.
Figure 1.55. The PHP Test page confirms a successful installation and configuration of PHP in Mac OS X. 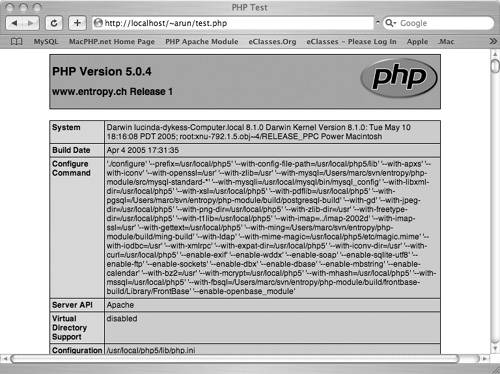
|
|