Section 11.3. Defining Editable Regions
11.3. Defining Editable RegionsDreamweaver assumes that all the content in the template is fixed unless you specify otherwise, so, now that you have the template file, you can add the editable regions. There are two editable regions in this layout: the section for the second-level links and the "Content goes here" section. You might as well start at the top. In the template document window, click anywhere inside the section for second-level links. You want the blinking cursor to appear somewhere inside this line of text. Now go to the Tag Selector, which appears at the very bottom of the document window, as shown in Figure 11-8, and click the <p> tag. The <p> tag stands for paragraph, as you may recall from Chapter 1. When you do this, Dreamweaver selects the entire paragraph that contains the second-level links. Figure 11-8. Using the Tag Selector to select parts of the document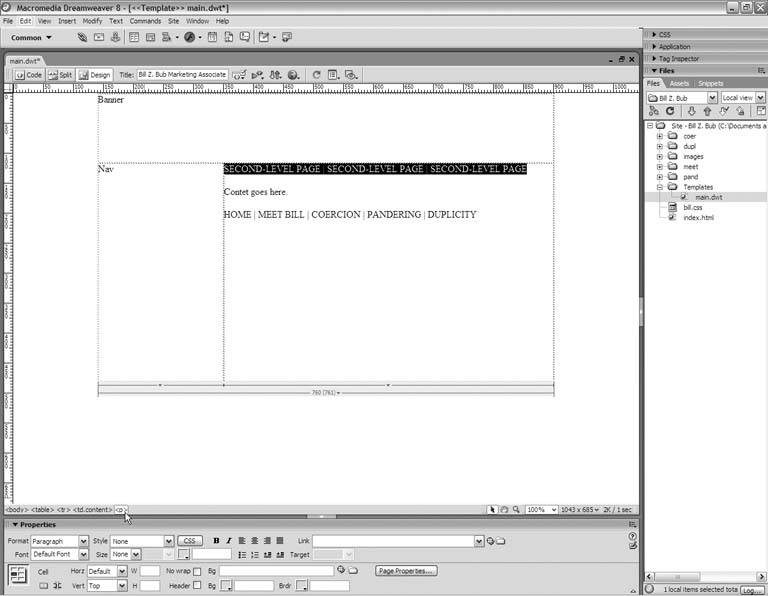
With the paragraph selected, go to the Insert panel, and set it to the Common category if need be. Then click the inverted triangle to the right of the template objects, as Figure 11-9 shows. Choose the Editable Region object from the menu that opens, and you get the New Editable Region dialog box, which appears in Figure 11-10. Figure 11-9. Choose the Editable Region from the Insert panel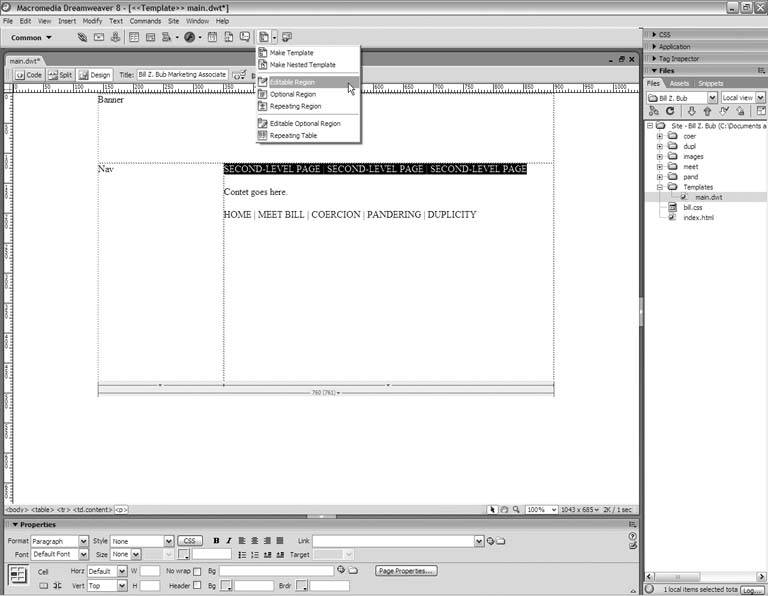 Figure 11-10. Mark off a New Editable Region in your template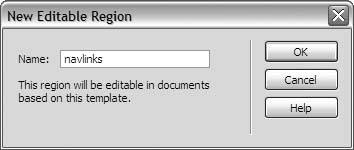 Type a short, descriptive name for the editable region in the Name field, such as navlinks or level2nav, and click OK. Dreamweaver boxes off this paragraph as an editable region, as Figure 11-11 shows. Figure 11-11. Editable regions are boxed in turquoise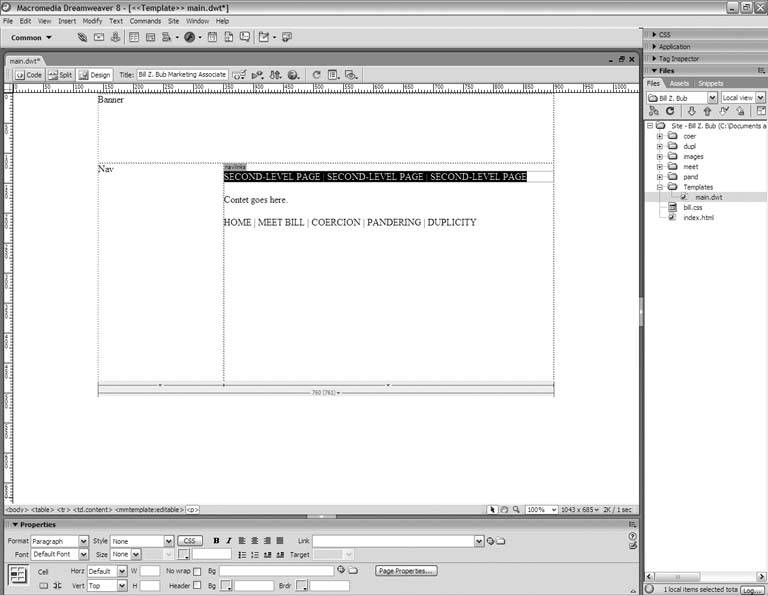 So much for the first editable region. On to the second! Click anywhere inside the "Content goes here" placeholder. Then go down to the Tag Selector, and choose the paragraph tag, <p>, to select the entire paragraph. Now go up to the Insert panel, and click the Editable Region object to open the New Editable Region dialog box. Type a name such as content in the Name field, and click OK. Dreamweaver defines the new editable region, and your document window looks like Figure 11-12. Figure 11-12. The main content area is marked as an editable region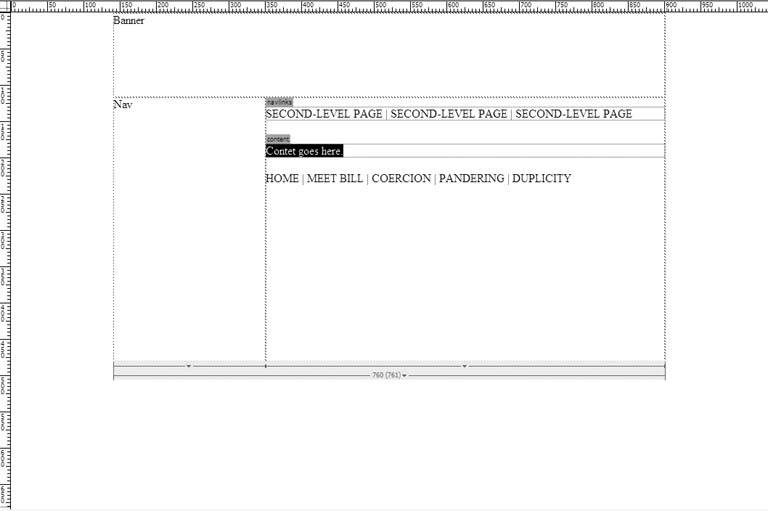 But what if your navigation bar is variable instead of fixed, or what if the banner area is variable? Not a problem. Simply use the existing text label as the place-holder for an editable region, with one minor modification. When you click inside the Nav or Banner text label, go to the Property Inspector, and choose Paragraph from the Format menu if this text isn't already in paragraph format. (It probably isn't, because when you added labels to the areas of your design, you didn't press Enter or Return. You just typed the label and moved on to the next area.) This gives you a specific <p> tag to click when you go to the Tag Selector and therefore guarantees that you select the entire element. With the paragraph selected, it's just a matter of clicking the Editable Region object, naming the region nav or banner or whatever makes sense, and clicking OK to add it to the template, as Figure 11-13 shows. When you're done adding editable regions, choose File Figure 11-13. A variable nav bar set as an editable region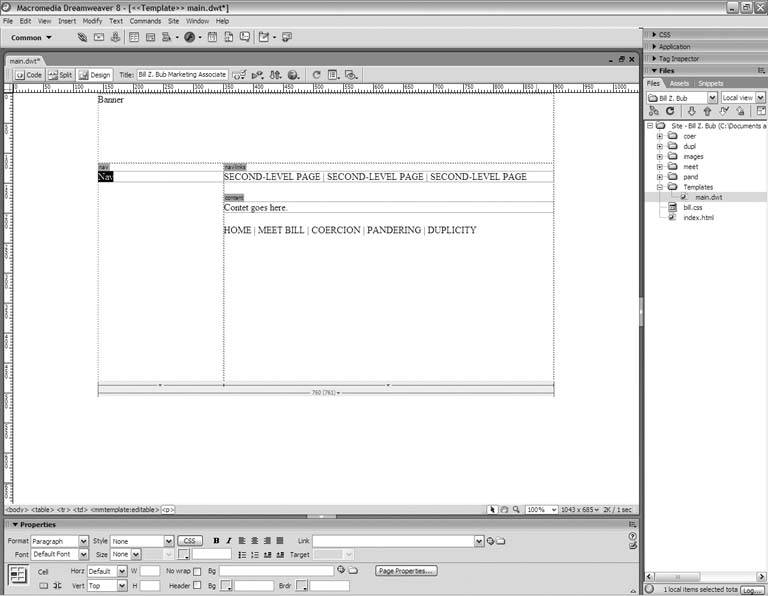 |
 Save from the main menu to save your template.
EAN: 2147483647
Pages: 154