Section 8.3. Setting Page Properties
8.3. Setting Page PropertiesNow that you have a new document window, you can set up a few basic properties of the page. To do this, go to the main menu and choose Modify Many of the categories on the left side of the Page Properties dialog box don't apply just yet. They're more for the elements that you'll add to your stylesheet in Chapter 12 (and you'll use a slightly different method for adding them). For now, you want to set the most basic appearance attributes of the page, and you'll start with the margins.
By default, when a browser displays a web page, it automatically adds a small amount of padding between the page content and the browser window. This little bit of whitespace can turn into a royal pain, because different browsers add different amounts of it. When you're trying to line up the areas of your design with pixel-perfect precision, as you'll do in the next two chapters, the last thing you need is a variable amount of whitespace throwing off your measurements. For this reason, it's good to remove the browser's default page margins entirely, so that your page fits snugly inside the browser window. If your design ends up feeling a little claustrophobic, you can always go back to the Page Properties dialog box and specify margin values of your choosing, thereby eliminating the x-factor of default browser settings. To remove the browser's default page margins, click the Appearance category on the left side of the Page Properties dialog box, and skip down to the margins section. Set the Left Margins field to 0, and choose pixels as your unit of measurement from the drop-down menu to the right. Then do the same for the other three margins, so that your Page Properties dialog box looks like the one in Figure 8-9. Figure 8-8. Set the appearance attributes of the page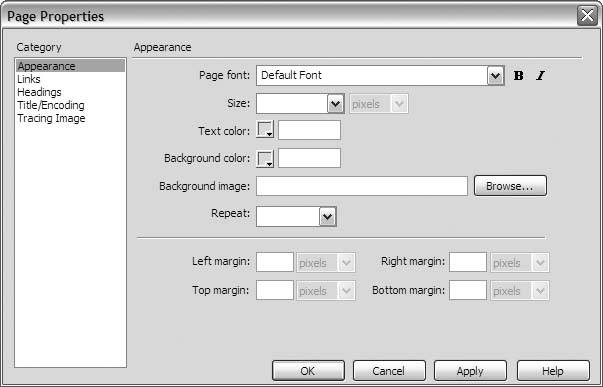 Figure 8-9. Set all four margin values to 0 pixels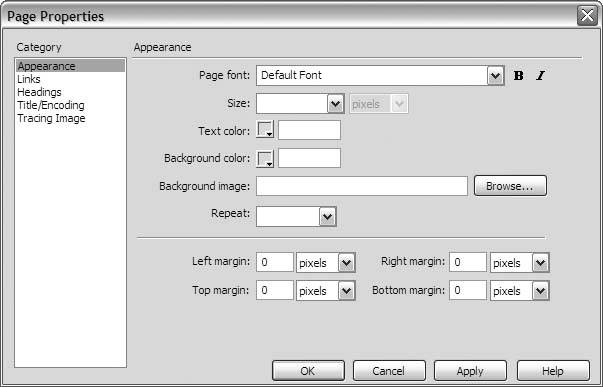 Now, set the title of the page. Choose the Title/Encoding category of the Page Properties dialog box. The title of a web page appears in the title bar along the top of the browser window. It does not appear anywhere on the page itself. You don't add this information so much for the sake of your design as you do for the sake of good coding practice. For now, in the Title field, simply type the name of your web site. Use the same name that you provided in the Site Definition dialog box in Chapter 7, as Figure 8-10 shows. As you create new pages for your site, you'll customize this title to reflect the content of the page. Figure 8-10. Type the title of your web page in the Title field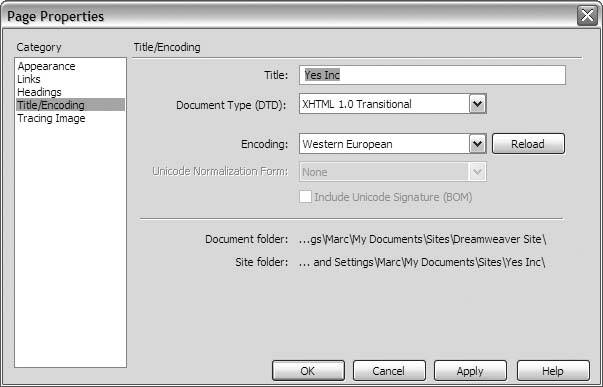 Finally, if you created a tracing image for your site in Chapter 6, you may now attach it to the background of the document window. Choose the Tracing Image category of the Page Properties dialog box. Click the Browse button next to the Tracing Image field, and in the Select Image Source dialog box, navigate to the place where you saved your tracing image. Click the image file to select it, and click OK to return to the Page Properties dialog box.
Notice that you can adjust the transparency of the tracing image with the slider in the Page Properties dialog box. For now, keep the tracing image at 100 percent opacity. If you have trouble seeing what you're doing because the tracing image is too overpowering, you can always come back to the Page Properties dialog box and decrease the opacity. Click OK in the Page Properties dialog box, and Dreamweaver adjusts the properties of your page accordingly, as Figure 8-11 shows. Choose File Figure 8-11. A page with margins, title, and tracing image set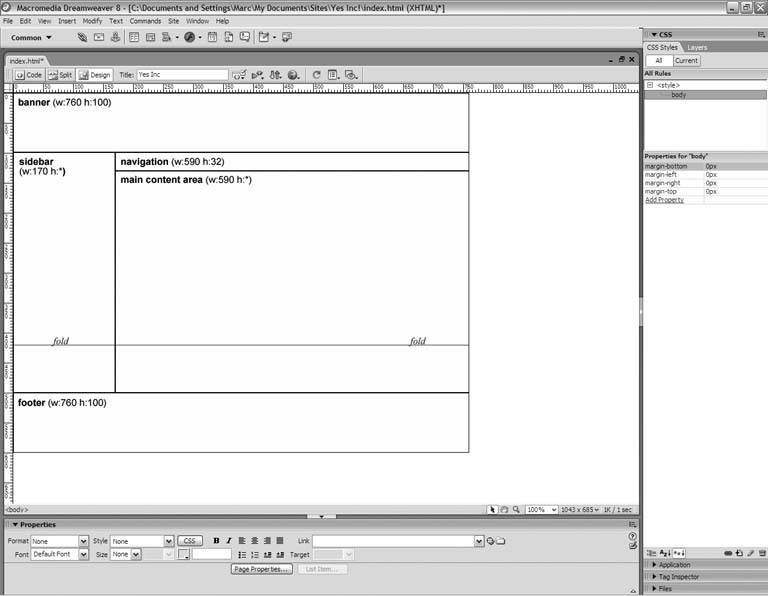 |
 Page Properties. The Page Properties dialog box appears, as Figure 8-8 shows.
EAN: 2147483647
Pages: 154