Changing Resolutions
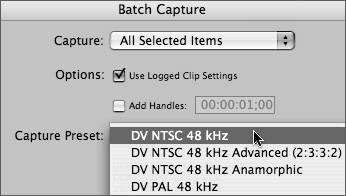
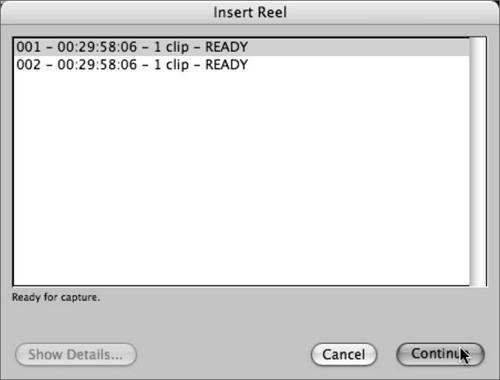
| Traditionally, it was common practice to only increase resolution towards the end of your nonlinear project. However, the Media Manager in Final Cut Pro makes it possible to decrease project resolutions with ease. This provides you with great flexibilityyou can move your project effortlessly between low and high resolutions. Increasing ResolutionGenerally, the editor of an offline project will lock picture, and proceed to recapture the original source material at a higher resolution in preparation for color correction and output. This standard will depend on your project requirements and can range from increasing resolutions for export to an effects facility to previewing an edit during postproduction of a film. Note Lock picture means to complete editing. No major editing revisions of the project will be undertaken after picture lock. During post-production of the Cohen brothers' film, Intolerable Cruelty, Joel and Ethan Cohen increased the resolution of their work-in-progress for previews. They shot film, transferred to HD and DVCAM, captured at DV25 from the DVCAM tapes and recaptured at higher HD resolution for previews. The HD online was used for the preview screening only and was not used for the final film release. A traditional film preview screening involves a matchback to the negative workprint viewed through a projector. However, this HD online allowed Joel and Ethan to keep their preview screening looking closer to the high-quality film aesthetic minus the scratching of grease pencil, dirt, and splice tape normally viewed during standard preview screenings that matchback to a film workprint. Paul Ziller, the director and editor of the film Firefight, incorporated over 250 visual effects. Adam Stern, president of Artifex Studios Ltd and five other digital artists created the visual effects for Firefight. The artists needed the clips at a high resolution. Adam and his team sent the clips via QuickTime across the network to one of the Macs, where another artist worked on them, applying special effects, then sent them back onto the Final Cut Pro system. Paul then cut the affected clips right back into his edit. The Magic Hour editors locked picture and recaptured only the edited clips in their final sequence, then discarded the low-resolution media. Although this is a common process during high-resolution recapture, the editors may have chosen an alternate path like Joel and Ethan Cohen. Joel and Ethan's editing assistants kept the captured DV25 media on their system concurrently recapturing at the HD resolution. Joel and Ethan were continuing to edit the film, and they increased resolution for preview purposes, whereas The Magic Hour editors had completed their editing process and increased resolution for color correction and output. Your reasons and timing for increasing resolution may differ, but your basic approach will remain the same. There are essentially two methods of recapturing media: selected and complete. If you decide to recapture the entire source file at a higher resolution, you can achieve the recapture through the Batch Capture window. However, if you require selected or partial clip recapture, you will need to leverage the power of the Media Manager in Final Cut Pro. Recapture Entire Source FileYou can recapture files directly through the Batch Capture window. Recapturing this way pulls in the entire source duration regardless of how much is used in a sequence or marked on a clip. If you need to keep the low-resolution media files, simply save a copy of your project with the Save Project As (Shift-Cmd-S) function in Final Cut Pro. Add an appendage to the name of your project, perhaps something like High Resolution. Use your current project if you want to delete the low-resolution version. Tip Change your audio/video settings to your new resolution. The easiest way is to change the Easy Setup (Ctrl-Q). If you have existing sequences, you'll need to change their settings. Open the existing sequence, press Cmd-0 (Cmd-zero), click the Load Sequence Preset button, and alter the sequence setting to reflect your new resolution.
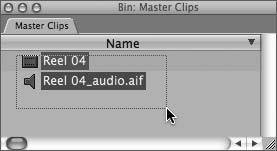
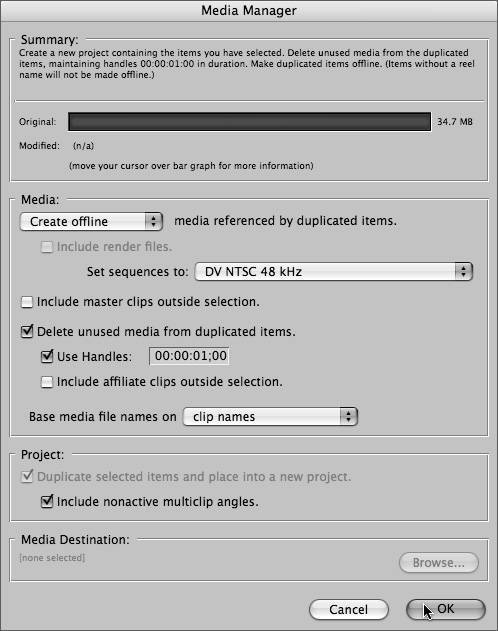
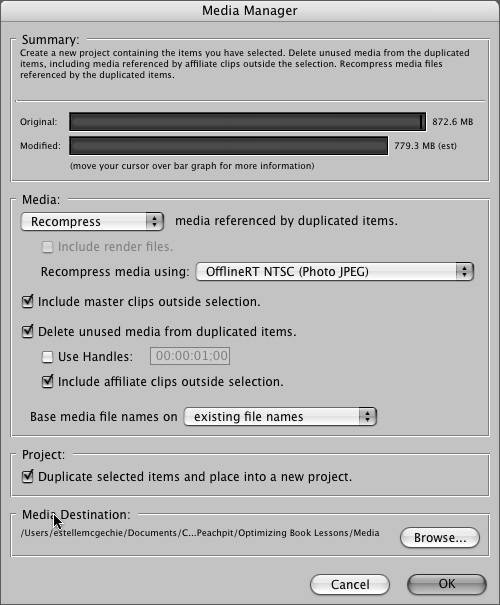
Recapture Selected Source MediaIf you want to recapture only your selected or marked clips, you will use the Media Manager. Final Cut Pro's Media Manager is a powerful tool with many uses, one of which is to help streamline your workflow during the capture or recapture process. We will focus on using the Media Manager prior to recapturing selected clips. The scope of the Media Manager is extremely flexible, and you can us it on one or more clips, one or many sequences, or even an entire project. The affected elements of your project depend on what was selected in your Browser, Timeline, or Viewer prior to opening the Media Manager. Tip Since functions of the Media Manager read clip relationships, you need to understand the difference between master and affiliate clips. A master clip is a first instance of a clip in the Browser. The first instance could be from a logged, captured, imported, or merged clip. An affiliate clip is any clip edited, subclipped, or copied throughout your project. An affiliate clip shares properties of the master clip, which allows for powerful manipulation. You can reconnect or change the properties of a master clip and affect all copies (also called affiliates). If you have enough space, and if you deem it necessary, you can keep your low-resolution clips on your system while also increasing the resolution. See the option in step 6 in the following exercise. Here's how to increase resolution for selected source media using Media Manager:
Note If your media has no source timecode track or reel name, the media file will not be affected by the Media Manager. This is a precautionary feature in Final Cut Pro to prevent altering a media file that you may not be able to recapture. Decreasing ResolutionSometimes you'll need to convert your project from high to low resolutionfor example, the project may be on hiatus, your storage or bandwidth requirements may have decreased, or maybe it's time to archive. During post-production of Cold Mountain, the assistant editors wanted to prepare scenes on their laptops so they decreased the resolution of the media files in order to accommodate smaller bandwidths and file sizes. After the assistants prepped a scene on a laptop, they copied their project file to the main editing station, changed the sequence setup to match the higher-resolution media files, and reconnected the clips to the higher-resolution media files. This process gave everyone involved in the post-production of Cold Mountain greater flexibility.
Note The Media Manager is not designed to convert frame rates. To convert frame rates, the most elegant solution is to use Compressor. |


 Final Cut Pro scans your selected elements and reconstructs the project.
EAN: N/A
Pages: 205