Section 44. Formatting Tables
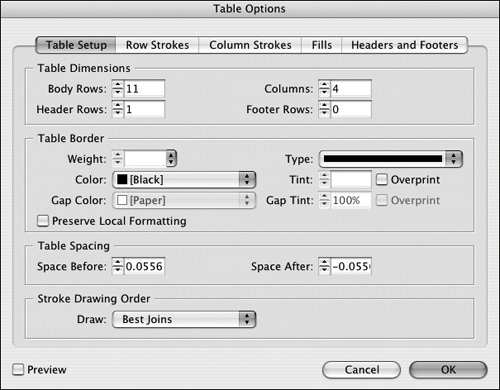
#44. Formatting TablesWith the table formatting options, you can create eye-catching, easy-to-read tables by automatically applying strokes and fills to alternating rows or columns of information, specifying different strokes and fills for individual cells, applying a border to the entire table, and much more. To access the formatting controls, you need to select all or parts of a table with the Type tool. All the formatting commands are available in the Table menu and the Table palette menu (Window > Type & Tables > Table). Formatting the Entire TableTo format an entire table as opposed to individual cells, click in the table with the Type tool to select it. Then choose Table > Table Options > Table Setup. The Table Setup panel (Figure 44a) lets you change the number of rows and columns, add a table border, and specify the amount of space before and after the table. The Row Strokes, Column Strokes, and Fills panels let you apply a pattern of strokes and/or fills such as applying a fill to every third column. Figure 44a. The Table Options dialog box provides formats for the entire table such as a table border and alternating row strokes.
Tip To position the table within the text frame that it's anchored in, select the paragraph the table is anchored in and click one of the alignment buttons in the Paragraph panel in the Control palette. Formatting CellsTo format cells, you first need to make a selectiona single cell, multiple adjacent cells, or the entire table. You can then specify how the text is positioned within the cell, specify strokes and fills for the cell, and even highlight cells with a pattern of diagonal lines. To make a selection, use the Type tool and then do one of the following:
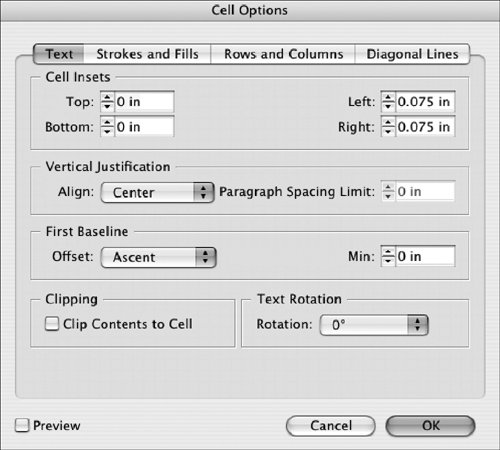
Once you have cells selected to format, choose Table > Cell Options > Text. The Text panel in the Cell Options dialog box (Figure 44b) lets you change text inset, vertical justification, first baseline, and rotation of text within the cells. The Strokes and Fills, Rows and Columns, and Diagonal Lines panels let you specify cell sizes and add strokes and/or fills to the cells for emphasis or clarity. Figure 44b. The Cell Options dialog box lets you specify the text placement, strokes, and fills for selected cells.
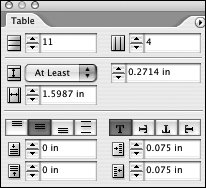
Using the Table PaletteThe table formatting options you use the most are also available in the Table palette (Figure 44c). To open the palette, choose Window > Type & Tables > Table. Point at the controls on the palette to display their Tool Tips and see what they do. The Table palette menu provides quick access to most of the commands in the Table menu. Figure 44c. The Table palette provides quick access to commonly used table formatting options such as number of rows and columns, and text inset within cells.
|
EAN: 2147483647
Pages: 142