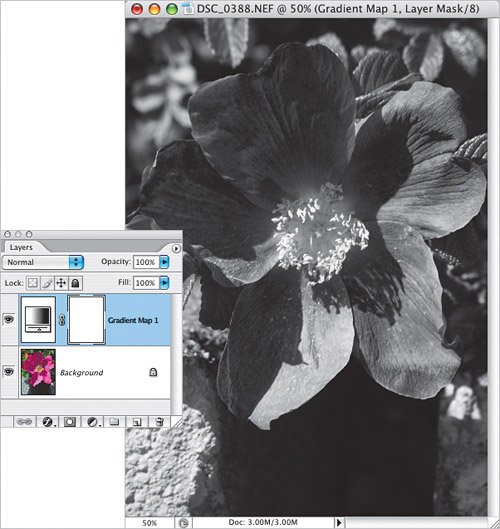
Variations Here I used the Gradient tool (G) to paint with a Radial gradient in black on the layer mask so the original flower shows through in the center.
Variation 1: Radial gradient 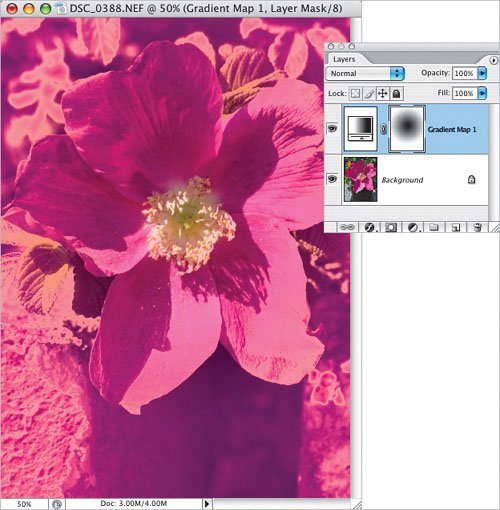 In this case, I Control-clicked (PC: Right-clicked) on the adjustment layer and chose Blending Options. Then I held down the Option key (PC: Alt key) and split the black and white This Layer Blend If sliders, dragging until I liked the results. (For more on this, see Blending Options in the Key Concepts.)
Variation 2: Split Blend If sliders 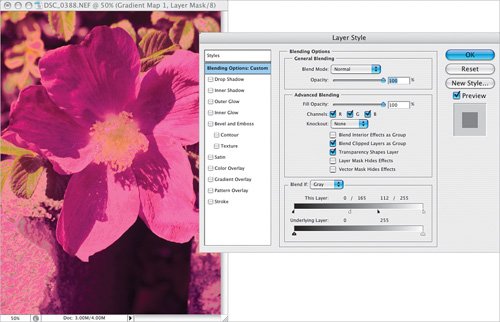 This example has the Blending Options as in the previous variation, and a Radial gradient as in the first variation.
Variation 3: Combined Variations 1 and 2 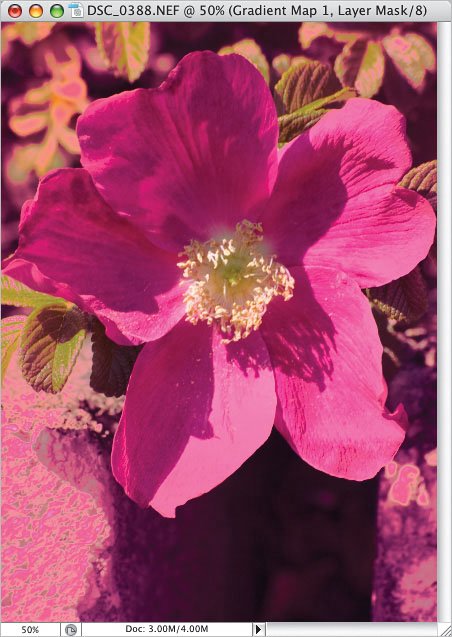 Here I copied the contents of the Red channel and then pressed-and-held the Option key (PC: Alt key) while I clicked on the layer mask. This allowed me to view the layer mask so that I could paste the copied channel and create a "photographic" mask.
Variation 4: Red channel as layer mask  | 
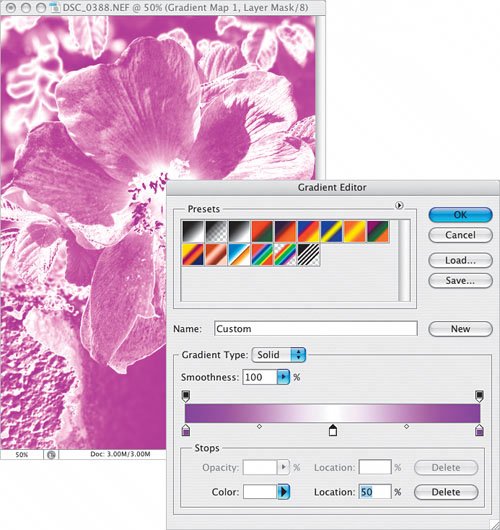
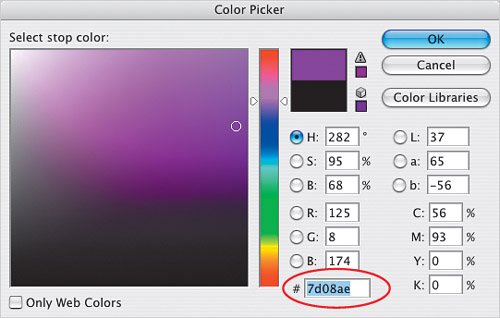 Next, double-click on the last (far right) white color stop and in the Color Picker, press Command-V (PC: Control-V) to Paste the hexadecimal color number in its field (this is a simple way to ensure both color stops are the same color). Then click below the color bar, roughly in the middle, to add another color stop. Double-click on the new color stop and change the color to white in the Color Picker. As you do these operations, you'll see the effects you're having on the image.
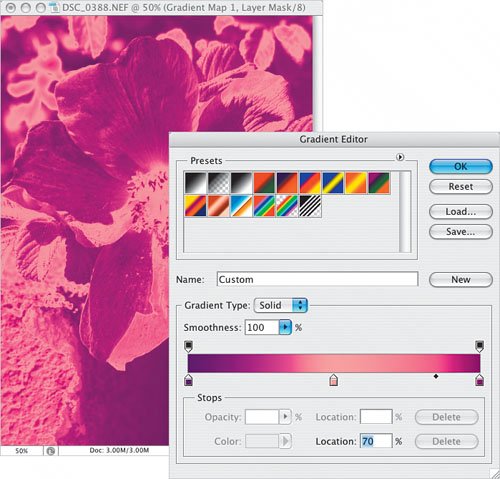