Technique 35. Lighting Effect


Technique #35. Lighting Effect

This very simple, yet effective, lighting technique comes from a class taught at Photoshop World by Eddie Tapp. Among his many talents, Eddie comes up with cool techniques that are easy to do but can create a powerful result.

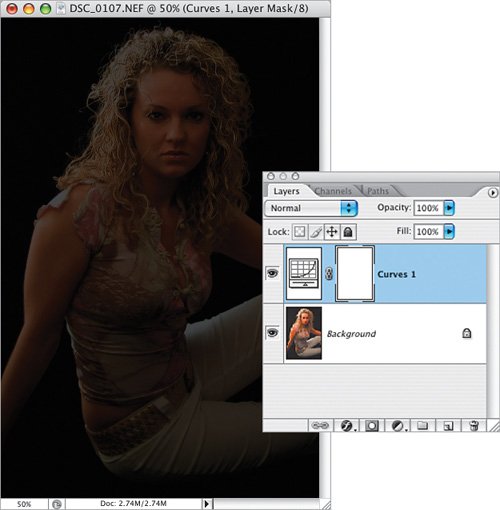
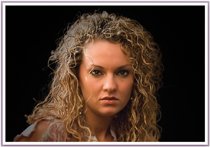
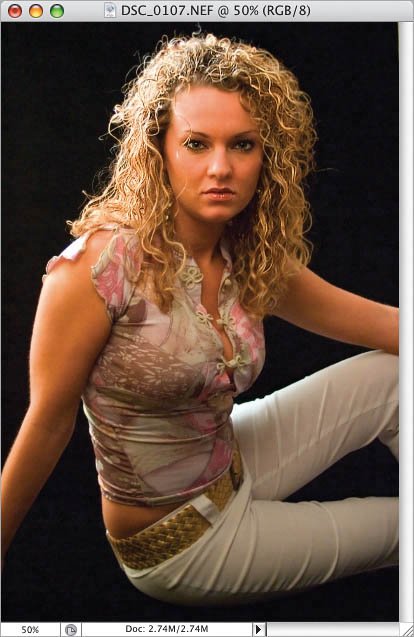
key concepts:

adjustment layers

layer masks

Here's the image I'll use for this technique.

Step One.

Click on the Create New Adjustment Layer icon at the bottom of the Layers palette, and add a Curves adjustment layer from the pop-up menu. Click on the top-right point of the curve and drag it straight down until the Output number is between 70 and 100.

Output=100

Output=70

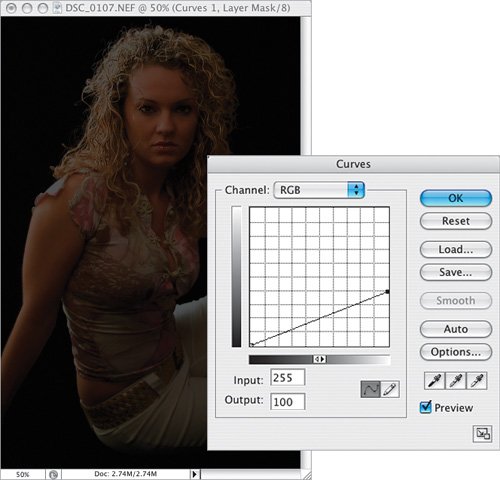
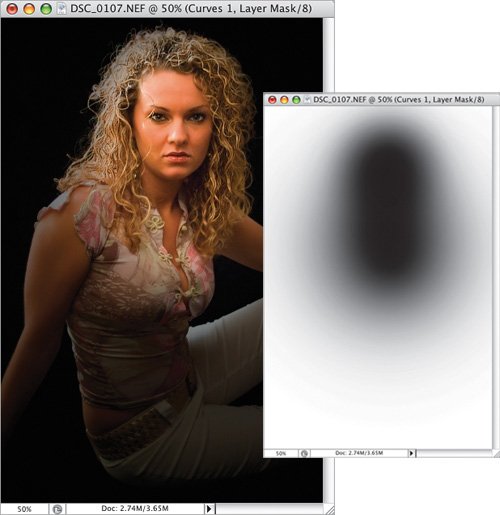
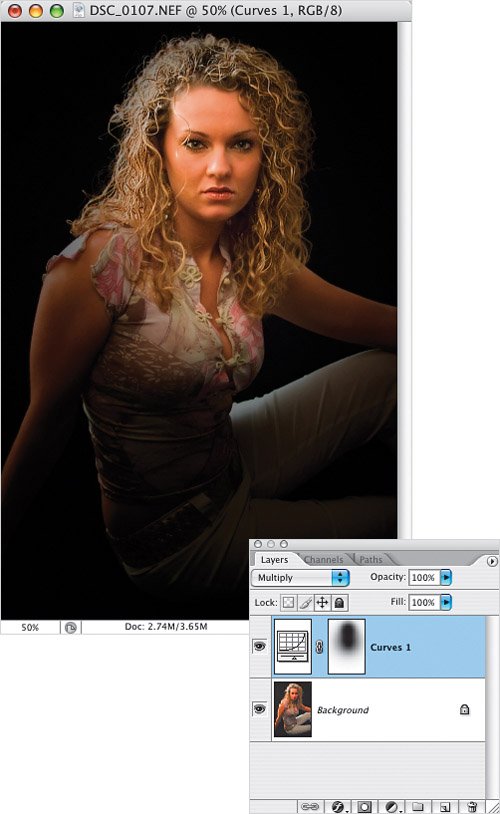
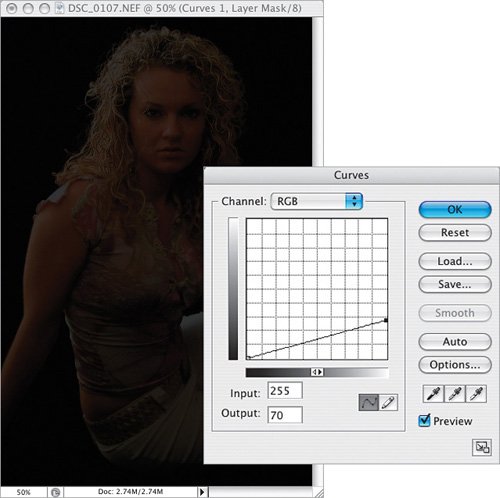
Here's the result of my Curves adjustment layer.

Step Two.

Press B to get the Brush tool and choose a very large, soft-edged brush. Make sure your Foreground is set to black and, in the Options Bar, set the Opacity of the brush to around 5060%. Click once on the image to hide the effects of the adjustment layer (and add the lighting effect). In this example, I then changed the brush opacity to 20%, moved the position of the brush slightly, and clicked again. Here's the result and what my layer mask looked like.


Variations

Here, I changed the blend mode of the adjustment layer to Multiply, which intensiffes the darker areas.

Variation 1: Multiply

Rather than using a brush to mask the effects of the Curves adjustment layer, you can also use a selection. Here, I used the Lasso tool (L) to make a rough selection of the area I wanted to light, and pressed Option-Delete (PC: Alt-Backspace) to fill it with black. After deselecting, I used Filter>Blur>Gaussian Blur to create the look I wanted by experimenting with different amounts of blurring.

Variation 2: Selection and Gaussian Blur


Photoshop Finishing Touches
ISBN: 0321441664
EAN: 2147483647
Year: N/A
Pages: 129
Authors: Dave Cross

flylib.com © 2008-2017.
If you may any questions please contact us: flylib@qtcs.net