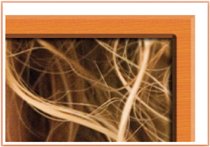
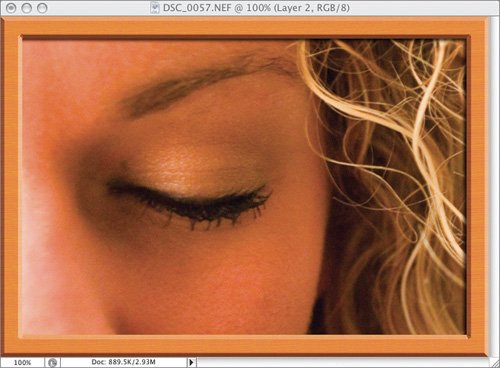
Here we'll use a built-in pattern and the Bevel and Emboss layer style to create a wood frame effect.
key concepts:
layer masks
layer styles
Step One.
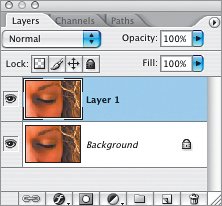
Press Command-J (PC: Control-J) to duplicate the Background layer.
Step Two.
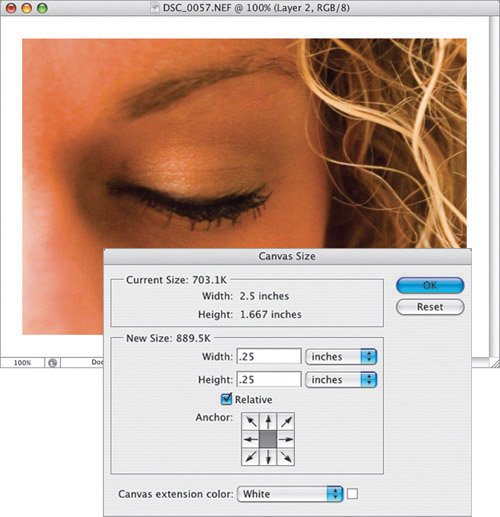
From the Image menu, choose Canvas Size (or press Command-Option-C [PC: Control-Alt-C]). Make sure the Relative checkbox is turned on and enter .25 inches in both the Width and Height fields.
Step Three.
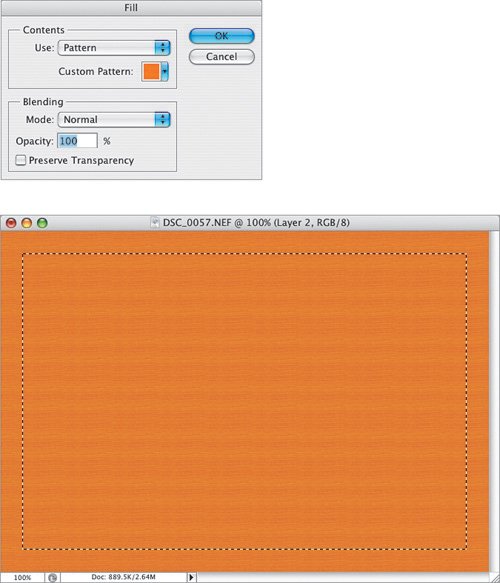
Click on the Create a New Layer icon at the bottom of the Layers palette to add a new layer above the photo layer and, from the Edit menu, choose Fill. In the Fill dialog, choose Pattern from the Use pop-up menu and pick the built-in pattern called Wood from the Custom Pattern Picker. Make sure the Mode is Normal and the Opacity is 100%. (This will temporarily cover up our photo, but we'll fix that next.) With the wood layer still active, press-and-hold the Command key (PC: Control key) and click on the thumbnail of the photo layer to load a selection of that size.
Step Four.
Next, press-and-hold the Option key (PC: Alt key) and click on the Add Layer Mask icon at the bottom of the Layers palette. This will create a layer mask that hides the center of the wood layer, leaving a frame around your photo.
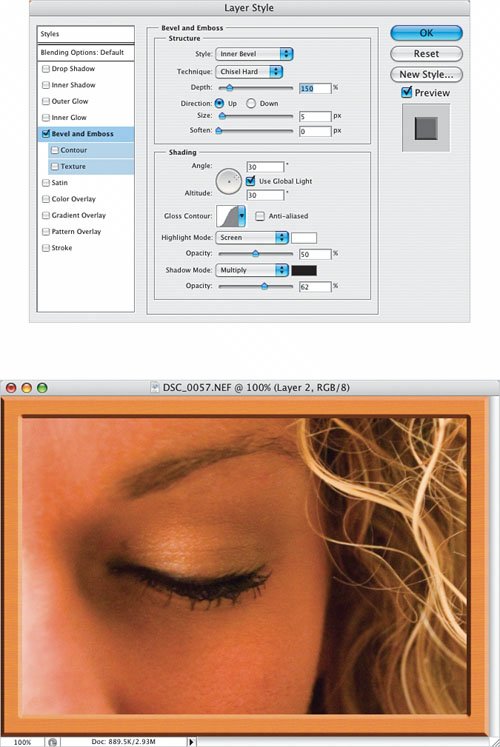
Step Five.
Click on the wood layer thumbnail to activate the layer (rather than the mask), then click on the Add a Layer Style icon at the bottom of the Layers palette and choose Bevel and Emboss from the pop-up menu to add dimension to the wood layer. Change the Technique to Chisel Hard, the Depth to 150%, and lower the Opacity settings for the Highlight and Shadow Modes. Click on the Gloss Contour thumbnail and choose Gaussian from the Contour Picker.
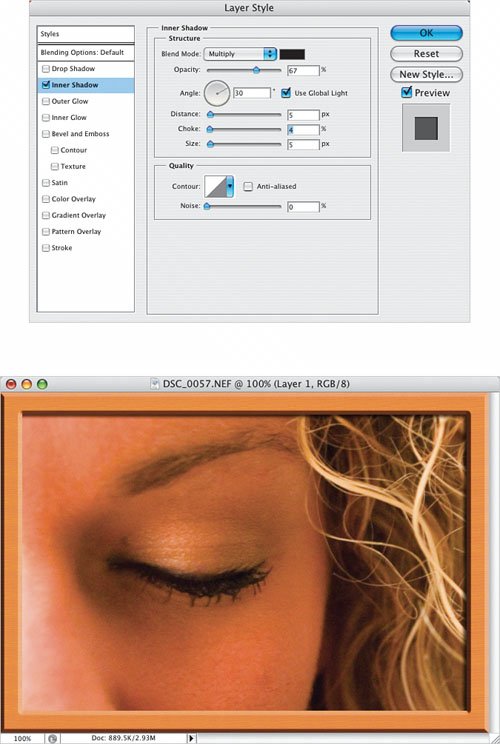
Step Six.
Click on the photo layer to activate it, and using the Add a Layer Style pop-up menu, add an Inner Shadow to the photo. Change the Blend Mode Opacity to 67%, and increase the Choke to 4%.
Variations
In this example, I changed the Gloss Contour setting in the Bevel and Emboss layer style to Steep SlopeJagged.
Variation 1: Steep SlopeJagged contour
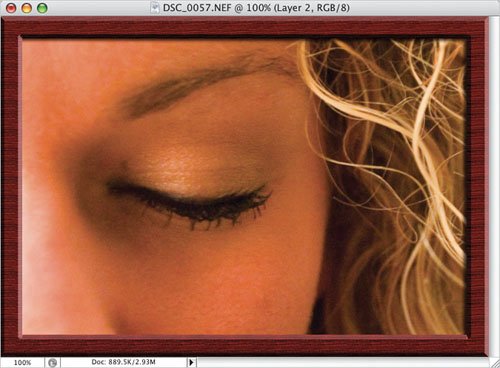
Here I added a Color Overlay layer style to the wood layer, chose a dark brown as the color, and set its Blend Mode to Color Burn.