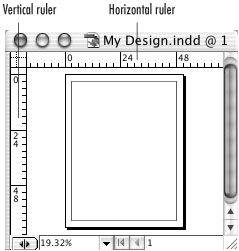
| Designers need to measure things on pages. Rather than hold a ruler up to your monitor, you can use InDesign's electronic rulers. To show and hide the document rulers: You can change the rulers to display different units of measurement. This is helpful if you receive instructions written in measurements with which you are not familiar. To change the unit of measurement: 1. | Choose Edit > Preferences > Units & Increments (Win) or InDesign > Preferences > Units & Increments (Mac). This opens the Units & Increments dialog box.
| 2. | For the Horizontal and Vertical settings, choose one of the measurements from the pop-up lists  . .
The choices for the ruler's units of measurement. 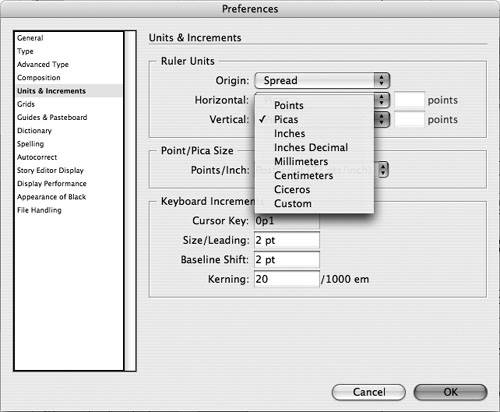 Tip You can have different units for the horizontal and the vertical rulers. For instance, the vertical ruler can match the document's leading so that each unit equals each line of copy. The horizontal unit can be in inches or picas. | 3. | If you choose Custom, enter the number of points for each unit on the ruler.
Tip You can also change the units with the ruler contextual menus  . (See page 16 for more information on how to access contextual menus.) . (See page 16 for more information on how to access contextual menus.)
The contextual menu when you click over a ruler.  Tip The Units & Increments preferences also let you set your own value for the number of points per inch. (See page 534 for more information on setting this preference.) |
The rulers start numbering at the top-left corner of the page. You may want to move this point, called a zero point, to a different position. This might help you judge how much space you have from one spot of the page to another. To reposition the zero point: 1. | Position the cursor over the zero point crosshairs at the upper-left corner of the rulers  . .
The zero point indicator of the rulers. 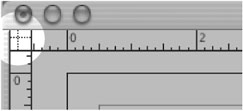 | 2. | Drag the zero point to the new position on the page  . .
You set the ruler's zero point by dragging the zero point indicator to a new position on the page. 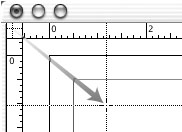 | 3. | Release the mouse button to position the zero point.
Tip Double-click the zero point crosshairs in the corner of the rulers to reset the zero point to the upper-left corner. |
If you are working on a project such as an advertising spread, it may be easier to position objects if the rulers continue across the spine of the pages. (The spine is where the pages of a book, magazine, or other multipage document are bound together.) InDesign lets you customize the origin of the rulers. To set the origin of the rulers: 1. | Choose Edit > Preferences > Units & Increments (Win) or InDesign > Preferences > Units & Increments (Mac).
| 2. | Set the Ruler Units Origin menu to Page, Spread, or Spine  . .
You can control if the the rulers reset for each spine or each page. They can also be set to stay across a spread. 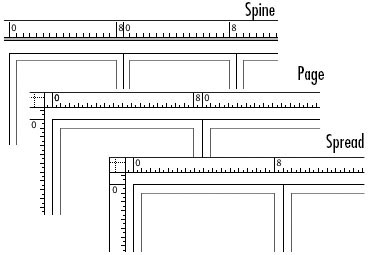 or
Choose a setting from the ruler contextual menu .
Tip There is no difference between the page or spine settings unless there are more than two pages to the spread. |
|