Changing Column Width and Row Height
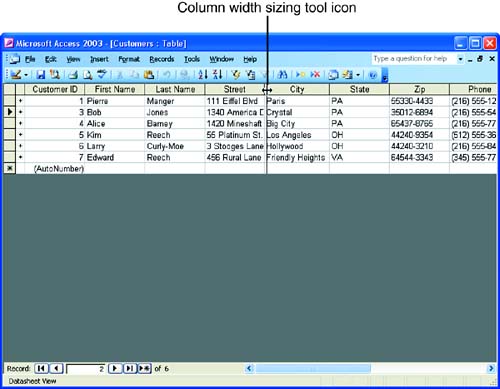
| One common problem with a table is that you can't see the complete contents of the fields. Fields often hold more data than will fit across a column's width. This causes the data in your table to appear to be cut off. You can fix this problem in two ways: make the column wider so that it can display more data, or make the row taller so that it can display more than one line of data. Changing Column WidthAccess offers many ways to adjust column width in a table; you can choose the method you like best. One of the easiest ways to adjust the column width is to drag the column headings. Follow these steps:
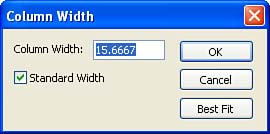
Alternatively, you can double-click the column's vertical border when the sizing tool is showing, which automatically adjusts the width of the column on the left so that it accommodates the largest amount of data entered in that particular field. Another, more precise, way to adjust column width is to use the Column Width dialog box. Follow these steps:
Because changing the width of a field column in the table is actually changing the field's length (which you designated in the Design view when you created the table), you do need to save these changes. Click the Save button on the Table Datasheet toolbar. Changing Row HeightYou can also change the height of the rows or records in the table. This allows you to see more text in a field that contains a large amount of data, such as a memo field.
One way to make rows taller (or shorter) is to drag a particular row's border, enlarging the record's row. Position the mouse pointer between two rows in the row selection area, and then drag up or down. Remember that this changes the height of all the rows in the table (meaning all the records). Another way is to use the Row Height dialog box. It works the same as the Column Width dialog box, except that no Best Fit option is available. Select the Format menu and then choose Row Height . The Row Height dialog box appears. Enter the height for the table's rows into the dialog box (or click Standard Height to return the rows to the default height) and click OK . |
EAN: N/A
Pages: 660