| Confused? There's a lot to learn in the API for behaviors. It will all become much clearer after you've actually had some practice with behaviors. This practice session will get you used to the behaviors API and will leave you with some framework behavior files to build on in the workshops. Task 1: Create a custom behaviors folder Your first task is to create a special Development folder for your custom behaviors. -
If you already have Dreamweaver running, quit the program. -
In the Configuration folder, find and open the Behaviors/Actions folder. -
Create a new subfolder in this folder. Call it Development . -
Relaunch the program and check out the actions popup menu in the Behaviors panel. You should have a new submenu called Development, like the one shown in Figure 3.4 (it's an empty submenu for now, of course). Figure 3.4. The Development submenu (empty) in the Behaviors panel actions popup menu. 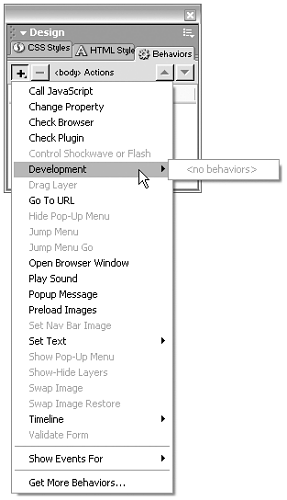 note Dreamweaver can be a little fussier about reloading behaviors than about other extensions. You must always quit the program and relaunch it to get new items in the actions menu to appear. Items that have already been created, that you're just editing, generally update with the Reload Extensions command from the Insert bar.
Task 2: Create a basic behavior file It's time to build the world's simplest behavior! When you're done, you will be able to see how the architecture of these files works, as well as having a handy file to use as a template for building future behaviors. -
Launch your text editor of choice, or bring Dreamweaver to the front in Code view. -
Create a new file. Save it in your new Configuration/Behaviors/Actions/ Development folder. Call it My Behavior.htm . -
Type in the basic code for a simple behavior, as shown earlier in Listing 3.1. -
Save your file and close it. -
If Dreamweaver is currently running, quit. (Remember that simply reloading extensions doesn't work with new behaviors.) -
Launch Dreamweaver. Create a new Dreamweaver document if you need to, and in that document create a simple text link. (Type a few words such as click me and link them to #, as is shown in Figure 3.5). Leave the link selected so that you can assign a behavior to it. Figure 3.5. Creating a simple text link, preparatory to testing a custom behavior. 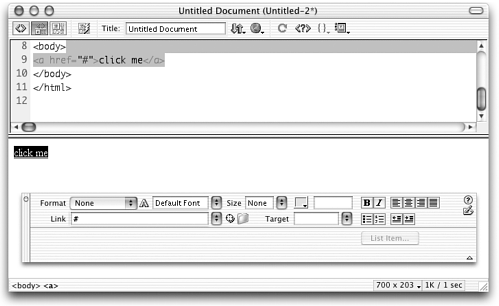 -
Open the Behaviors panel and click the + button. (Dreamweaver might take a minute to load the actions popup menube patient!) If there's a JavaScript error in your behavior file, you get an error message at this point. Otherwise, you should be able to choose the Development submenu and find your behavior. Figure 3.6 shows what it should look like. Figure 3.6. The Development submenu and My Behavior, ready for action. 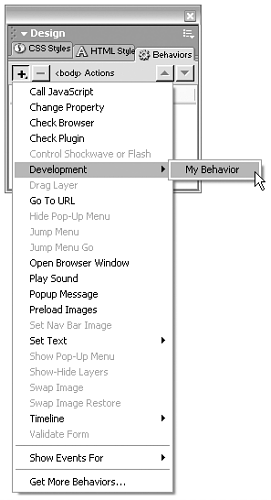 -
Choose the behavior. Your bland , basic dialog box should pop up (see Figure 3.7). Click OK to insert your behavior. Figure 3.7. The dialog box for My Behavior. 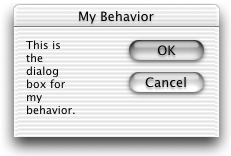 -
Check your code! As shown in Figure 3.8, you should have a new function and function call in your document. Figure 3.8. A test document with My Behavior applied to a text link. 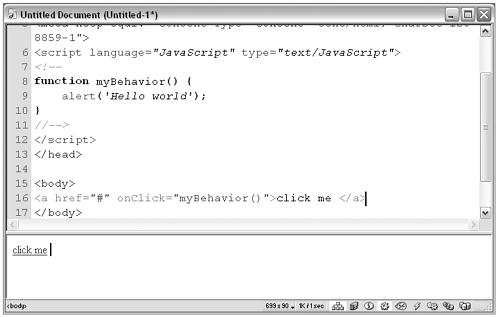 note When Dreamweaver inserts the <script> tag into your document <head> , it surrounds the tag's contents with comment lines ( <! and //> ). This coding nicety keeps browsers that don't understand JavaScript from displaying the script as text in the browser window. -
Try it out in a browser! Clicking the click me link should open up a popup window with your exciting message inside (see Figure 3.9). If you have problems, check your code against that shown earlier in Listing 3.1 and troubleshoot. Figure 3.9. The test document previewed in a browser, showing My Behavior in action. 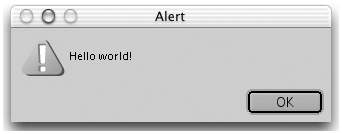 Task 3: Create a behavior with a passed parameter To see how Dreamweaver lets you customize the function call (but not the function) you insert, you can tweak your practice behavior just a little. You'll be rewriting the defined function to accept a passed parameter; then you'll rewrite the applyBehavior() function to insert a function call that passes a parameter. -
Open My Behavior.htm in your text editor. -
Change the defined function to accept a passed parameter (new code is in bold): function myBehavior( myParameter ) { alert( myParameter ) } -
Change the applyBehavior() function to pass a parameter (new code is in bold): function applyBehavior() { return 'myBehavior( "This is my parameter. " )'; } -
Save the file and close it. -
In Dreamweaver, reload extensions using the popup options menu in the Insert bar. (Because this behavior isn't new, only changed, you don't need to quit and relaunch.) -
In your test file, select the text link you made earlier and remove the behavior from it. (With the link selected, click the button in the Behaviors panel.) Then add the behavior to the link again (see Figure 3.10). If you examine your code, you will see that the statement returned by the applyBehavior() function has become the function call. The inserted function appears exactly as you entered it in your behavior file. That's it! Figure 3.10. The test file showing the revised My Behavior being inserted. 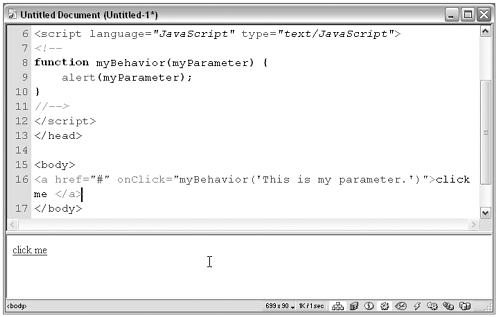 -
When the behavior is working properly, save a copy of it outside the Configuration folder for future reference. (If you have created a Working folder, save it there.) You can use this file as a template for creating future behaviors. If you haven't commented the code yet, you might want to add comments now, for future reference.  |


