Taz s Target Two-Click Color Correction
|
Taz's Target Two-Click Color CorrectionOne of the instructors who teaches with me at the Photoshop World Conference & Expo is Taz Tally. Taz is an incredibly talented teacher, writer, and general Photoshop whiz kid (well, for a Ph.D. anyway), and he's come up with his own color-correction method using a color-correction target he designed. Using his card (and his method), you can pretty much do your color correction in two clicks, and you can even use Levels (rather than Curves). Here's how it works: Step OneHere's the deal: You need to shoot a shot where Taz's color target actually appears in the shot. So if you're shooting portraits, just have your subject hold the card, then take the shot. If you're shooting products, put his card right by the product. It's only there for one shot (or unless you change the lighting setup significantly). By the way, if you don't already have Taz's target card, you can order his Calibration and Color Correction Target at www.tazseminars.com. 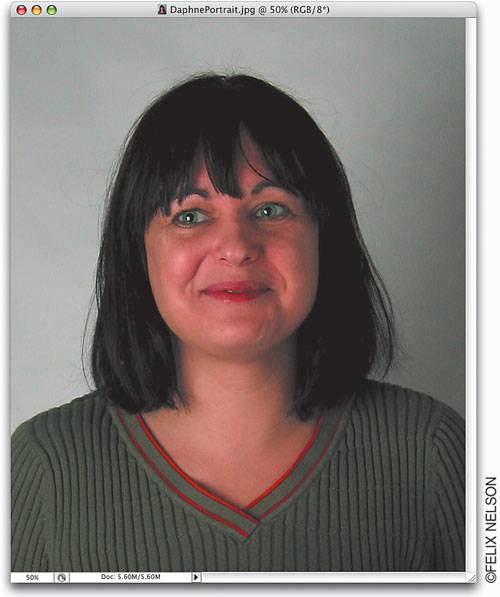 Step TwoOpen the photo that has Taz's target clearly in the scene (you'll use his target to do your correction). Press Command-L (PC: Control-L) to bring up Levels. Double-click on the white Eyedropper tool (in the bottom right-hand corner of the Levels dialog), and when the Color Picker appears, enter 245 for Red (R), 245 for Green (G), 245 for Blue (B), and click OK. This sets your highlights.  Step ThreeNow double-click on the gray Eye-dropper (for midtones), and in the resulting Color Picker, enter 135 for Red (R), 135 for Green (G), 135 for Blue (B), and click OK. Then, click OK in the Levels dialog, and when a warning dialog appears asking if you want to save the target colors, click Yes. 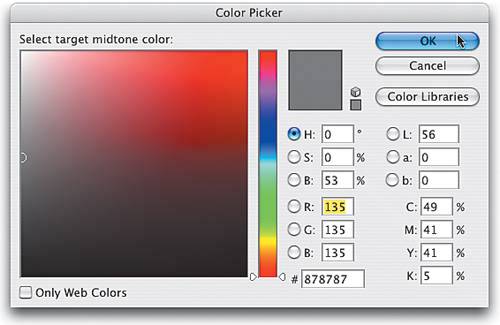 Step FourPress Z to get the Zoom tool and zoom in tight on Taz's target card within your photo. Next, bring up Levels again and click on the white Eyedropper tool to select it. Then, in your photo click directly on the white color chip on the left of the card. This removes the color cast in the highlight areas of your photo. 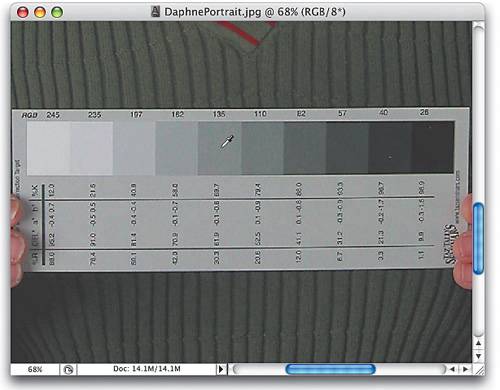 Step FiveNow, click on the gray Eyedropper tool (for midtones) to select it, and then in your photo, click directly on the gray color chip in the center of the card. This removes the color cast in the midtone areas of your photo. Just these two clicks will pretty much correct most of the common color-correction situations you'll run into. Now press Command-0 (zero) (PC: Control-0) to fit your image onscreen and admire your corrected image 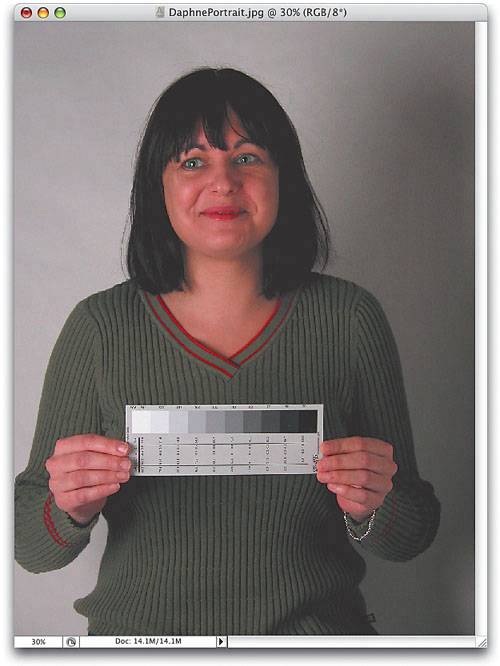 |
|
EAN: N/A
Pages: 187