STEP TEN (Creating Playlists)
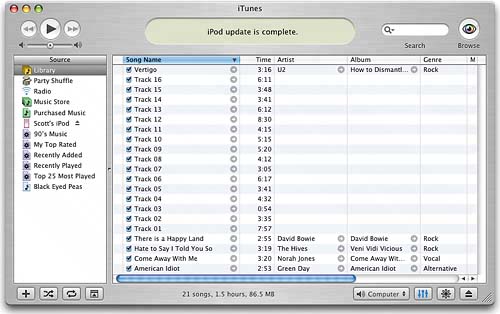
| If you can't see your songs in the main window, click on Library in the Source list (so you can see your complete list of songs). Click on any one of the songs you imported from the CD, then press-and-hold the Command key on your keyboard (it's the key with the Apple logo on it) and click on each of the songs you imported from that album (or if the songs are contiguous, press-and-hold the Shift key and click on the first and last song from your CD in the list). When you get to the last song from your CD, release the Command (or Shift) key, and then click-and-holddon't just clickon that last song and drag-and-drop it onto the new playlist you created in the Source list. As you drag, all the other songs you selected will come right along with the song you're dragging. As your cursor moves over your playlist, a little green plus sign (+) icon will appear below your cursor, which lets you know that you're adding songs to this playlist. Now release the mouse button and just those songs will appear in that playlist. If you want to add another song from your Library, just click on it, then drag-and-drop it onto that playlist. In the Source list, click on your new playlist and you'll see that it contains only the songs you selected. You can now start creating playlists and sorting your songs just the way you want them. By the way, to remove a song from a playlist, just click on it and press the Delete key on your keyboard (which removes the song from the playlist, not from your hard disk. To remove a song from your hard disk, click on it in your Library and press the Delete key).  |
EAN: 2147483647
Pages: 189