Creating Postcards or Greeting Cards
| If you're interested in cheating Hallmark out of a few bucks, here's a great way to do itcreate your own greeting cards. But it's not just about the moneyit's about the personalization that can only come from using one of your own photos that makes the card really special (and cheap!). Here's how to do the holidays on a budget (kidding): Step One©SCOTT KELBY 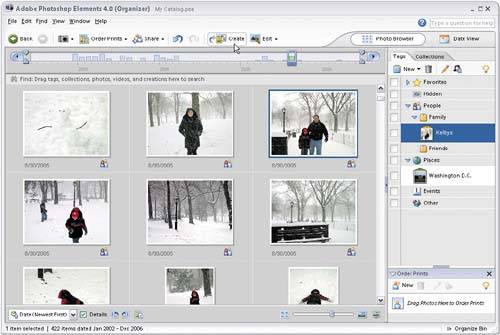 Start by going to the Organizer and choosing the photo you want to use on the front of your greeting card. Then, click the Create button in the task bar at the top of the Organizer. Step Two
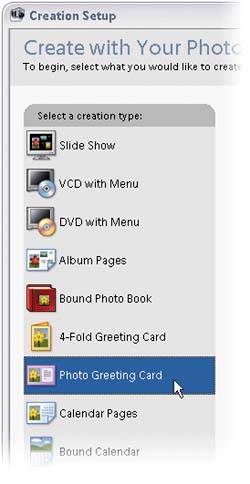
When the Creation Setup dialog appears, in the list of creations on the left side of the dialog, click on Photo Greeting Card, and then click OK. Step Three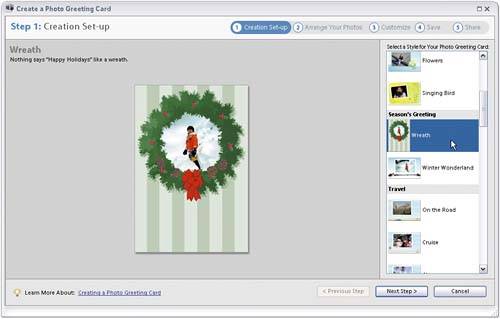 Here's where you choose your layout from the list of styles on the right side of the dialog. If you scroll down a bit, you'll find a variety of pre-made templates (like the one shown here from the section called Season's Greeting), or you can go with more traditional layouts by scrolling back up to the top (hint: go with the traditional). Once you've chosen a layout (please don't choose the one I chose here), click the Next Step button. Step Four Here's where it asks you which photo you want to use. Why don't we use the one we chose earlier? (This is kind of a "Duh!" screen.) Click the Next Step button. Step Five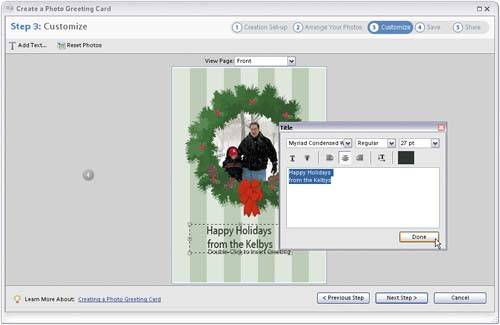 This section lets you customize the text that will appear on your card, and it also lets you crop your photo within the border by dragging the cropping handles outward (the image will be cropped within the preset photo frame). To add your own text, double-click directly on the words "Double-Click to Insert Title" and the Title dialog will appear. To add more text, double-click on the words "Double-Click to Insert Greeting." After you've entered your text (and chosen your font, color, etc., in the dialog), click on the Done button. Now, click on the Next Step button. Step Six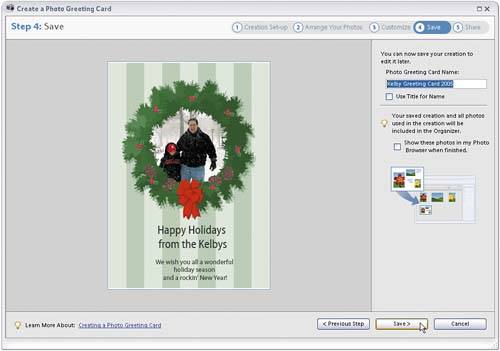 In this screen you simply enter a name in the Photo Greeting Card Name field, and then click the Save button, so if you need to edit it later, you've got the original. Step Seven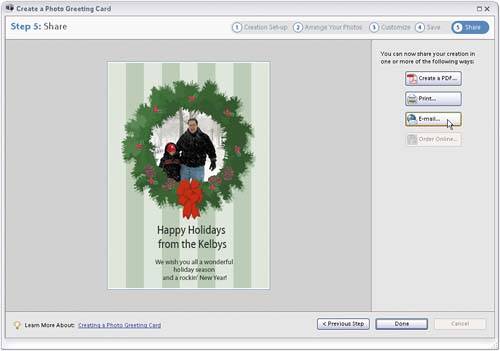 On the final screen, you'll see a list of things you can do with your greeting card: create a PDF, print it out, or email it. Click on the one you want and it's on its way. Deluxe Greeting Card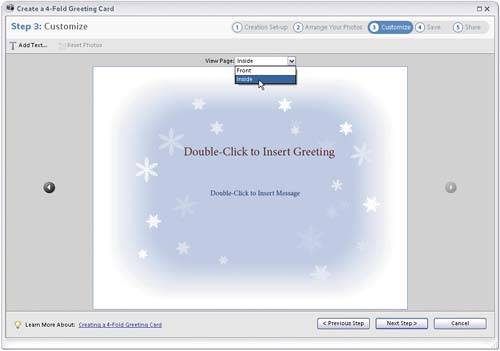 You can create a four-fold greeting card the same way as creating a photo greeting card, so I won't put you through that whole thing again. Just follow the steps above, except in Step 2 choose 4-Fold Greeting Card. Then, in Step 5, to add text inside your card, choose Inside from the View Page pop-up menu above the card preview area, double-click the placeholder text in the preview, and enter your text in the Greeting dialog. |
EAN: 2147483647
Pages: 201
- Chapter IV How Consumers Think About Interactive Aspects of Web Advertising
- Chapter X Converting Browsers to Buyers: Key Considerations in Designing Business-to-Consumer Web Sites
- Chapter XIII Shopping Agent Web Sites: A Comparative Shopping Environment
- Chapter XVI Turning Web Surfers into Loyal Customers: Cognitive Lock-In Through Interface Design and Web Site Usability
- Chapter XVIII Web Systems Design, Litigation, and Online Consumer Behavior