Removing Backgrounds
| One of the most requested selection tasks is how to remove something (or someone) from a background. Luckily, this task has been made dramatically easier in Elements 4.0 thanks to a fairly amazing tool called the Magic Selection Brush tool (and you know if they use the word "magic" it must be true, thanks to rigid enforcement of the truth in advertising laws). Step One
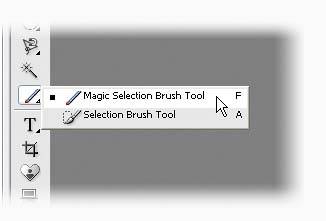
You'll find the Magic Selection Brush tool in the Toolbox (as you might expect) nested with the Selection Brush tool (or you can press F to get it). Step Two©ISTOCKPHOTO/URSULA ALTER
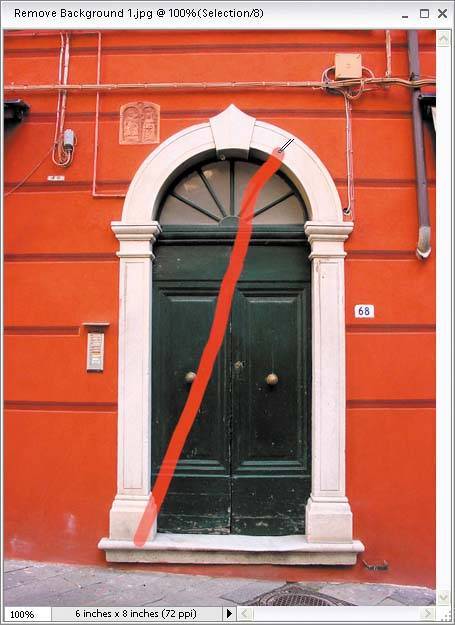
Here's how it works: Just take the brush and drag it over the object you want to select (in this case, I wanted the door and ornamental entry around it, so I dragged from the bottom-left corner diagonally to the top-right corner). The first time I tried it, it almost selected the entire object. The key word here is "almost." Sometimes, it does a perfect job (and the title "magic" is appropriate), and other times, well…magic might not come to mind, but more often than not, it really works wonders. Now, if you paint a line over an area, and it doesn't get the entire door, just hold the Shift key and paint over (or just click on) any area it missed the first time. So, be prepared to Shift-drag one or more lines to get the whole door. Step Three
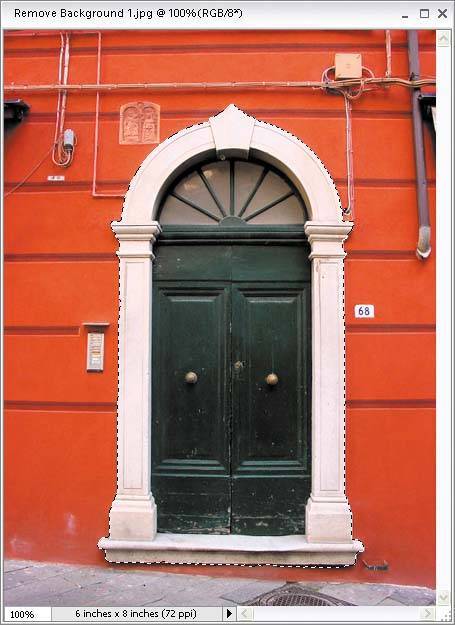
Here the doorway is selected after just two little strokes (my initial stroke, then I held the Shift key and painted over the step on the bottom). Hint: You can paint a line, paint a squiggle (you knowa squiggle), or click with the tool, and it'll do the rest. Just don't freak out if it doesn't work perfectly the first time; take a deep breath, hold the Shift key, and paint another stroke. If it selects too much, just undo (Control-Z) and try a slightly different area to stroke. Step Four©ISTOCKPHOTO/ANDREAS VITTING  Well, now that we've got a selection, we might as well have some fun with it. Open a different image (in this case, a field with lots of blue sky), then go back to your selected door image (make sure you're in Cascade viewing mode by going under Window, under Images). Press V to get the Move tool, and drag your selected door right over onto the field photo. If the door is too big, press Control-T to bring up the Free Transform bounding box, then hold the Shift key, grab a corner handle, and drag inward to scale it down to size. Then press Enter to lock in your resizing. Note: If you can't see the corner handles, press Control-0 (zero). Step Five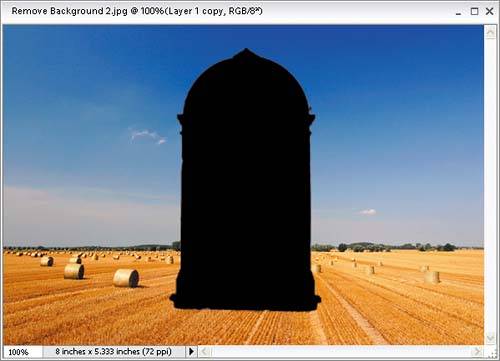
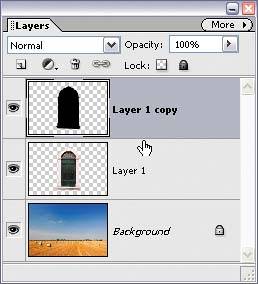
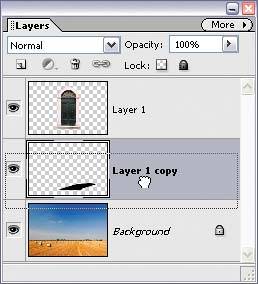
Press Control-J to duplicate your door layer (so now you have a door, then a duplicate right on top of it in the Layers palette). We're going to turn this duplicate into a cast shadow, and to do that we have to start by filling the duplicate door layer with black. So, press the letter D to set your Foreground color to black, and then press Alt-Shift-Backspace to fill your duplicate door with black. Step Six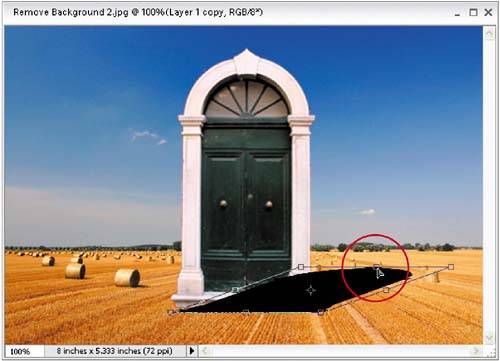 Now we're going to turn this layer into a cast shadow. Start by pressing Control-T to bring up Free Transform again. When the Free Transform bounding box appears, press-and-hold the Control key, and then drag the top-center point down and to the right so the door looks like it's lying down. When it looks like the one shown here, press Enter to lock in your transformation. Step Seven
Go to the Layers palette and click-and-drag this shadow layer directly below the door layer, so the shadow appears behind the door (not in front of it). Step Eight
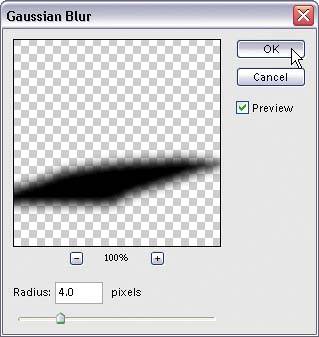
To soften the shadow (so the edges aren't so harsh), go under the Filter menu, under Blur, and choose Gaussian Blur. When the dialog appears, enter 4.0 for the Radius (the higher the number, the blurrier the edges will be), and then click OK. Step Nine
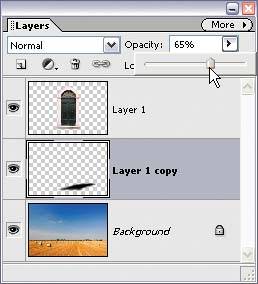
Your shadow is solid black, so to make it look more realistic, we're going to lower the Opacity so you can see through the shadow a bit. Go to the Layers palette, click on the shadow layer, and then lower the Opacity to around 65% (actually, you can choose any Opacity setting you wantif you want the shadow lighter, choose something less than 65%). Step Ten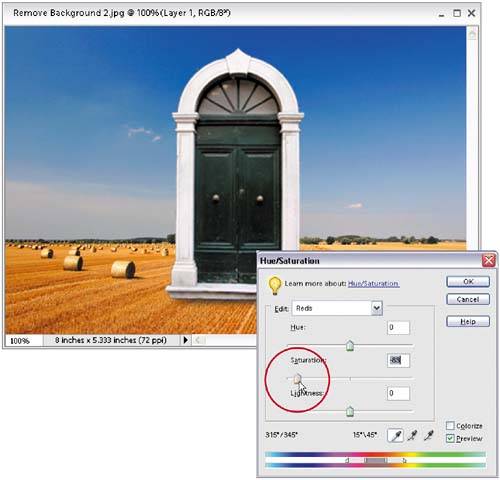 Since you're a photographer, you've probably already noticed a problem. The entryway around the door looks "too red" for the surroundings, so we'll have to remove some red to make it look like the door is really in the field. Click on the door image layer in the Layers palette. Press Control-U to bring up the Adjust Hue/Saturation command. Up at the top in the Edit pop-up menu, choose Reds and then drag the Saturation slider almost all the way to the left. This removes the red from the photo, and the reddish entryway now looks white again. Click OK. Step Eleven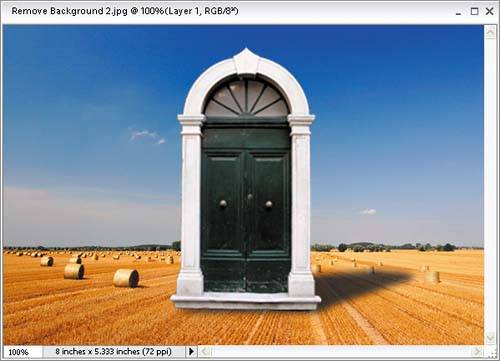 Here's the final image, and as I look at it now, I wish I had used only 3.0 or 2.5 for my Gaussian Blur on the shadow, because it looks a little too soft. But hey, that's just me. |
EAN: 2147483647
Pages: 201