Debugging the Application


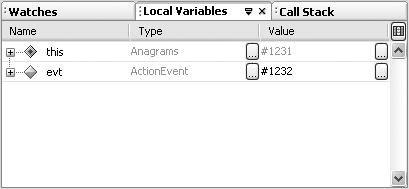
The IDE's debugger enables you to pause execution of your program at strategic points (breakpoints) and check the values of variables, the status of threads, and so on. Once you have paused execution at a breakpoint, you can step through code line by line.

To start debugging a program:

  1. Make sure that the program you want to debug is currently set as the IDE's main project.

    The name of the main project is shown in bold font in the Projects window. You can make a project the main project by right-clicking its node and choosing Set Main Project.

  2. Determine the point in your code where you want to start debugging, and set a breakpoint at that line by clicking in the left margin of that line.

    The icon appears in the left margin to mark the breakpoint. In addition, the whole line is highlighted in pink.

  3. Start the debugger by choosing Run | Debug Main Project or pressing F5.

    The IDE builds (or rebuilds) the application and then opens the Debugger Console in the bottom-left portion of the IDE and the Watches, Call Stack, and Local Variables windows in the lower-right portion.

  4. Click the Local Variables window (as shown in Figure 2-10) to view the values of any of the variables of the program that are currently in scope.

    Figure 2-10. Debugger windows, with the Local Variables window in focus

See Chapter 7 for a more in-depth look at the IDE's debugging features.


NetBeans IDE Field Guide(c) Developing Desktop, Web, Enterprise, and Mobile Applications
ISBN: N/A
EAN: N/A
Year: 2004
Pages: 279

flylib.com © 2008-2017.
If you may any questions please contact us: flylib@qtcs.net