|  PP07S-2.1.3, PP07S-3.4.1 Applying a shape fill to a drawing object can add emphasis or create a point of interest in your presentation. You can insert a picture or clip art into a shape. You can insert a picture from a file or clip art from the Clip Art task pane, or paste one in from the Office Clipboard. Stretch a picture to fit across the selected shape or repeatedly tile the same picture horizontally and vertically to fill the shape. When you stretch a picture, you can also set offsets, which determine how much to scale a picture to fit a shape relative to the edges. A positive offset number moves the picture edge toward the center of the shape, while a negative offset number moves the picture edge away from the shape. If the picture appears too dark, you can make the picture more transparent. Apply a Picture Fill to a Shape 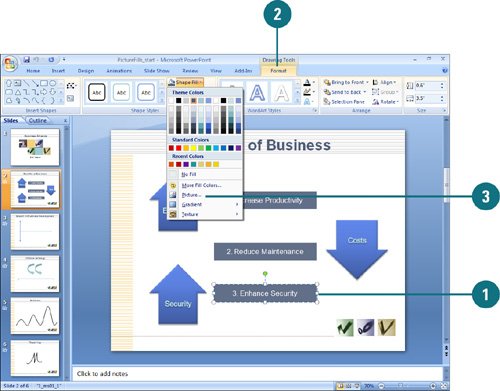 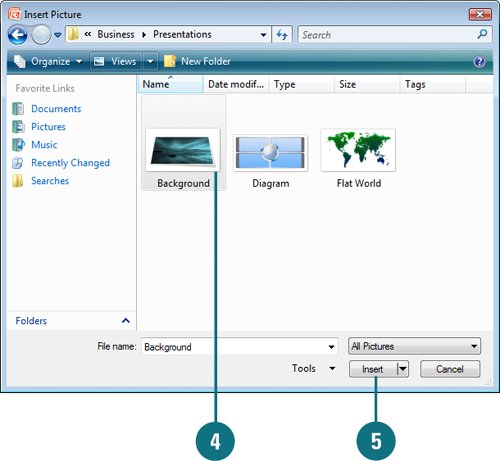
 Click the drawing object whose fill you want to change. Click the drawing object whose fill you want to change.
 Click the Format tab under Drawing Tools. Click the Format tab under Drawing Tools.
 Click the Shape Fill button, and then click Picture. Click the Shape Fill button, and then click Picture.
 Locate and select a picture file you want. Locate and select a picture file you want.
 Click Insert. Click Insert.
Did You Know? You can undo changes made in the Format Shape dialog box. Since changes made in the Shape dialog box are instantly applied to the shape, it is not possible to Cancel the dialog box. To remove changes, you can click the Undo button on the Quick Access Toolbar. |
Apply a Custom Picture Fill 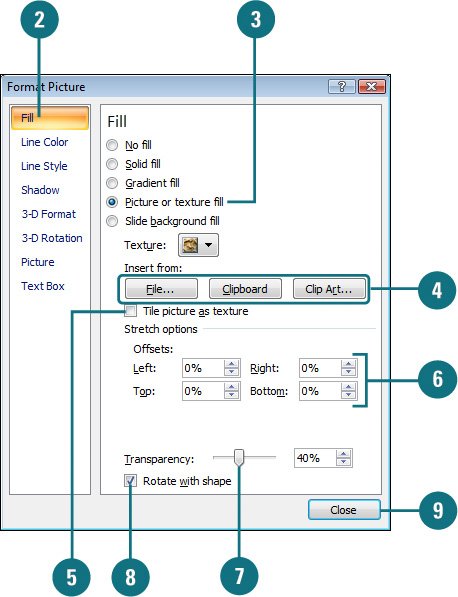 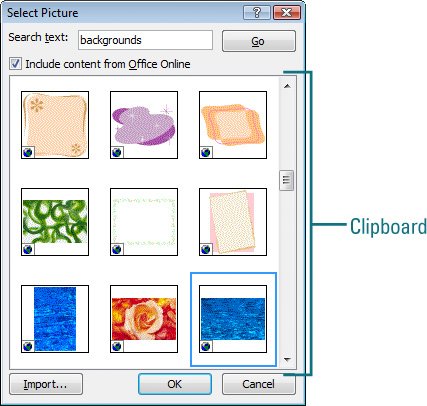
Right-click the drawing object you want to modify, and then click Format Shape. In the left pane, click Fill. Click the Picture or texture fill option. Click one of the following buttons: File to insert a picture from a file. Clipboard to paste a picture from the Office Clipboard or another program. Copy the picture to the clipboard before you click this button. Clip Art to open the Clip Art task pane and insert a clip. In the Clip Art task pane, find the clip you want, and then click the clip to insert it. Select the Include from Office Online check box to search for online clip art.
Clear the Tile picture as texture check box.  Specify a stretch option percentage for the picture from the Left, Right, Top, and Bottom of the picture. Specify a stretch option percentage for the picture from the Left, Right, Top, and Bottom of the picture.
Positive numbers move the picture edge toward the center and negative numbers move the edge away from the shape.  Drag the Transparency slider or enter a number from 0 (fully opaque) to 100 (fully transparent). Drag the Transparency slider or enter a number from 0 (fully opaque) to 100 (fully transparent).
 Select the Rotate with shape check box to rotate the picture with the shape's rotation. Select the Rotate with shape check box to rotate the picture with the shape's rotation.
 Click Close. Click Close.
|