|  Margins are the blank space between the edge of a page and the text. The default setting for Word documents is 1.25 inches on the left and right, and 1 inch on the top and bottom. You can use the mouse pointer to adjust margins visually for the entire document, or you can use the Page Setup dialog box to set precise measurements for an entire document or a specific section. You can also select the page orientation (portrait or landscape) that best fits the entire document or any section. Portrait orients the page vertically (taller than it is wide) and landscape orients the page horizontally (wider than it is tall). When you shift between the two, the margin settings automatically change. If you need additional margin space for binding pages into a book or binder, you can adjust the left or right gutter settings. Gutters allow for additional margin space so that all of the document text remains visible after binding. Unless this is your purpose, leave the default settings in place. Adjust Margins Visually -
 | Click the Print Layout View button. | -
 | Position the pointer over a margin boundary on the horizontal or vertical ruler. | -
 | Press and hold Alt, and then click a margin boundary to display the measurements of the text and margin areas as you adjust the margins. | -
 | Drag the left, right, top, or bottom margin boundary to a new position. | 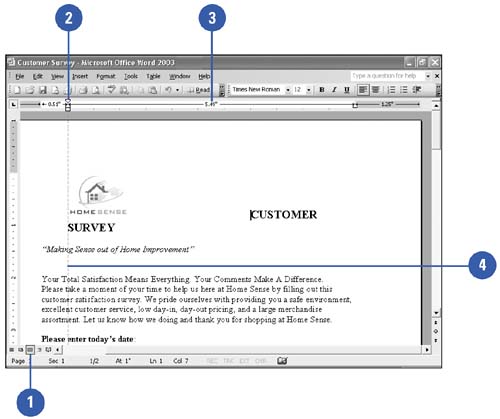 Did You Know? You can turn off features not otherwise viewable in older versions . Click the Tools menu, click Options, click the Compatibility tab, click the Recommended Options For list arrow, and then click the version you want. Select the option check boxes you don't want, and then click OK. |
Adjust Margins and Page Orientation Using Page Setup -
| | Click the File menu, and then click Page Setup. | -
| | Click the Margins tab. | -
| | Type new margin measurements (in inches) in the Top, Bottom, Left, or Right boxes. | -
| | If necessary, enter the gutter size you want, click the Gutter Position list arrow, and then select a position. | -
 | Click the page orientation you want. | -
 | Click the Apply To list arrow, and then click Selected Text, This Point Forward, or Whole Document. | -
 | To make the new margin settings the default for all new Word documents, click Default, and then click Yes. | -
 | Click OK. | 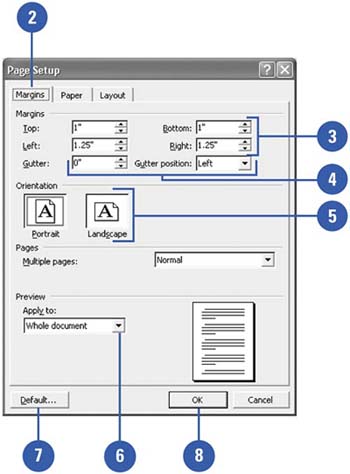 For Your Information Working with Two Page Spreads If you are working with documents that contain two page spreads, such as a book, you can select printing options for multiple pages: Normal, 2 Pages Per Sheet, Book Fold, or Mirror Margins. The Normal option is the standard setting. The 2 Pages Per Sheet option positions two pages on one page. The Book Fold option offsets the left and right page margins for binding. The Mirror Margins option sets the inside margins of facing pages equal to print both sides of a page. Click the File menu, click Page Setup, click the Margins tab, click the Multiple Pages list arrow, and then click a printing option. |
|