Moving Around in an Image
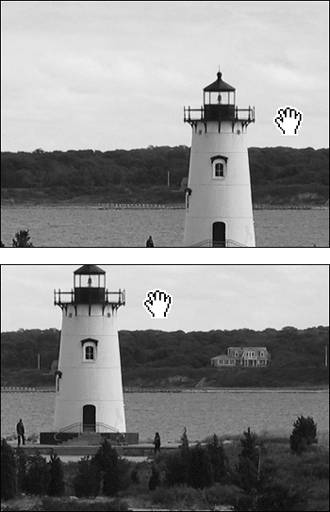
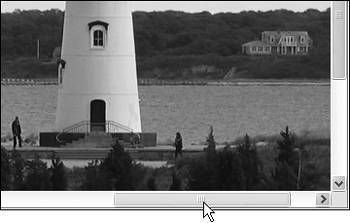
| When working in Photoshop Elements, you'll often want to move your image around to make a different area visible in the document window. This can happen when you're zoomed in on one part of an image or when an image is just too large to be completely visible within the document window. Luckily, Photoshop Elements offers you multiple features for adjusting the viewing area. Two of the most common are the Hand tool and the Navigator palette. (For more information on how to manage views, see Chapter 2, "Creating and Managing Images.") To view a different area of an imageDo one of the following:
To change the view using the Navigator palette
|
 Tip
Tip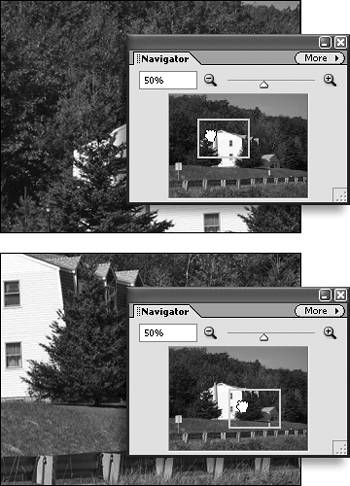
EAN: 2147483647
Pages: 178