| Photoshop Elements offers a simple, elegant, intuitive tool to help you print your images. From the Print Preview dialog box, you can choose paper sizes, and you can position your image on the page, scale it, and even make some last-minute modifications. To reposition an image on a page 1. | Select an image you want to print, then open it in Photoshop Elements.
| 2. | From the File menu, choose Print to open the Print Preview dialog box (Figure 11.37).
Figure 11.37. The Print Preview dialog box. 
| 3. | At the bottom of the dialog box, click the Page Setup button to open the Page Setup dialog box.
| 4. | From the Size drop-down menu in the Page Setup dialog box, choose a paper size (Figure 11.38).
Figure 11.38. In the Page Setup dialog box, confirm that the paper size matches the paper in your printer. 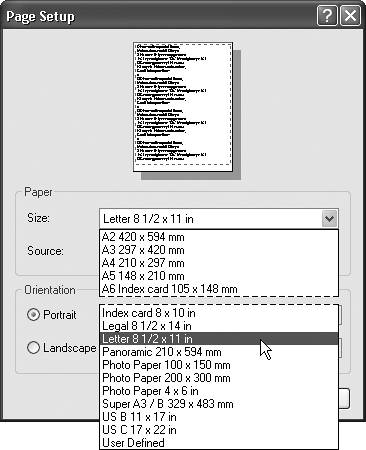
The default paper size is Letter, 8.5 x 11.
| 5. | Close the Page Setup dialog box.
The page preview on the left side of the dialog box reflects the page size in proportion to the image you want to print.
| 6. | If you want your image printed in the center of the page, confirm that the Center Image check box is selected (Figure 11.39).
Figure 11.39. Checking the Center Image check box perfectly centers your image on the page. 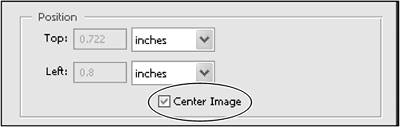
Center Image is Photoshop Elements' default.
| 7. | If you want to move your image to a different area of the page, first uncheck Center Image; then make sure that the Show Bounding Box check box is selected below the print preview image (Figure 11.40).
Figure 11.40. The Show Bounding Box check box must be selected before you can reposition your image. 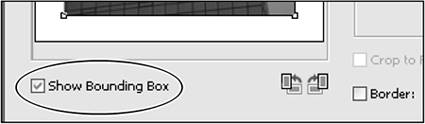
Show Bounding Box is Photoshop Elements' default setting.
| 8. | To move the image to a new area on the page, do one of the following:
- Move the pointer onto the image until it becomes a crossed-arrow cursor; then drag the image to a new spot on the page (Figure 11.41).
Figure 11.41. Drag to manually move your image to a new location on the page. 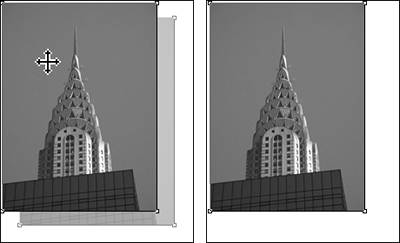
- Enter new values in the Top and Left text boxes. You can change the measurement system from the default of inches by selecting a different unit from the drop-down menus (Figure 11.42).
Figure 11.42. To reposition your image on the page, choose a measurement value for your document. 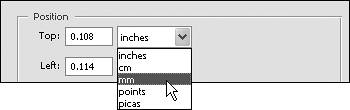
Note that in either case, the position displayed in the text boxes is measured from the upper-left corner of the page to the upper-left corner of the image. In other words, if you enter 0 in both the Top and Left text boxes, your image will be positioned in the upper-left corner, directly on the top and left margins of the page.
|
To resize an image by entering size or percentage values To resize, do one of the following: - In the Scale text box, enter a new percentage value. The default is 100 percent.
- Enter either a new Height or Width value in the respective text box. Just as when positioning, you can change the measurement systems for both height and width from the accompanying drop-down menus (Figure 11.43).
Figure 11.43. Choose a measurement system, and then enter either a scale or a height or width value to resize an image numerically. 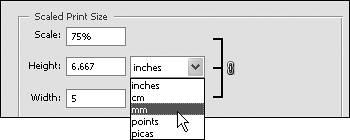
Note that the Scale, Height, and Width text boxes are linked together, and that a change to any one of the boxes will be reflected in the other two.
To resize an image to fit the dimensions of your page - From the Print Size drop-down menu, choose Fit On Page.
The image is sized proportionally to most efficiently fill the page (Figure 11.44).
Figure 11.44. The Fit On Page menu option scales an image to precisely fill out the dimensions of a page. 
The Fit On Page option is best used if the original image is too large to fit on the page and needs to be reduced. Remember that when rescaling an image, it's best to avoid scaling up (upsampling) whenever possible.
To resize an image manually - See that the Show Bounding Box check box is selected; then in the image preview, drag any of the four bounding box handles (Figure 11.45).
Figure 11.45. Drag to manually resize your image. 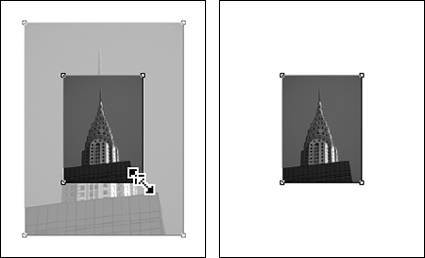
The image is resized, and its new scale and dimension values are displayed in the Scaled Print Size text boxes.
 Tip Tip
Remember that the changes you make to an image from within the Print Preview dialog box have no effect on the actual image itselfthat is, the image's file size and physical dimensions don't actually change. Any repositioning, scaling, or other modifications you perform in the Print Preview dialog box affect only the way that the image appears on the printed page.
|