| You should be comfortable using the type formatting toolsfont family, font style, and font size in Photoshop Elements because they're very similar to those found in most any word processing program. You'll probably want to change the font size first. Photoshop Elements' type tool is automatically set to 12 points, which in many cases will be too small. Making the type bigger makes it much easier for you to see how the type looks in your image. You can also change the text alignment and text color. All of these options are available on the text options bar (Figure 9.12). Figure 9.12. The type formatting tools are all available on the text options bar. 
To change any of these attributes, you first need to select the text characters you want to change. Most of the time, you'll want to select and apply changes to an entire line of text, but you can also select individual words or even individual characters. To select text 1. | Click on the type layer you want to edit on the Layers palette, or click on the type itself with the Move tool.
| 2. | Select a type tool.
| 3. | To select the text, drag across the characters to highlight them (Figure 9.13), or do one of the following:
- Double-click within a word to select it (Figure 9.14).
Figure 9.14. Double-click within a word to select it. 
- Triple-click to select an entire line of text (Figure 9.15).
Figure 9.15. Triple-click anywhere in a line of type to select the entire line. 
- Quadruple-click to select an entire paragraph of text (Figure 9.16).
Figure 9.16. Quadruple-click anywhere in a paragraph to select the entire paragraph. 
Figure 9.13. To select your text, drag across it with the text pointer. 
|
 Tip Tip
To choose the font family and style 1. | Select the text you want to change.
| 2. | From the options bar, choose a font from the font family menu (Figure 9.17).
Figure 9.17. All available fonts are listed on the font family menu. 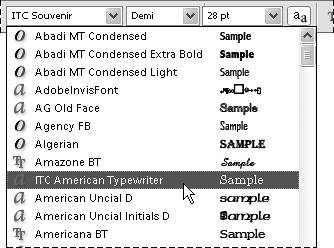
| 3. | Still on the options bar, choose a style from the font style menu (Figure 9.18).
Figure 9.18. Many fonts allow you to select a style from the font style menu. 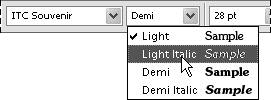
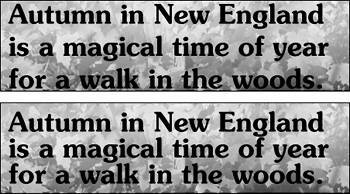
If the font family you selected doesn't include a particular style, you can click the Faux Bold or Faux Italic button to change the look of your text (Figure 9.19).
Figure 9.19. If a font doesn't include style options, you can apply a bold or italic format with the icons on the options bar. 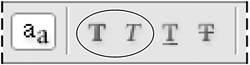
|
Tip If you haven't memorized the look of each and every font on your computer (and who has?), Photoshop Elements' font family menu now displays an example of each font next to its font name. You can change the size of font samples or turn the display of the samples off by choosing Edit > Preferences > Type and then using the drop-down menu in the Type Options section of the Type Preferences dialog box (Figure 9.20). Figure 9.20. Options in the Type Preferences dialog box let you control the display of font previews in the font family menu. 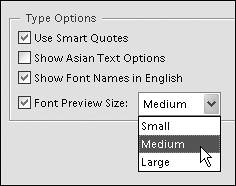
To change the font size 1. | Select the text you want to change.
| 2. | Choose a size from the type size menu on the options bar (Figure 9.21).
Figure 9.21. Use the type size menu to adjust the size of your type. To use a size not listed, just enter it in the text box. 
To change to a type size not listed on the menu, just enter a new value in the type size text box. The default type measurement is set to points, but you can also use other units of measure (pixels or millimeters) by selecting them in the Units and Rulers Preferences dialog box.
|
Tips You can quickly adjust the type size up and down using keyboard shortcuts. Just select your text and then press Ctrl+Shift+. (period) to increase the size in 2-point increments. To reduce the size of the text, press Ctrl+ Shift+, (comma). You can also adjust the type size up and down in 1or 10-point increments. Select your text and then select the type size in the type size menu on the options bar. Next, use the up and down keys on your keypad to size the type up and down in 1-point increments. If you hold down the Shift key while pressing the up and down keys, the type will adjust in 10-point increments (Figure 9.22). Figure 9.22. Hold down the Shift key to quickly increase your type size in 10-point increments. 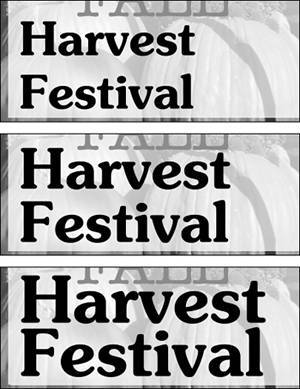
To change the default unit of measurement for type, select Edit > Preferences > Units and Rulers. Here you can select among pixels, points, and millimeters (mm) (Figure 9.23). Figure 9.23. You can set type unit preferences to pixels, points, or millimeters. 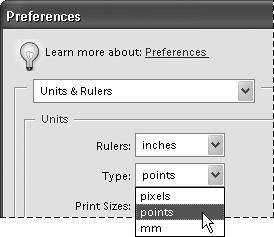
To change the line spacing 1. | Select the lines of text that you want to change.
| 2. | Choose a value from the line space menu on the options bar (Figure 9.24).
Figure 9.24. Use the line space menu to select line spacing for your type. You can also enter a line spacing value in the menu text box. 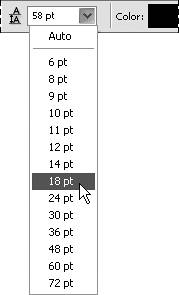
To change to a line spacing value not listed on the menu, enter a new value in the leading text box.
|
Tip
To apply underline or strikethrough 1. | Select the text you want to change.
| 2. | Click either the Underline or Strike through icon on the options bar to apply that style to your text (Figure 9.26).
Figure 9.26. You can apply the underline and strikethrough styles from the options bar. 
If your type layer is set to a vertical orientation, the underline will appear on the left side of the type (Figure 9.27).
Figure 9.27. When you apply an underline to vertical text, it appears on the left side of the text. 
|
To change the alignment 1. | Select the text you want to change.
| 2. | From the options bar, choose an alignment option (Figure 9.28).
Figure 9.28. When you realign type, it shifts the origin, or the first point you clicked when entering the type. 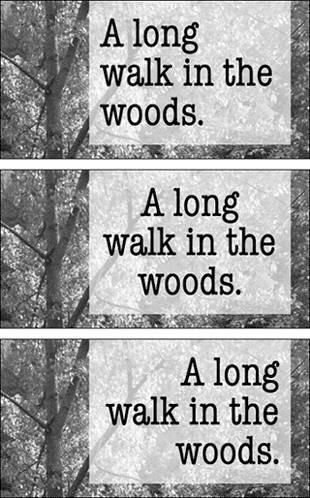
The type will shift in relation to the origin of the line of text, or in the case of paragraph text, in relation to one side of the text box or the other. For point and click type, the origin is the place in your image where you first clicked before entering the type.
Left Align positions the left edge of each line of type at the origin, or on the left edge of the paragraph text box. Center Align positions the center of each line of type at the origin, or in the center of the paragraph text box. Right Align positions the right edge of each line of type at the origin, or on the right edge of the paragraph text box.
|
To change the text color 1. | Select the text you want to change.
| 2. | Click the color selection box on the options bar (Figure 9.29).
Figure 9.29. You can change the text color by clicking the color selection box. 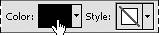
The Color Picker appears. Choose a new type color from the Color Picker (Figure 9.30), then click OK to apply the new color to your text.
Figure 9.30. Use the Color Picker to select a new text color. 
|
Tip You can also change the color of all the text on a text layer without selecting the text in the image window. With the Text tool selected in the toolbox, click to select a text layer in the Layers palette to make it the active layer, then follow the procedure to change the text color.
|